Welcome to another Thursday Tutorial. This is Missy here with another Craft Room tutorial for you. This week, we're going to talk about "layers". If you're familiar with Craft Room, or you have a Gypsy, layers probably make perfect sense. But, if you're new, this will tell you how handy this feature can be.
What exactly are "layers"?? When you look at your mat in the craft room program, you can see there's a tab called "layers" in the upper left hand corner.
Think of each "layer" as a separate mat. If you're working on a big project, say a banner, of you want to mass produce something, you won't be able to fit everything on the same mat and cut it all out at once. You'll need multiple mats, or to load and unload your mat multiple times, depending on how many mats you own!! By using multiple layers you can set up your mats how you want them when you go to actually cut.
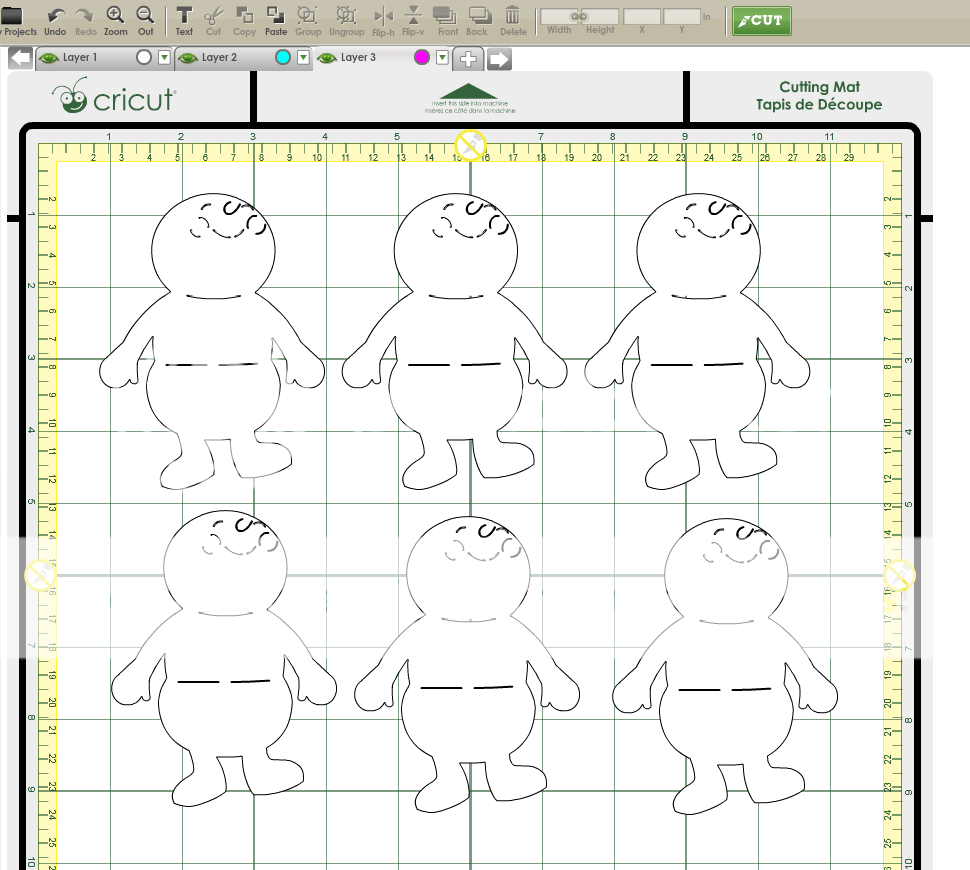
Let's say I was going to mass produce some treat sacks using this snowman from Snow Friends. I can only fit 6 snowmen on one mat. There's not enough room for the rest of him--his hat, shirt, face, etc. I can design everything at once, though, so then all I have to do is lay the paper out on my mat and cut away. Here's my first layer, Layer 1, the one where I have all the snowman bodies ready to go.
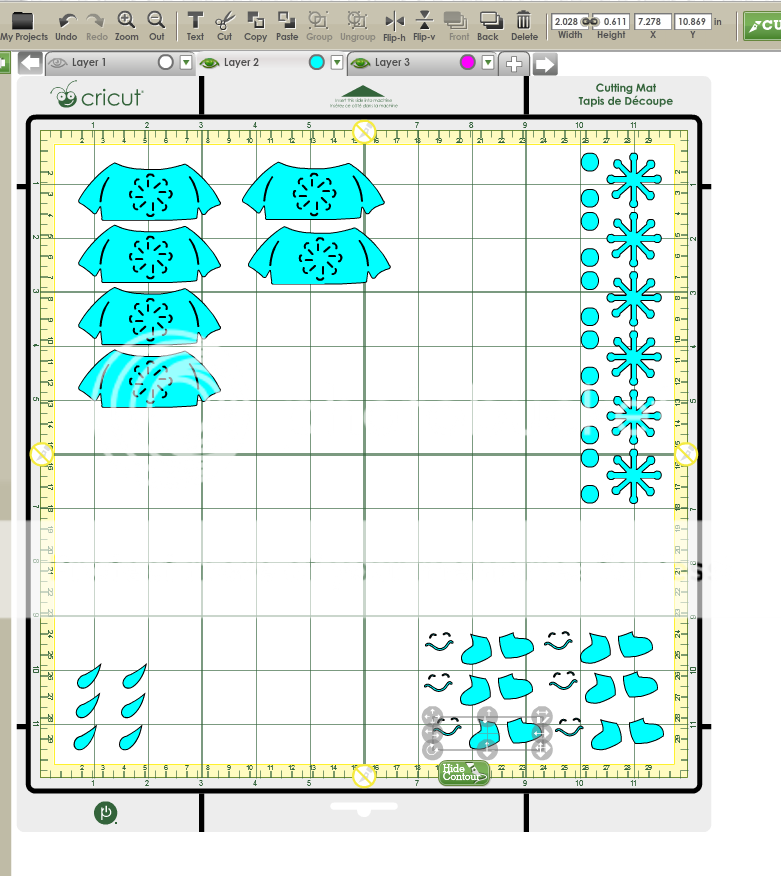
To add a layer to your design, simply click on the "plus" sign next to the layer tab. To move from layer to layer, you simply click on the tab of the layer you want to work with. On my second layer, Layer 2, I'm going to add the rest of my images. This is just one way the layers feature comes in handy.
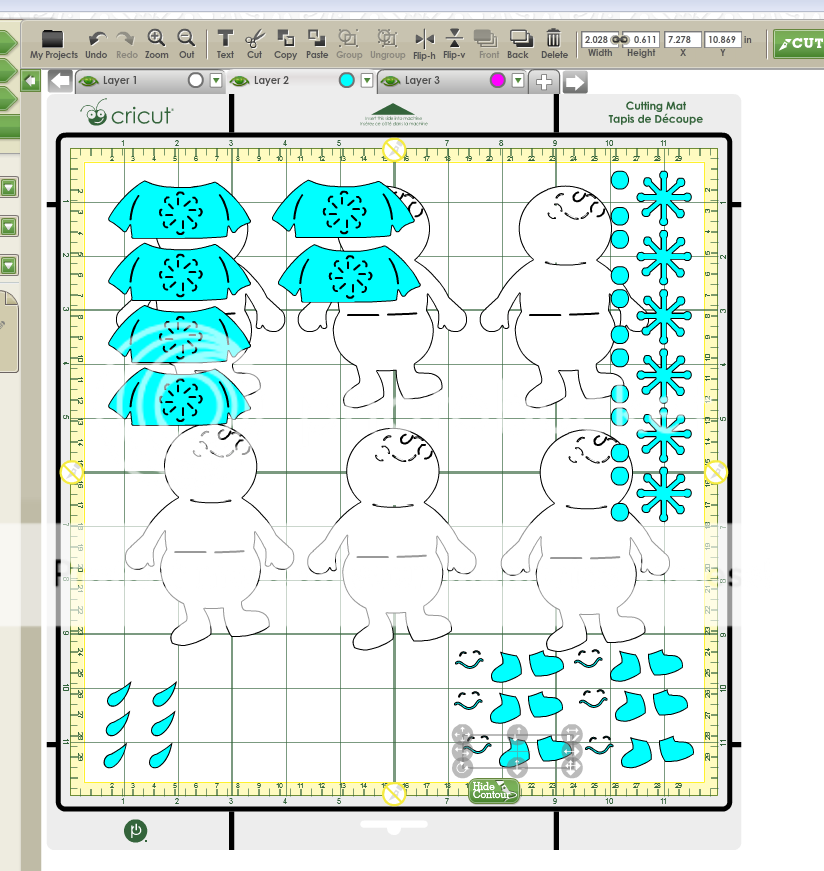
Now, what's up with that eyeball in the corner of my layers tab?? That eyeball is a great feature!! It allows you to see either one, two, or ALL of your layers at once. Here's what it would look like if I was looking at both of my layers together.
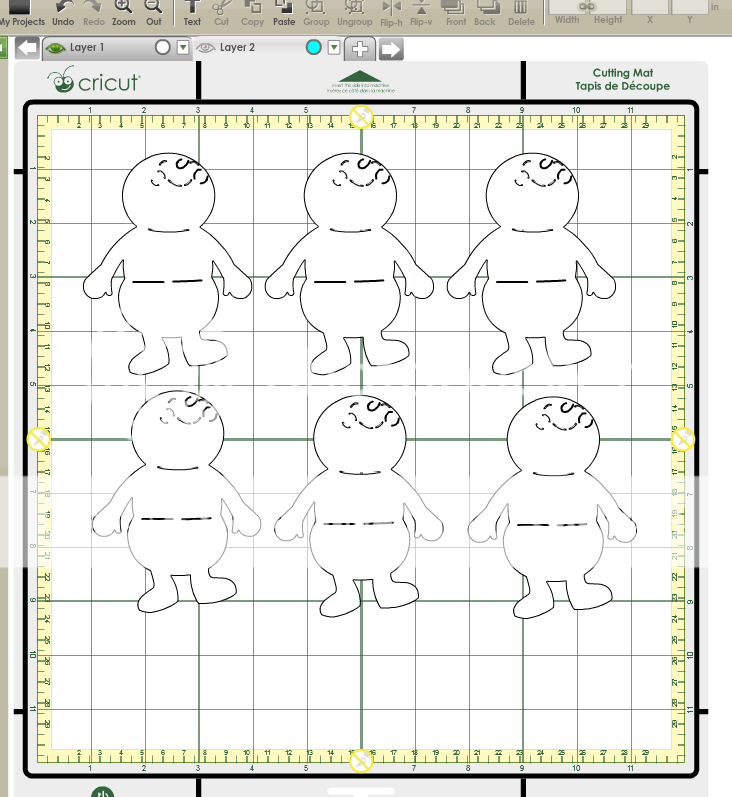
If you want to see a layer as you are working on your design, the eyeball needs to be green. If you want to hide the layer, the eyeball needs to be grey. All you do is click on the eyeball icon to show or hide the layer. In the first picture here my second layer is hidden, so the eye is grey. In the second picture, you can see my second layer so it is green.
There's a little bit of basic information on how to work with layers in Craft Room. Next week I'll explain how I colored my images (white in layer one, aqua in layer two) as well as some of the ways you can personalize the layers in your project. Thanks so much for stopping by today!!


Thank you for this tutorial Missy. I have had my Cricut for years and have finally figured out how to do layers, just a half-hour ago. I am working on Alice in Wonderland favors and this will help me so much as I have to put together at least 150 different character favors on my Cricut E2. I look forward to following your blog. Dana, Hackensack NJ
ReplyDelete