Pages

Past Challenges #1 - #178

Thursday, March 31, 2011

Thursday's Tutorials: New Techniques for Spring Scrapbook Layout


Happy Thursday to all of you! I hope you are all having a Fantabulous week. We are all about Spring this week at FCCB and Edna (a.k.a Pinke) over at Create with Expression has created the most beautiful Spring scrapbook page! She used several techniques that I had never seen before. Then, she even created a video tutorial just to showcase several of these techniques!
The first video is very detailed on the materials she used to create her scrapbook page. Make sure you watch it because she does something really neat, creating beautiful paper.
In the second video, you will learn how to make that beautiful circle frame (she calls it a pie cut in video 1) on your projects, how to outline the circle with ribbon/lace and how to make a rosette out of ribbon!

Here is her project and 2 videos! I hope that you enjoy them and will visit her blog for more inspiration...


Thanks for joining us today at Fantabulous Cricut!
Rae
post signature

Wednesday, March 30, 2011

Wednesday Winners #52

The "Happy Birthday" challenge was fantabulous!!! I hope you were able to see the amazing entries, and if you missed it you can see all the participants entries -HERE.

~This Weeks Winner~
chosen by random.org
April Showers -cricut cartridge
To claim your prize please contact Robin at...
fantabulous cricut @ yahoo .com (remove spaces)
You have two weeks to claim your prize.
Remember to grab your "FCCB Winner" blinky to display on your blog! You can find the blinky code in the right-hand sidebar.

~Design Team Top 5~

Congratulations Ladies!!!
Remember to grab your "FCCB Top 5" blinky to display on your blog! You can find the blinky code on our right-hand sidebar.

Thank you to all those who participated in our challenge!
Come join us for this weeks "Looks Like Spring" challenge -HERE
Create a Spring time theme project.

post signature

Tuesday, March 29, 2011

Quick Tip Tuesday: Cutting Inside a Shadow

Hello Fellow Crafters and welcome to Quick Tip Tuesday!  Today's tip is something I do ALL the time in my effort to save paper (and our planet).  When designing my projects, I cut bits from inside the shadow layer.  Once the top layers are in place, it's impossible to tell that the shadow has bits cut out of it - although you will have to be careful if you are using a thin, light-coloured paper over a dark shadow.  For my project, I used a thick white cardstock over the black shadow and had no problems.
Paper on the mat, with images cut from within the shadow
Finished card - with no evidence showing that the shadow has cuts in it
If you have a Quick Tip to share, I'd love to hear from you.  Please email your suggestion to me at smallbitsofpaper(@)hotmail(.)com (remove brackets!) and perhaps it will be highlighted here - with credit to you, of course.

Happy Crafting!
post signature

Monday, March 28, 2011

Challenge Me Monday #53

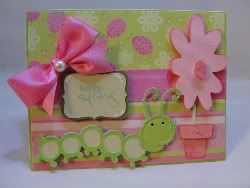
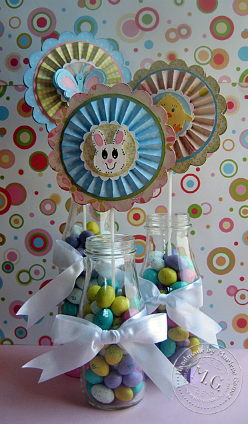
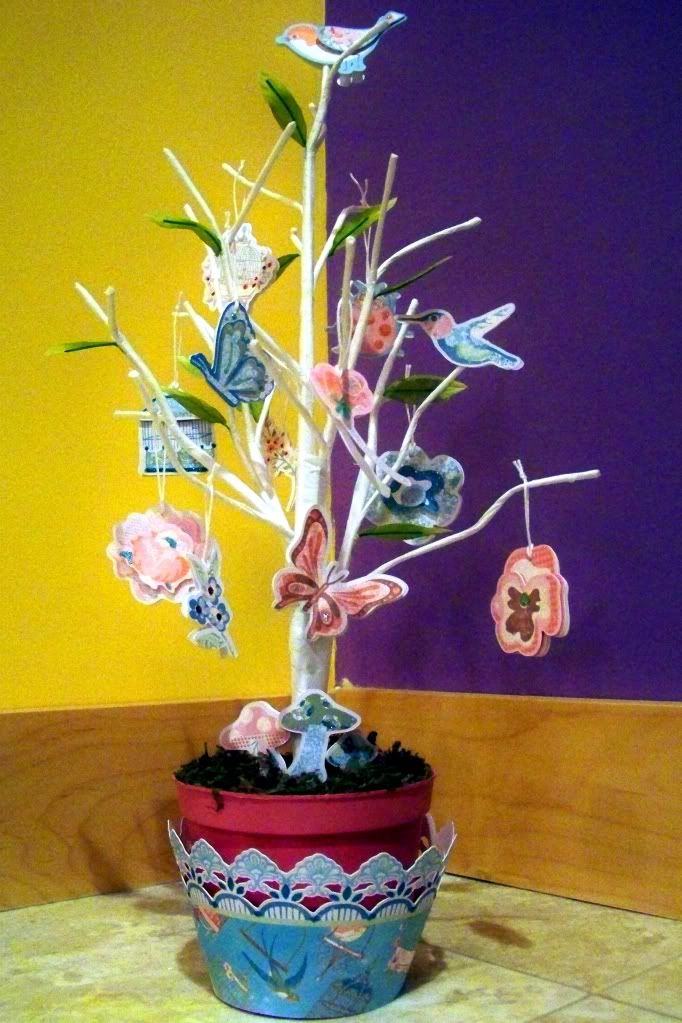
It's Spring time! I love it, and the outdoors comes alive, it's beautiful!

Challenge #53 Looks Like Spring
Create project using any spring time theme.

~Design Team Inspiration~

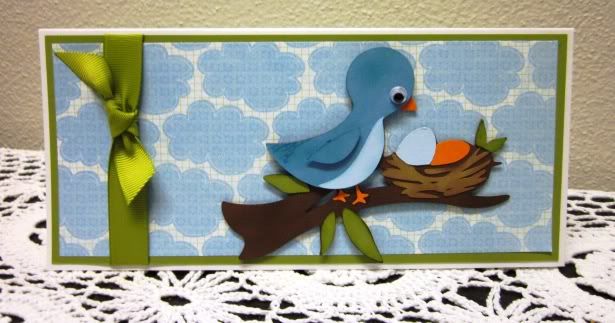
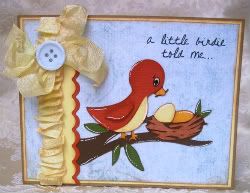
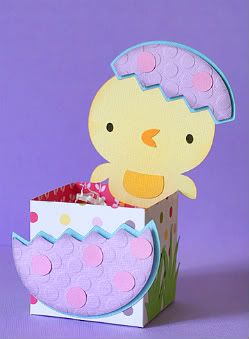
Give a Hoot cartridgeBarb
Kate's ABCs cartridge
Freshly Picked cartridge
Helen
April Showers, Straight From the Nest cartridges Polka Dot cuttlebug folder Jenae
A Child's Year, Freshly Picked, Straight From the Nest, Twinkle Toes cartridges Lisa C
Stretch Your Imagination cartridgeMaquel
Fresly Picked cartridge
Create A Critter, Doodlecharms, Mini Monograms, Simply Charmed cartridges
Easter 2010 cartridge
Lori's Garden cartridge
Nate's ABCs cartridge
Create A Critter cartridge
Freshly Picked, Straight From the Nest cartridges

~This Weeks Sponsor~

My Pink Stamper Tweetie Hoo Puns -stamp set

My Pink Stamper


Important Info please read:
When entering our challenges, please link directly to your project and not just to your blog as this makes it much easier for others to find your submission. After you publish your post, click view post. Copy the address of the specific post from the address bar and enter it in Inlinkz. You can also click on the title of your post to get the web address of the project you wish to submit.
post signature

Sunday, March 27, 2011

Spotlight Sunday

Welcome to Spotlight Sunday!
We will be taking a break from spotlighting guest designers for a while as we would love to introduce you to our Fantabulous Cricut Design Team. We are so excited to have such talented designers showcasing their work here at FCCB!
Today we are spotlighting two “fantabulously” talented ladies.
Let me, first, introduce to you to Dana from Imagine What You Could Do.


1. When did you start scrapbooking/paper crafting? Why?

I actually started Scrapbooking in 2001. I made a graduation gift for my son's (at the time) girlfriend. (Wow, I can't believe it's been that long!)

2. What is your favorite type of project to make?

Although I started with Scrapbooking, my favorite projects are cards. I rarely make layouts anymore.
3. What is your favorite product to use on your projects?

I love using embossing folders. I just think that they add so much.
4. What is your favorite Cricut cartridge?

This is a very hard question for me, I love all my cartridges...however, if you really want an answer, it would be this: Tags, Bags, Boxes and More for the boxes, Opposites Attract and George for the fonts and Simply Charmed and Create-A-Critter for the critters.
5. What do you do in your spare time, when you are not paper crafting?

I love to garden. I have both floral and vegetable gardens. (Although, I hate weeding).
6. Any other info you would like us to know about you.

I have a wonderful husband and three terrific sons. My family, friends and my dogs mean everything to me. I am in my crafting area almost all of the time when I am at home, and my family has nicknamed it "The Cave". I even made a sign for the door. (lol)
Here are a few things that you will find on Dana’s blog:


Make sure you visit Dana’s blog to discover all the wonderful things she has to share with you.
~~~~~~~~~~~~~~~~~~~~~~~~~~~~~~~~~~~~~~~~~~~~~~~~~~~~~~~~~~~~~~~~~~~~~~
Now let me introduce to you to Evanna from Evanna’s Paper Palace.

1. When did you start scrapbooking/paper crafting? Why?

My mother-in-law is very creative and she was my biggest influence!! She introduced me to die cutting and card making, that was about 5 years ago now. I had some good friends who liked scrapbooking, once I had all the stuff for cards it seems like a good idea to use them to make things for me to keep too!
2. What is your favorite type of project to make?

I love scrapbooking and it is probably my favorite, but I seem to spend more time making cards, which is fine because I love doing that too!
3. What is your favorite product to use on your projects?

I can't resist nice patterned paper, I always say to myself I have enough for any sort of occasion, then I see another pack and I NEED to have that as well.
4. What is your favorite Cricut cartridge?

Create a Critter...so cute!
5. What do you do in your spare time, when you are not paper crafting?

I have 2 small children, so I love to be with them. I like reading and travelling, and my husband and I swing dance together.
Here are a few things you will find on Evanna’s blog:


Make sure you visit Evanna’s blog to discover all the wonderful things she has to share with you.
I hope you enjoyed getting to know some of our designers.
Come back tomorrow to see what our Fantabulous Design Team has designed for you for Challenge Me Monday.
Happy Crafting!
Saundra
FCCB Spotlight Sunday Hostess

* If you would like to be a sponsor for Fantabulous Cricut please contact Robin via the Contact Me tab.
post signature

Saturday, March 26, 2011

Scrappin' Saturday: Birthday Layouts

Happy Scrappin' Saturday, everyone! In honor of Fantabulous Cricut's and Robin's birthdays, I decided to share some fantabulous birthday layouts with you this week. All of these talented designers used their Cricuts perfectly to show off their birthday photos. Here they are:

Happy Birthday by Lauren's Creative

I love the way Lauren puts the cake cut in the center of the whole layout and covers it with all those cute buttons! Such a fun idea!

Time2Party by Lawyers Scrap Too!

In this layout, Sheandra combines so many cuts and colors to make a fun and festive birthday layout.

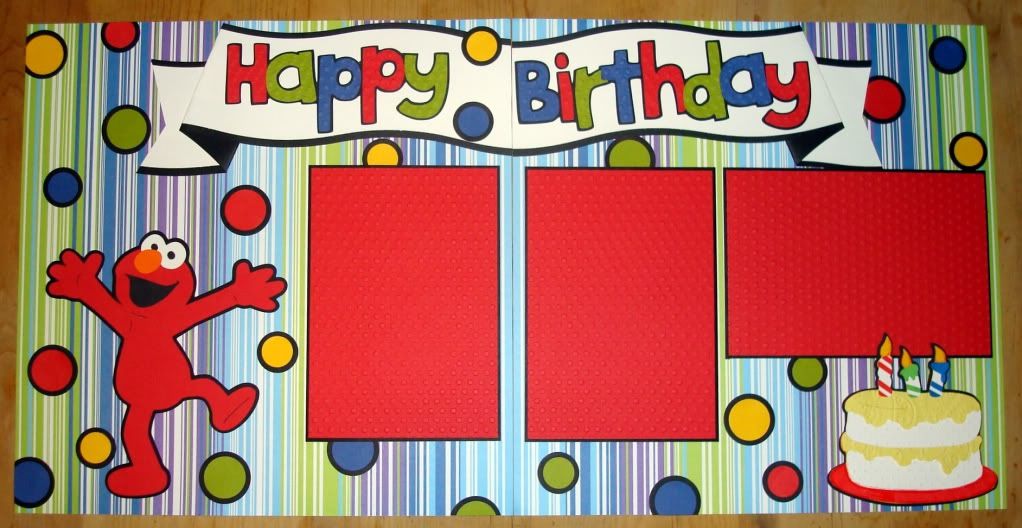
Happy Birthday by Love to Crop!

Isn't Elmo so cute? I love how Amy added in all of the colorful polkadots. So fun!

Birthday Bash by Mrs B's Craft Room

Gotta love that Birthday Bash cartridge! Look at all the fun party animals Cindy uses on this layout!

Celebrate by The Avid Scrapper
[SC+Birthday+Pages+003.jpg]
Wow! Look at all the photos Carla fit on these pages. This is so great...I always have WAY too many pics from my kids' birthday parties!

Time2Party by Monique Griffith Designs

Here's another great layout using Once Upon a Princess. I love the way Monique combined all of the different patterns and colors. So cute!

Well, I hope all of these birthday layouts have inspired you. Be sure to stop by each designer's blog to read all the details about their layouts. There are so many awesome ways to use the Cricut to create beautiful birthday pages!

Thanks so much for stopping by today! Have a great weekend!

post signature

Friday, March 25, 2011

Fantabulous Friday - Celebrations


Hello and welcome to Fantabulous Friday!
Thanks for joining us today, I'm so happy you stopped by for a visit!
This week here at FCCB, we have been celebrating! Both our Fantabulous Blog and our
Fantabulous Leader, Robin have birthdays this week...yippee!
As I was debating on which cartridge to explore with you this week, the thoughts of birthdays and cakes and partys kept dancing through my head! And all those images lead me straight to an oldie, but a goodie...
Celebrations!
So...let's check out what Creative Features this cartridge has to offer...
*Tag
*Banner
*Card
*Border
*Shadow
*Blackout
Here's the first card I created...


This is the first time I have made a "Flap Card" and I am really liking this style!
To create this card, I used the following features...
*The background mat was made using the Blackout Feature on page 123. I cut one scalloped circle at
3 3/4 inches and another at 3 1/2 inches. The white layer was embossed with the Swiss Dots folder.
*The layers for the cake are found on page 99. The cake was cut at 2 1/2 inches. I covered the cake plate with lots of silver Stickles for some shine!
Now for the inside of the card...


You can see the magnet at the top of the card, under the scalloped mat. The other magnet is hidden under the red mat on the front of the card. When closed, the magnets hold the flap in place...neat huh?
*The party hat is found on page 105. I cut the hat at 3 inches and added Stickles and a gem for some bling!
For my next project, I made a birthday card and matching tag...


This card just makes me happy....so much bling!
Here are the creative features I used for this card...
*I used the Shadow Feature on page 124, cut at 2 1/4 inches. I cut the happy birthday layers at 2 1/4 inches and layered them all together...then I went a bit "bling happy" with my gems!
*The tag is cut using the Tag Feature found on page 105. I cut this out twice, once in the patterned paper and once in a solid hot pink paper. I slid a piece of blue paper between the two tags and adhered them all together. And, of course, added more bling! A ribbon through the hole and there you go!
This is the inside of the card and the flip side of the gift tag...


*I used the Border Feature to cut the party hats at 2 inches. I also used my Cuttlebug and the
Divine Swirls folder on the hats....and yes...more bling!
And there you have it...an oldie, but a goodie!
(Exactly the way I feel after my birthday)
I hope all of our exploring has put you in the mood to do some celebrating of your own!
If you haven't already joined in our challenge for this week, you still have time! It's such a fun challenge...
Challenge #52 Happy Birthday
Create a Birthday card or project
So, put on your party hat, crank up your Cricut, and link your project HERE!
I can't wait to see what you create!
Until next time,


post signature