Welcome to Fantabulous Cricut Challenge Blog! Cricut enthusiasts come share your projects with us. Twice monthly we offer simple challenges for your chance to win! No matter which size Cricut machine you have, come join the fun.

Tuesday, January 31, 2012

Quick Tip Tuesday - 3D Pop Up Sentiment Banners

I hope everyone is ready for this week's "Quick Tip Tuesday", I am going to share with you a tip on how to make 3D Pop Up Sentiment Banners.  

First you will need to stamp out your sentiment on desired card stock.  Cut card stock down to be desired banner length and width.


Next we need to score our sentiment.  Center the sentiment on any inch mark, in the case below it is centered on the 5" mark.  Then I scored on either end of my sentiment, the second score mark is an 1/8" over.


Fold along score lines and you will have you own 3D banner to adorn your card or scrap booking.


Here is my card showing this tip from this week's FCCB "Challenge Me Monday".  Click here to see another example over on my blog.


I hope you enjoyed this week's tip and be sure to check back tomorrow for our Wednesday Winners.
Happy Crafting,

Melanie

post signature

Monday, January 30, 2012

Challenge Me Monday #96

The month of February is just two days away and this means that Valentine’s Day is right around the corner! Today’s challenge will help you get ready for the special day as we encourage you to create a “Valentiny” card – a small card measuring 3x3. These cards are perfect for tucking into a lunch box or briefcase – or simply giving just to say “I love you”.


#96 – Valentiny Cards
Create a 3x3 card for Valentine’s Day

My Creative Time


We are so pleased to be sponsored by My Creative Time this week. Here is what Emma has to say:

Hi, my name is Emma, owner of "My Creative Time"! I have been papercrafting for 9 years now & started my own line of stamps back in 2010. In June of 2011, I launched a line of dies to coordinate with my amazing stamps! All of my products are made in the USA. I am able to do this with the support of an AMAZING husband & 2 beautiful boys. I even have the best Mom who helps me out with the shippping department! I am just HAPPY to share everything I know with ALL of you amazing crafters out there today!

A few members of our wonderful design team received some fabulous stamps from My Creative Time and used them to make their Valentiny cards. Just see how easy it is to combine My Creative Time stamps with Cricut cuts!

Create a Critter cartridge

Cathie
Martha Stewart Seasonal Cake Art cartridge

Glenda
Create a Critter, Cricut Craft Room Basics cartridges
Cuttlebug Heart Blocks embossing folder
Paper Dolls Everyday, Boys Will be Boys, Indie Art, Mini Monsters cartridges
George and Basic Shapes cartridge
Create a Critter cartridge
Accent Essentials cartridge

~ Design Team Inspiration ~

~Guest Designer~
Just Because Cards, Storybook, Lacy Labels cartridges
View Amanda's Spotlight Sunday post HERE
Charlotte
Sophie cartridge
Simply Charmed, Cricut American Alphabet cartridges
Cuttlebug Block Hearts, Swiss Dots embossing folders
Sentimentals cartridge
Doodlecharms cartridge
Cuttlebug Love Language embossing folder
Marlene
Cricut Craft Room Basics, Create a Critter Cartridges
Sherrie
Birthday Bash, Lacy Labels cartridges
Elegant Edges, Rock Princess cartridges

~This Week's Sponsor~

My Creative Time

My Creative Time has generously donated a 100% Sweetness stamp set - which includes a stitched heart die! - to be given to one participant drawn at random.


To link your project for this week's "Valentiny" challenge, click on the blue "add your link" button below!
This challenge ends at Midnight, February 5th (Mountain Time).


post signature

Sunday, January 29, 2012

Spotlight Sunday

Welcome to Spotlight Sunday! So glad you are here.

This week's spotlight is on Amanda of 
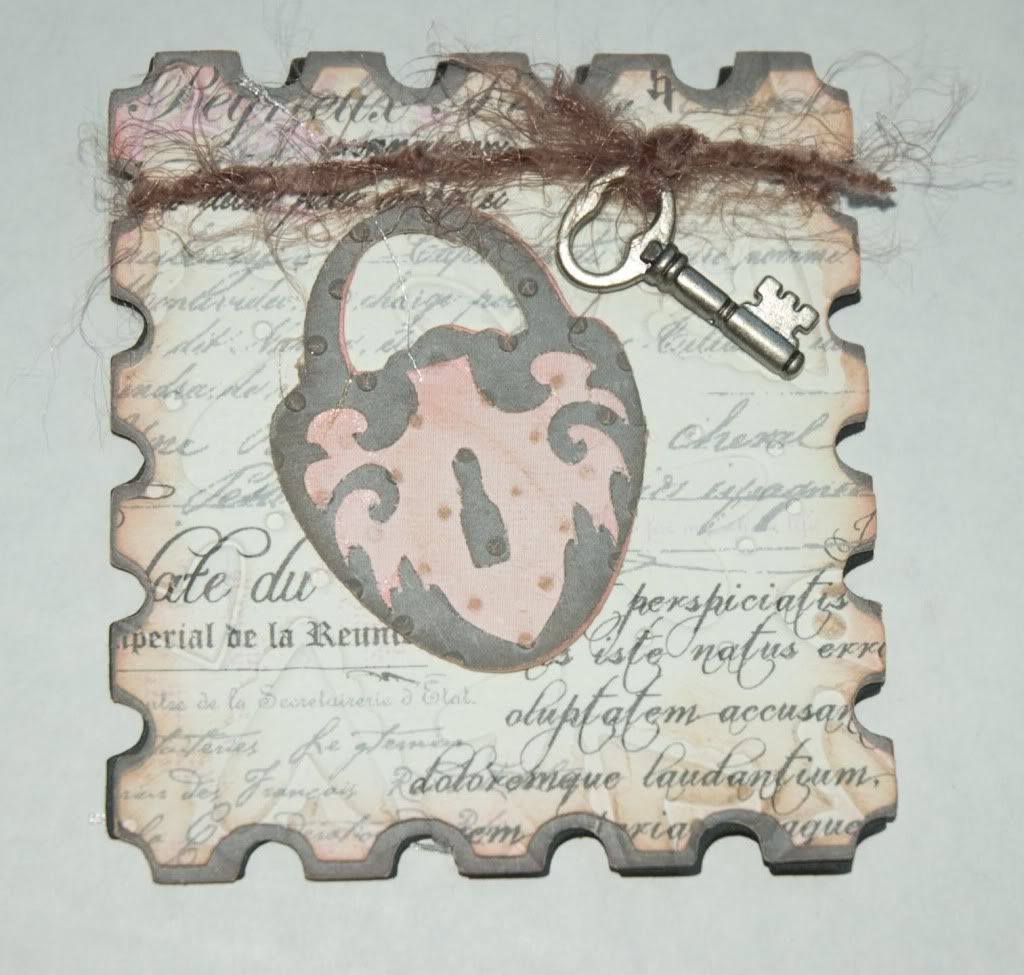
The Adventures of Goldilocks . Amanda was our Wednesday Winner for challenge #91 with this project.

If you take a look around Amanda's blog you'll find more of her craftiness...


Along with her talent, Amanda is a super sweetie. Let's get to know her a little better....

When did you start scrapbooking/paper crafting and why?

I started paper crafting about three months ago. It started with pulling out the Cricut machine I’d bought my oldest daughter for Christmas last year to help my youngest daughter with a school project. I then decided I’d use it make Christmas cards for my family this year. When I started searching You Tube and blogs on how to make cards and use the Cricut the obsession started. I had no idea the massive sub-culture devoted to paper art. I’m constantly inspired by the many, many talented folks that post their work, tutorials, and ideas.

What is your favorite type of project to make (i.e., cards, layouts, mini-albums, etc....)?

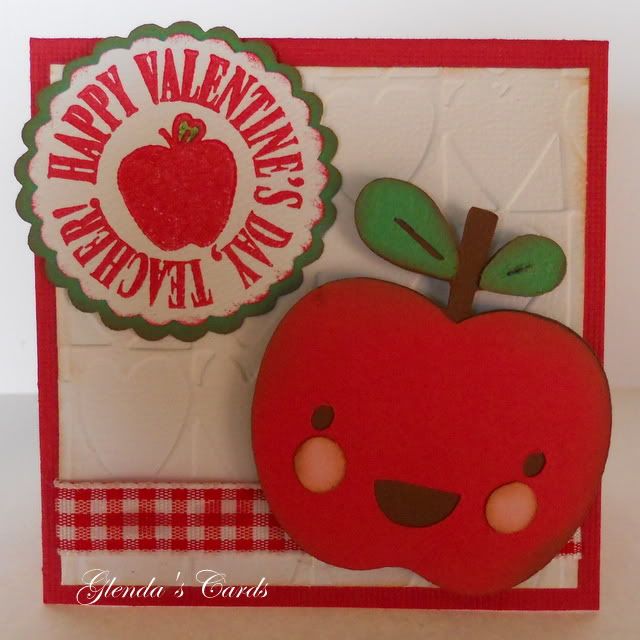
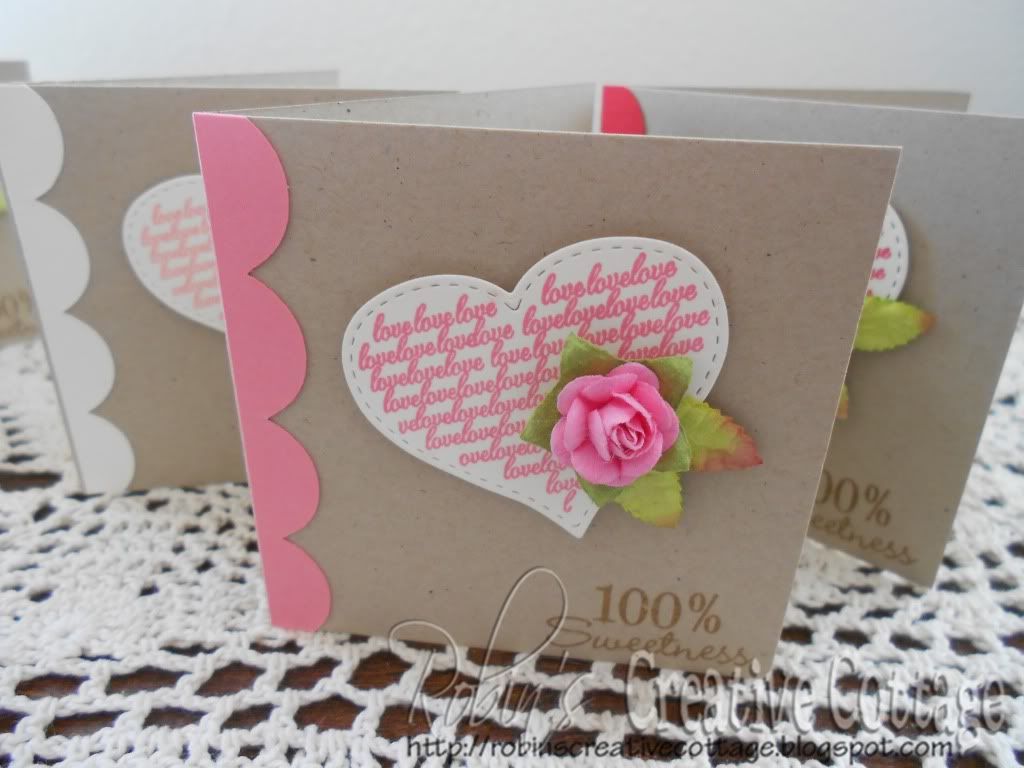
I’m strictly a card maker and I’m sure to give them all away. Seems I never run out a reason to give a card.

What is your favorite product to use on your projects?

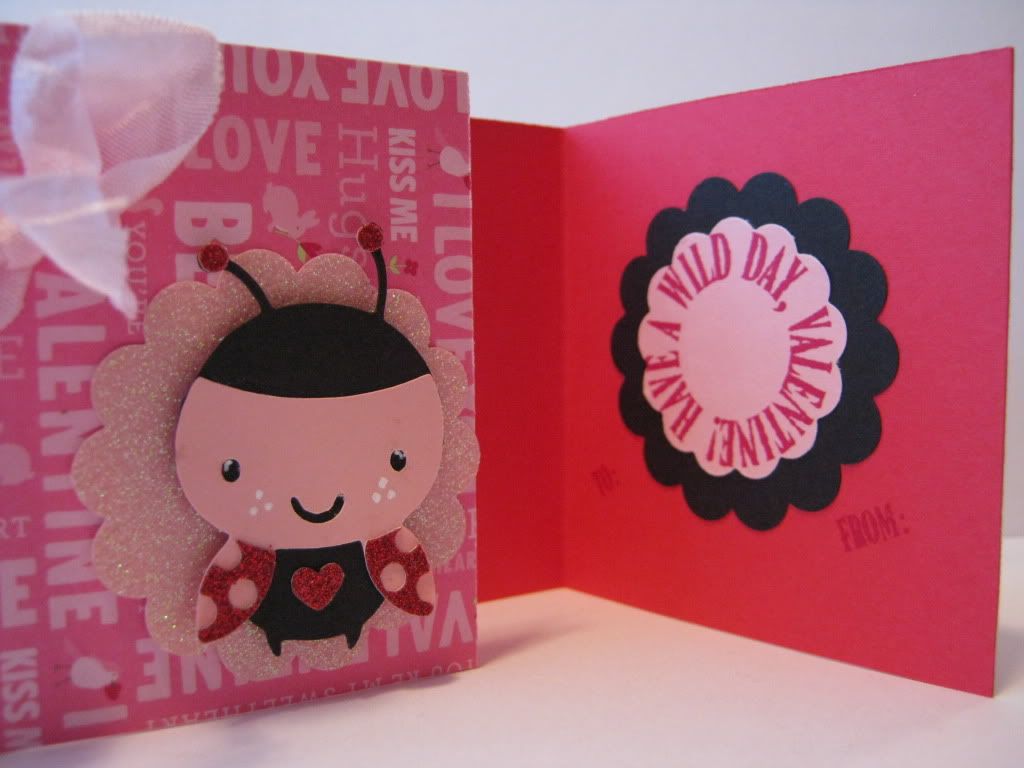
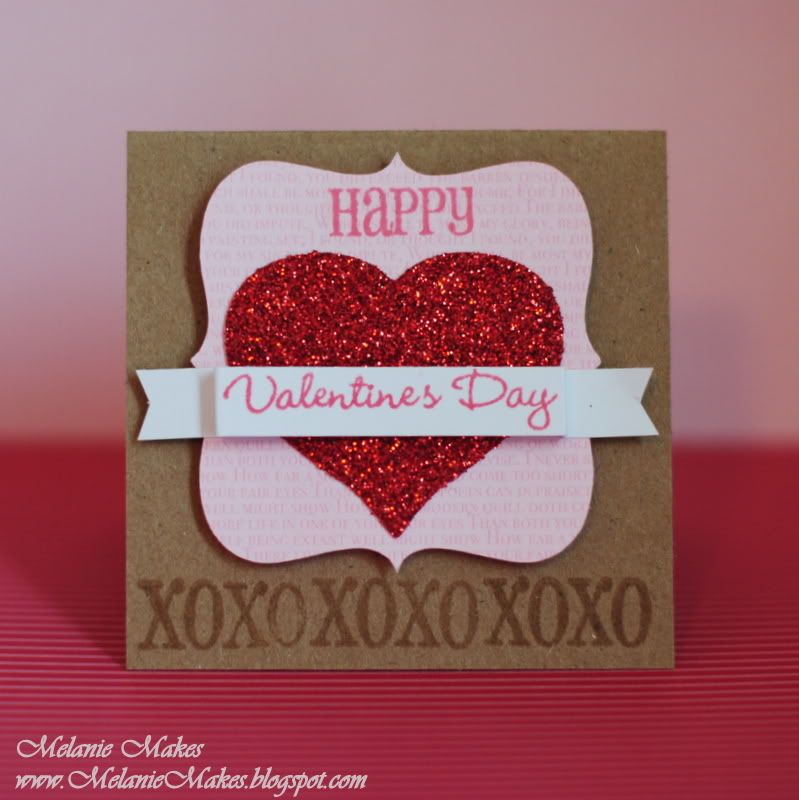
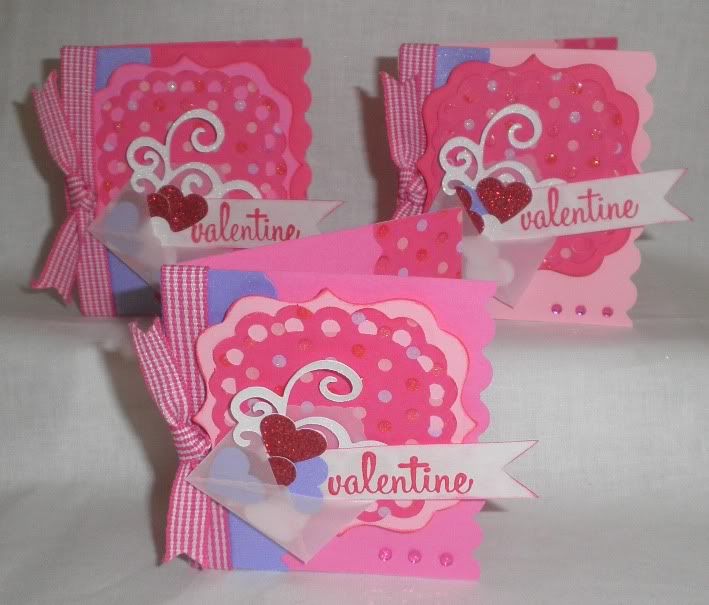
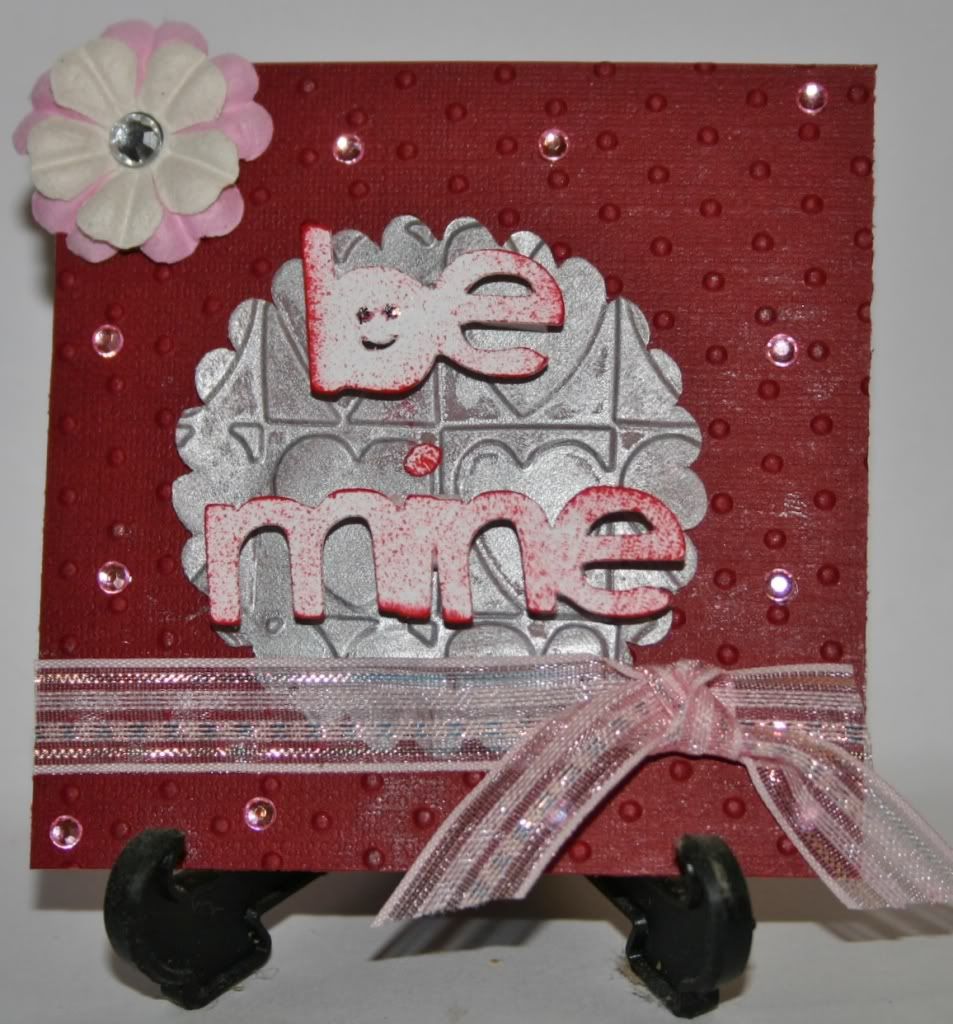
Anything glittery and sparkly. Rhinestones, glitter, shiny and glittery paper, sparkly ribbon, I could go on and on.

What is your favorite Cricut cartridge?

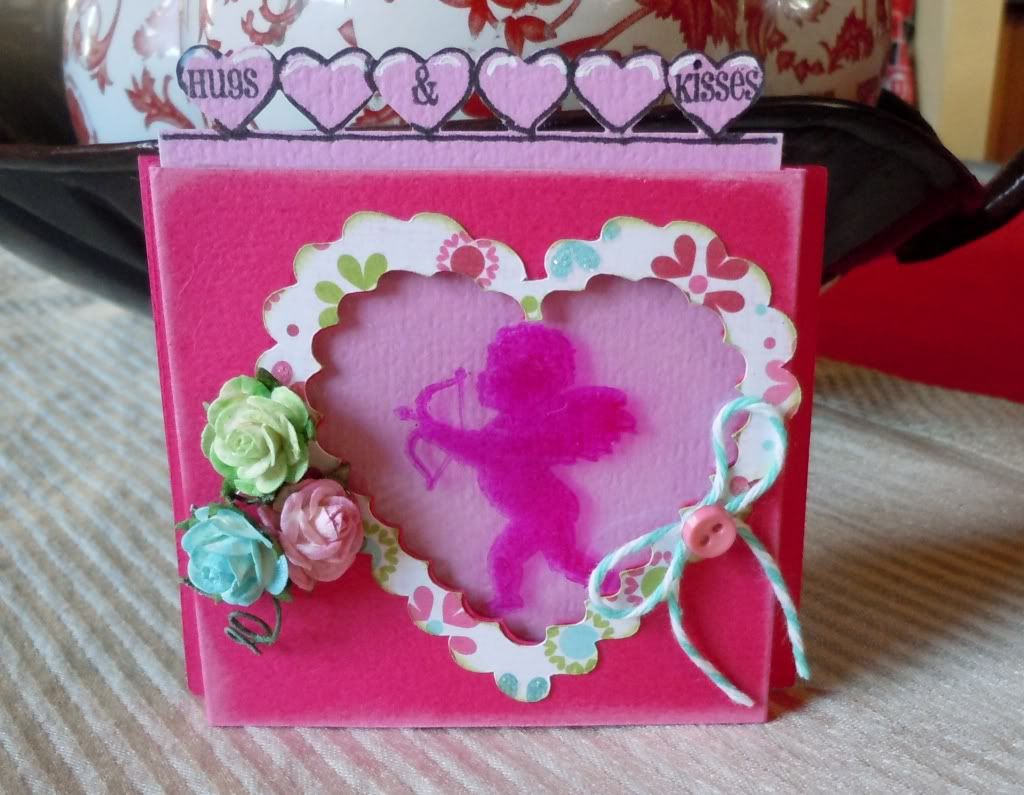
I find myself using the Flower Shoppe and Lacy Labels cartridges lately. The Flower Shoppe cartridge because I love using different papers and textures together to create beautiful flowers for my cards, and Lacy Labels because it offers such a wide range of shapes to custom size. And I have to mention my old standards, Storybook and Don Juan.

What do you do in your spare time, when you are not paper crafting?

Well, I’m mother to three wonderful children and a furry dog-boy. And I’m wife to a most patient husband that supports all of my obsessions. Besides paper crafting, I love, love, love my iPad. It hardly ever leaves my side.

Any other information you would like us to know about you?

I challenge myself with trying to create my cards on the cheap. I’ve found paper and supplies from discount and dollar stores to scrapbooking and craft stores. I come from a very artistic family, everything from paintings to graphic design and since my job as a Project Manager in IT allows me no outlet to express my creative side, producing paper art is a great de-stressor.

Thanks so much for joining us Amanda. Thank you for stopping by everyone! Jump over to The Adventures of Goldilocks and check out Amanda's blog. Also, be sure to check back tomorrow when Amanda Guest Designs with the FCCB design team for Challenge Me Monday.

Be blessed, Beckie
Spotlight Sunday Hostess

post signature

Saturday, January 28, 2012

Scrappin' Saturday - Four Ways to Use Elegant Edges in Layouts

Welcome to Scrappin' Saturday!  Yesterday, Peggy showcased the Elegant Edges cartridge and how its versatile cuts work great for labels.  I'm also a huge fan of this cartridge, so I wanted to share four ways to utilize its cuts for scrapbook layouts.

#1 - As a Background:
This layout from 6ichthusfish uses a scalloped circle to fill the entire background.  What a great way to change things up when so many elements are rectangular!

#2 - As a Photo Frame
Attention is drawn immediately to the photo with a bold frame used this layout from Jackie's Scrapbook Layouts.  I love how she continues the leaf motif by choosing a vine cutout for the frame.

#3 - As a Journal Space
Steph Ackerman uses a curved cut to provide a journal space on her teen boy layout.  If you have lots to say, make a big cut; if just a few works, the label can be smaller.

#4 - As a Decorative Border
Don't have the perfect border punch to embellish your layout?  Use the border function from Elegant Edges.  OkieLadyBug adorns the side of her beauty layout with a beautiful repeating scallop.


I've used Elegant Edges for borders and backgrounds before, but now I'm eager to branch out and try my hand at using it for journaling elements.  Any of these ideas caught your attention?  Let us know how you might use a curvy or scalloped shape on your next layout in the comments section.

Have a happy, scrappy weekend,
Jessica

post signature

Friday, January 27, 2012

Fantabulous Friday - Label It

Good Friday Morning, Everyone.  First let me apologize for not posting last Friday.  All I can say is that life gets in the way 
 sometimes.

This week our theme is Label It.  We were to create a project with a label other than a plain circle, i.e., a scalloped edge or something altogether different.  Every time I need to a label I think of one of my favorites cartridges that Provocraft has ever produced.  It is Elegant Edges.  Granted it has more than labels but it is such a versatile cartridge.

Here are some of the shapes you can use for labels.  Everyone can find a label on this cartridge to use for our theme.
Next is a photo of page 47.  As you can see the features for each design are:
The featured shape & blackout
Frame
Border
Oblong
Oblong Frame
Book 
Shadow
If you don't have this cartridge and you make labels or frames for your cards/projects, you should consider getting this cartridge.  You will find yourself using it over and over.  

Thank you for stopping by Fantabulous Friday.  I hope you have a blessed weekend.  God Bless.


Peggy
post signature

Thursday, January 26, 2012

Thursday Tutorial at SSD - "Label week"- Three great tutorials

It's time for another Thursday Tutorial here at Fantabulous Cricut Challenge Blog. This week the challenge at FCCB is #95 – Label It!
Create a project using a label shape other than a plain circle (i.e., use a scalloped shape)
I actually found some great You Tube videos and a tutorial that I thought you would find helpful for using labels and die cuts.
How many of us forget some of the features on our die cut machines? How about The center cut feature?
On this video you will find a great tutorial all the way from England reminding you how to use the Center Cut. In this case it is around a picture but no reason you can't use it around sentiments too.
Center cut around an image- from You Tube Susy Dan www.craftysusy.blogspot.com

The second video is for those who have an Imagine.
How to print a sentiment with the Imagine - You Tube-The Paper Boutique

and last but not least is a tutorial I saw this past week on
Printing on tags with a computer by Kate
The tutorial is for printing on manufactured tags but could be used with Die cut tags also.
I hope you will find one or all of these tutorials helpful. Maybe you will even want to try one of the techniques on a project this week for the Label it Challenge. I hope you will join us for the challenge this week. Happy Craftin!


post signature

Wednesday, January 25, 2012

Wednesday Winners #94

Happy Wednesday to all our Fantabulous Friends!  Isn't it exciting to be midway through the week?! 

Last week, Fantabulous Cricut was thrilled to be sponsored by E.A.D DESIGNSE.A.D DESIGNS allows you to change the look of any room in just a few minutes. Their products can be used on more than just walls and on many surfaces. Customers are always coming up with new and fun ways to use the products from E.A.D DESIGNS.

Some of the Fantabulous Cricut Design Team received product samples from E.A.D DESIGNS and their projects are posted HERE.  Kate's package took the scenic route from the US to Canada so she was not able to complete her project with the E.A.D DESIGNS samples.  However, she was excited to play once the stickers arrived and made this cute little bag - just to show you all that the products really are quite versatile!

Winter Frolic, Elegant Edges cartridges

~This Weeks Winner~
Prize from E.A.D DESIGNS


Congratulations Sandy!!!
To claim your prize, please contact Marlene at: hearts0314 @ msn .com [remove spaces].
You have two weeks to claim your prize
Remember to grab your "FCCB Winner" blinky to display on your blog. You can find the blinky code in the right hand side bar.

~Design Team Top 5~


Congratulations Ladies!!!
Remember to grab your "FCCB Top 5" blinky to display on your blog! You can find the blinky code on our right-hand sidebar.

Thank you to all those who participated in our challenge.  

Come join us for this week's "Label It!" challenge HERE.  
Create a project using a label shape other than a plain circle (i.e., use a scalloped shape)
Be sure to use at least ONE Cricut cut on your project.

XO ~ Amy Jo (Coordinator) & Kate 

post signature