Welcome to Fantabulous Cricut Challenge Blog! Cricut enthusiasts come share your projects with us. Twice monthly we offer simple challenges for your chance to win! No matter which size Cricut machine you have, come join the fun.

Friday, May 21, 2010

Fantabulous Friday #10

This week I wanted to share some seaside inspiration. It is always so fun to see design elements in home goods and clothing that you can be incorporated into your Cricut designs. Do you have any magazines, web sites, or other places that help inspire you?
-Valerie


Mini Boden


post signature

Thursday, May 20, 2010

Thursday's Tutorial #10

I just subscribed to YouTube about a week ago so that I can watch great tutorial videos out there on the world wide web. After doing some searches I came across Linda's YouTube channel and quickly became a subscriber. She is a very talented Cricut scrapper and has some great tutorials.
She also has a great blog with beautiful Cricut creations.
Here is one of her lovely projects

You can check her out by visiting her blog called: The Paper Boutique

Also be sure to subscribe to her YouTube Video channel by clicking here.

Today I want to feature two of her tutorials that offer great money saving tips.
One is her tutorial called - 4 Easy Ways to Dye Ribbon Without a Mess
the other is - How to Make Your Own Glimmer Mist
(Click on the title of each to be routed to Linda's YouTube video tutorial)
Both of these tutorials are great to use on your Cricut projects and will save you money too!

Leave a comment here and let us know how you liked these tutorials.
And be sure to click on over to Linda's blog and YouTube channel to let her know that you
found her tutorials at Fantabulous Cricut.

I hope you enjoyed today's Thursday's Tutorial.
If you have a tutorial that you would like to share for future Thursday's Tutorial features
please email me at:
cokiepop@yahoo.com

Have a Creative Day!
Angi
post signature

Wednesday, May 19, 2010

Wednesday Winners: CRICUT CRAWL

FANTABULOUS CRICUT CRAWL WINNERS!!!

We were so very impressed with all of your creations and amazed at how wonderfully you incorporated so many of the featured elements! It was so hard to choose just one winner for our grand prize, and we considered all of the projects that featured a variety (9+) of the elements featured by the Design Team.

Our FANTABULOUS CRICUT CRAWL GRAND PRIZE WINNER is.....

Melissa B!
We loved all of Melissa's elements and her card came together so beautifully. Great job Melissa!
Melissa, you've won the following FANTABULOUS prizes:
**$25 Custom Crops gift card**
**Summer Vacation Cricut cartridge from Crop Stop**
**a Cricut cartridge caddy from Kiki-Art**
**Cats eye ink from Stuff 4 Scrapbooking**

Melissa, please contact us with your mailing information so we can get that out to you! And don't forget to grab your FCCB Winner Blinky (in our left hand sidebar) to add to your blog!

Now for our INDIVIDUAL PRIZE WINNERS...

Angi's Flower Element:
Sandy's "Accordion Flower Card"
Love your beautiful accordion flower!

Brenda's Journaling Block Element:
Love the way the journaling block coordinates with the photo mats!

Candace's Embossing Element:
That embossed icing looks good enough to eat!

Lori's Die-Cut Negative Element:
Love the die-cut negative as part of the background!

Penny's Shadow Feature:
The shadowing (and everything else!) on this layout is just gorgeous!

Robin's Cricut Markers Element:
The use of markers really gives this adorable card some extra punch!

Sammye Jo's Inking Element:
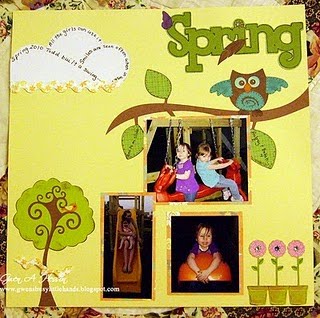
The inked die-cuts on this super-cute page give them that extra detail!

Sharon's Glass Etching:
The frame that holds these layouts is etched...how creative!

Tammy's Paper Piecing Element:
An extraordinary amount of piecing for an extraordinarily beautiful bouquet!

Valerie's Food Theme Element:
Yum....gotta love honey (and the cute card it's on!)

Congratulations to ALL of our winners! Please contact the Design Team member who chose your project (linked above your project photo) to provide mailing information. And don't forget to grab your FCCB winner blinky for your blog (located in our right hand sidebar).

Thanks again to everyone who played along with our Fantabulous Cricut Crawl...we had a lot of fun and hope you did, too!
post signature

Tuesday, May 18, 2010

Quick Tip Tuesday

The weather is finally starting to warm up and summer is most defiantly in the air. I cannot wait for swimming, sprinklers and all that fun stuff summer brings! How about you?

Spending all this time outdoors has left me with little time for the computer or scrapping but I did manage to find a fun little tid bit to share with you all today, but please remember if you come across a tip through your blog hopping or straight out of your own scrap space please do not hesitate to email me the help in finding tips to share is always appreciated!!!


Ok now did you know you can create your own cuttlebug embossing templates with you cricut? How cool is that? Here are a few simple instrustions . . .


Take what ever cut you wish to turn into an embossing template and cut it into a piece of chipboard. You can use any shape and size just be sure that the chipboard is the appropriate size to fit in your cuttlebug. You can repeat one shape over and over on the chipboard to create a pattern or use a single image. Once you have cut your desired shapes sandwich the chipboard with your cardstock and the appropriate cuttlebug plates. Once you run it through your machine you should see a perfect embossed image. The thicker your chipboard the deeper the embossing.

Go on give it a try!


Happy Scrapping


post signature

Monday, May 17, 2010

Challenge Me Monday #10

We had a "fantabulous" cricut crawl last week, and I'm amazed at how many elements were able to be used on one project. Thank you everyone who joined us and played along. Our winners will be announced on Wednesday.

Challenge #10
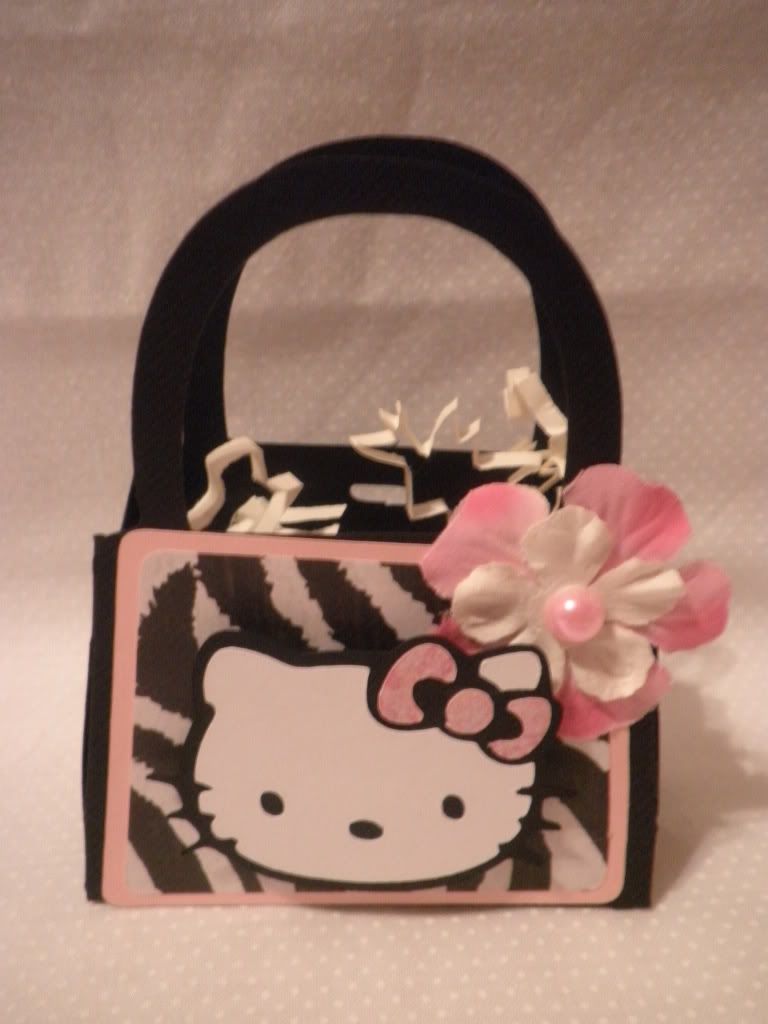
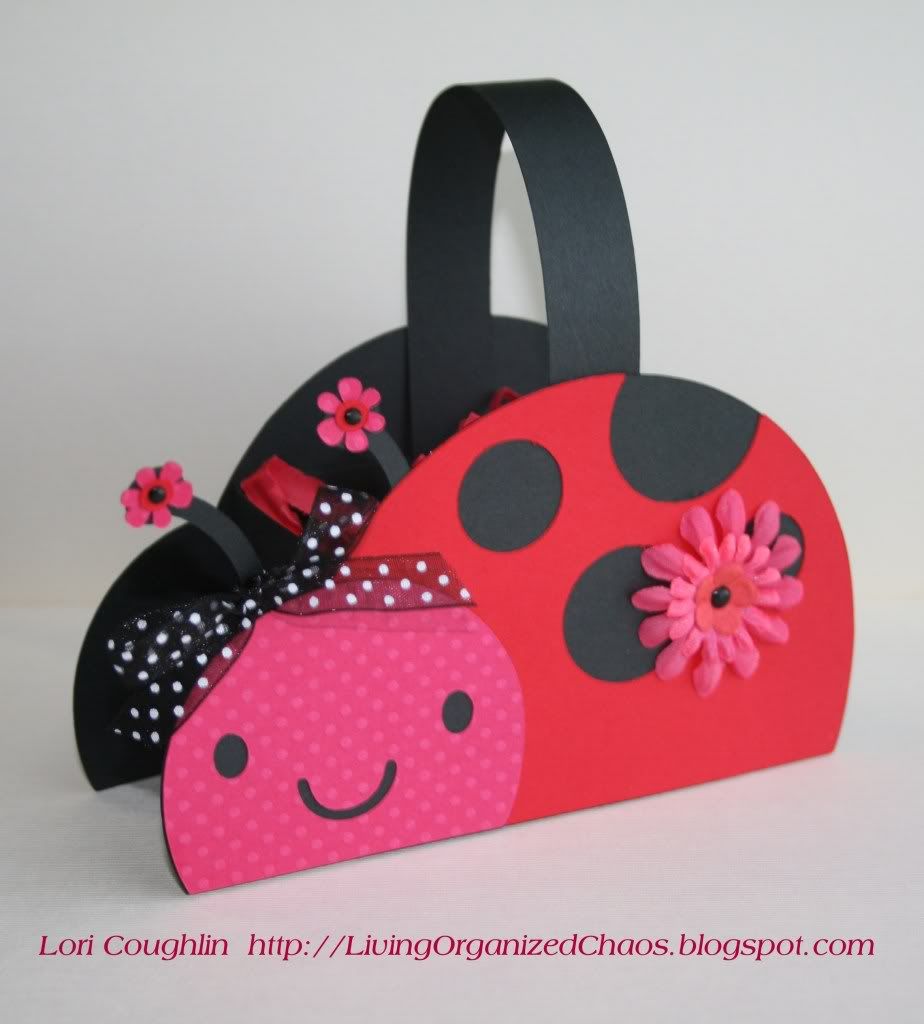
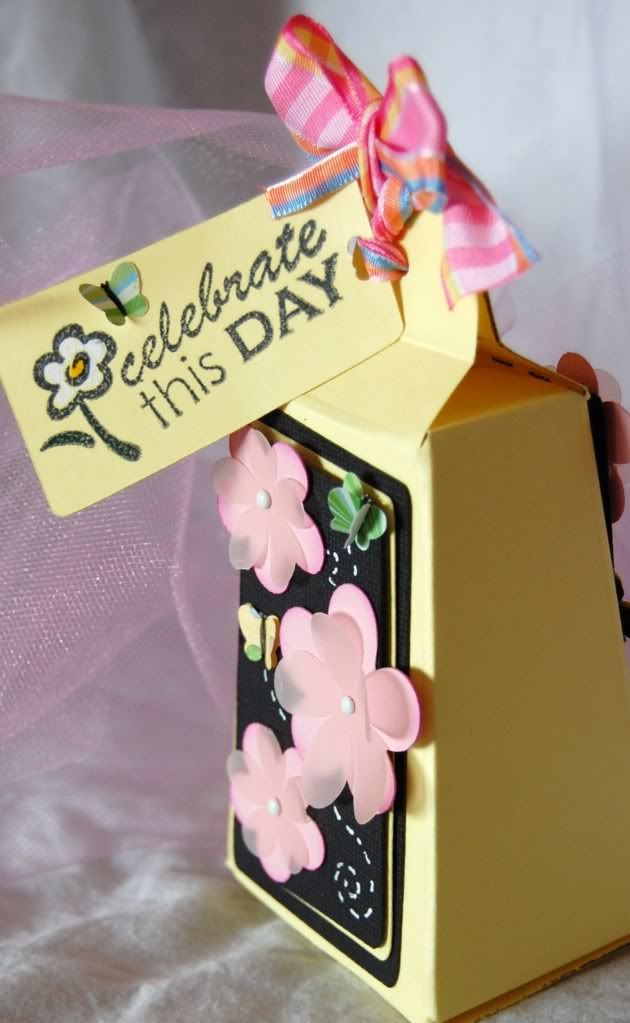
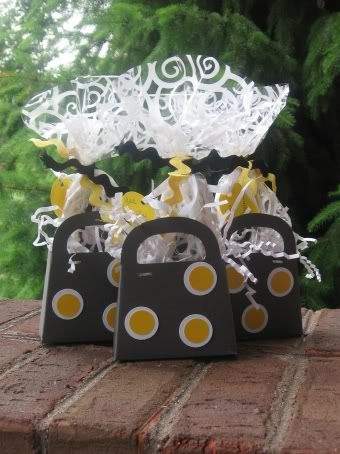
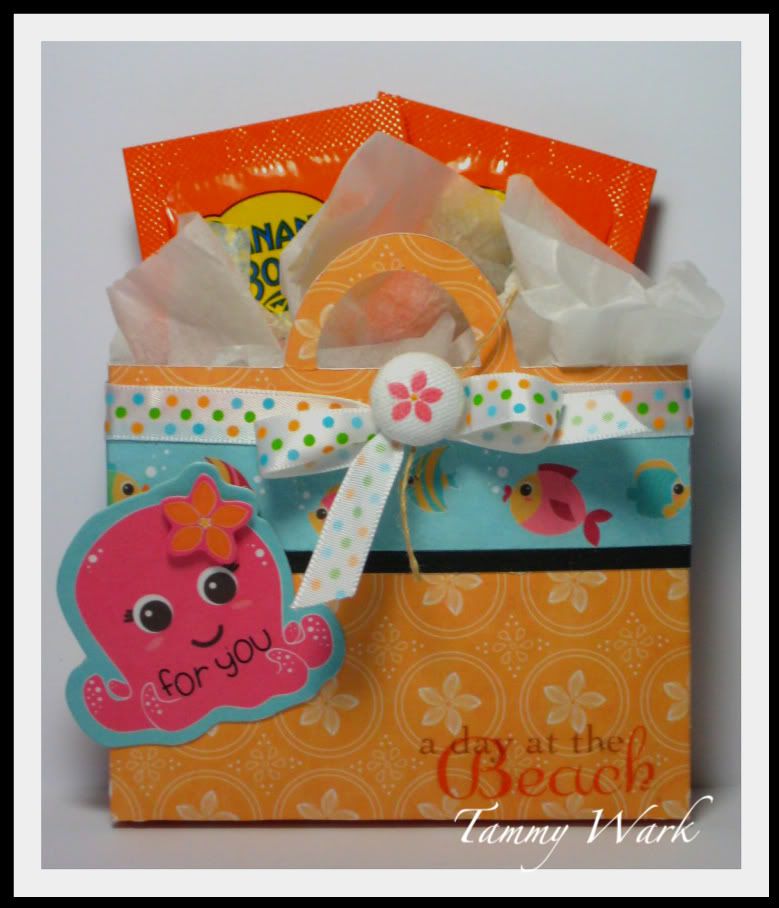
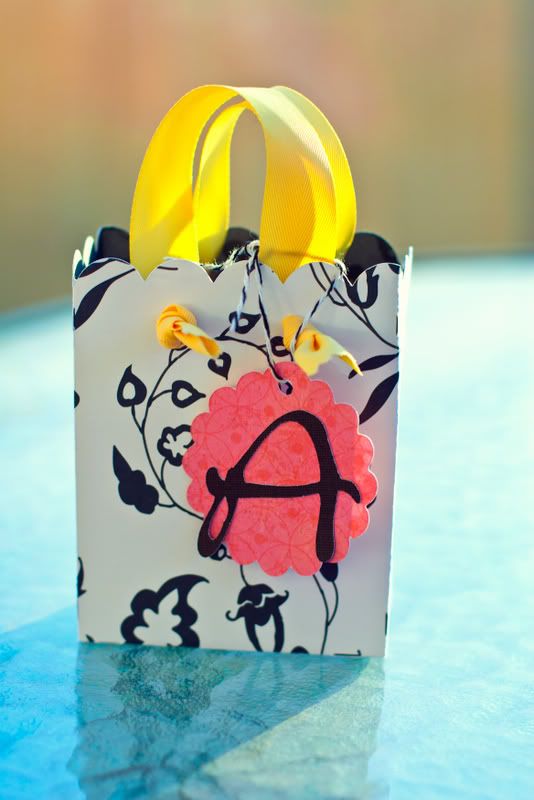
Bags, Boxes Bonanza include the color Black: Create a 3-D project using the color black anywhere on your project.

--remember to click on the design team members name to learn more about their project on their blog.

Design Team projects


Once Upon a Princess, Home Decor


Tags Bags Boxes & More, Going Places


Tags Bags Boxes & More, George & Basic Shapes, Hello Kitty


Create a Critter


Tags Bags Boxes & More, George & Basic Shapes, Walk in My Garden


Tags Bags Boxes & More, Accent Essentials


Tags Bags Boxes & More


Celebrations, Gypsy Font, Once Upon a Princess

We would like to welcome our new sponsor:
"Stamp Out Online" will be donating a $20 Gift Certificate to Challenge #10 winner. Go visit the store today, and check out the adorable "Cricut" rubber stamp -HERE!perfect for all your cricut projets.


If you link below just to advertise, or your project does not go with the challenge your post will be deleted.


post signature

Saturday, May 15, 2010

Scrappin' Saturday: Printing Onto Die-Cuts

Welcome to Scrappin' Saturday here at FCCB!

I don't know about you, but I prefer printed text over my own handwriting (which is messy!) on my layouts, because I know that I can correct mistakes before they're on my pages forever!!! :) Today I'm going to show you how to add journaling and printed text to your die-cut embellishments (including journaling blocks, page accents, card embellishments, and any other shape you want to add computer-generated font to) AFTER it's already cut out!

I have used the "Center Point" button on my Cricut to try and cut out a journaling block after I've already printed my text, but I find that I always manange to make it crooked or skewed, thus ruining the cut and the journaling.

So here's my method of ensuring even, centered journaling on whatever cut you decide to use:

1. In your word processing program, type your text exactly how you want it on your die-cut, making sure to leave enough space between them if you're printing multiple journaling spots:
2. Print out your text on regular printer paper. At this time, I place my die-cuts (which have already been cut to the size I need for my layout) over the text and adjust the size/spacing of the text as needed to make sure it all fits nicely within the cut. I typically print out several pages until I get it just right:
3. Add a very small amount of adhesive over the center of each journaling spot:
4. Turn your paper over, hold it up to a light or window and take your die-cut shapes and center them over the journaling area. By using only a tiny amount of adhesive, you can easily remove the die-cut and reposition it over the journaling:
Do this for each die-cut shape you want journaling on.

5. Run your paper back through your printer, with die-cuts attached, the same way it went through before:
6. When finished printing, you'll have perfectly placed journaling on your die cut:
7. Gently remove each die-cut shape and add to your project with additional adhesive:

That's it! I've never had a problem with my die-cuts separating from the paper in the printer or my paper jamming in my printer when the die cuts are going through, but I suppose each printer is different. I just have a very inexpensive HP Inkjet printer from Wal-Mart.
If you try this method of adding text to your die-cut shapes, please leave a comment below with a link to your project!

Happy Scrappin'!!! :)
post signature