
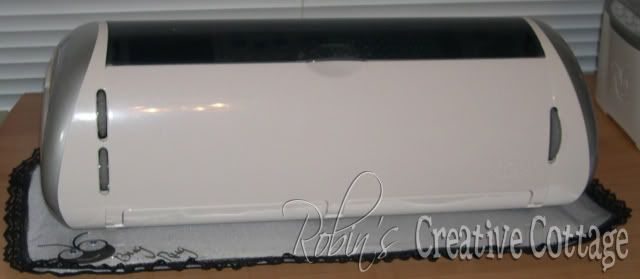
Before
After

Presonalize your Cricut with vinyl and give it a whole new look!
**My vinyl tutorial from start to finish:
Although my mat was sticky I wanted to make sure the vinyl wouldn't slip while cutting so I added masking tape to the edges before cutting.I cut the vinyl using my green housing blade set at 6, speed at 3 (med.), pressure 3 (med.). I did not need multiple cuts.
The blue deep cut blade also works, I tested both and found that the green housing works just fine. If using the deep cut blade set at 4, speed at 3, pressure 3.
I cut two of the flourish designs.
 After cutting my image using SCAL and my Cricut machine, I carefully remove the outer pieces of the vinyl, because this image is so detailed I cut away at the edges a little at a time so not to get the sticky side of the vinyl stuck on the detailed flourish design.
 I then carefully remove any inner vinyl pieces that are not part of my flourish design.
 After removing any unneeded vinyl I then place clear transfer tape over my design, I cut excess transfer tape and around the image, then burnish (rub) the image so it will stick to the transfer tape.
 I turned the image over then slowly and carefully removed the backing from the vinyl, the tricky part was to keep those tiny dots where they belonged.
Now the wonderfully fun part is to place the beautiful design onto my Cricut. I carefully placed my design where I wanted it to be, then rubbed it again. Yes, you guessed it slowly and carefully remove the transfer tape.... beautiful!
 With the second flourish design I cut it apart because I only wanted to use portions of the image for the right side of my Cricut machine door. I followed the same steps as above applying the transfer tape, then removing the vinyl backing and placing it into position on my Cricut.
I also used SCAL with the two different fonts for the words.
 Before....
 After...
A few months ago I started a post over at the Cricut messageboard challenging others to decorate their Cricut machines, and the creations are amazing1 If you would like to see more ideas Click Here and get ready to be WOWED.
Now it's your turn.... I challenge you to decorate your Cricut machine.
**To view my original post on my blog along with a cut file of the flourish image click here


That is awesome! I have never tried the vinyl, it doesn't look as intimidating as I thought it would be;)
ReplyDeleteI love this tutorial. I've been trying to think of a way to decorate my Cricut!
ReplyDeleteCool idea, thanks Robin.
ReplyDeleteThat is absolutely stunning!! :) I need to try it! :)
ReplyDeleteThat is so unique. I love that idea and will attempt vinyl real soon. Thanks for sharing.
ReplyDeleteVeronica
vballen@comcast.net
WOW!!! I am SO doing that!!! I need to go get more vinyl now!! {Gotta get me some pink!!!} LOVE it Robin!!! Great job!!!! LOVE IT! :D
ReplyDeleteI LOVE LOVE LOVE that flourish!!! I've started contemplating how I'll decorate mine now...thanks for the inspiration! :)
ReplyDeleteGorgeous I love how you have done this, I am definitely going to have to get some vinyl now.
ReplyDeleteKim xXx
Love this blog!! and never thought to decorate my Cricut.. I have not tried the vinyl yet but your directions are super easy to follow. Thank you!
ReplyDeleteReally cool Robin
ReplyDeleteK x
This is great. Thanks for the cutfile.
ReplyDelete