
Hello everyone this is Suzanne (cricutcraftingrammy) and it is time for the Thursday Tutorial and this week the Monday challenge at FCCB is Leaves are Falling. I love looking at all the projects everyone is entering in the challenges every week. So keep them coming. Also thank you so much for all your comments about last weeks tutorial on making your own Baker's Twine. Your comments are much appreciated.
This week for the tutorial I am going to share how I use Tim Holtz Alcohol inks to make Fall projects including leaves. If you have never used Alcohol Inks there are videos on You Tube for more details.
First step is you need glossy paper for the best effect. When I first started using the inks I was not able to get Tim Holtz glossy paper sheets at Michaels. They now have it in the stores. I found this package of greeting cards and envelopes (which is glossy paper) and the paper works great at my local office store.

To start you drip colored drops randomly on the pad of the colors you choose. I usually do 3 colors but it depends on the project. I lay my paper on an old Cricut mat so it does not die my desk. Also I recommend you wear gloves if you do not want ink on your hands.
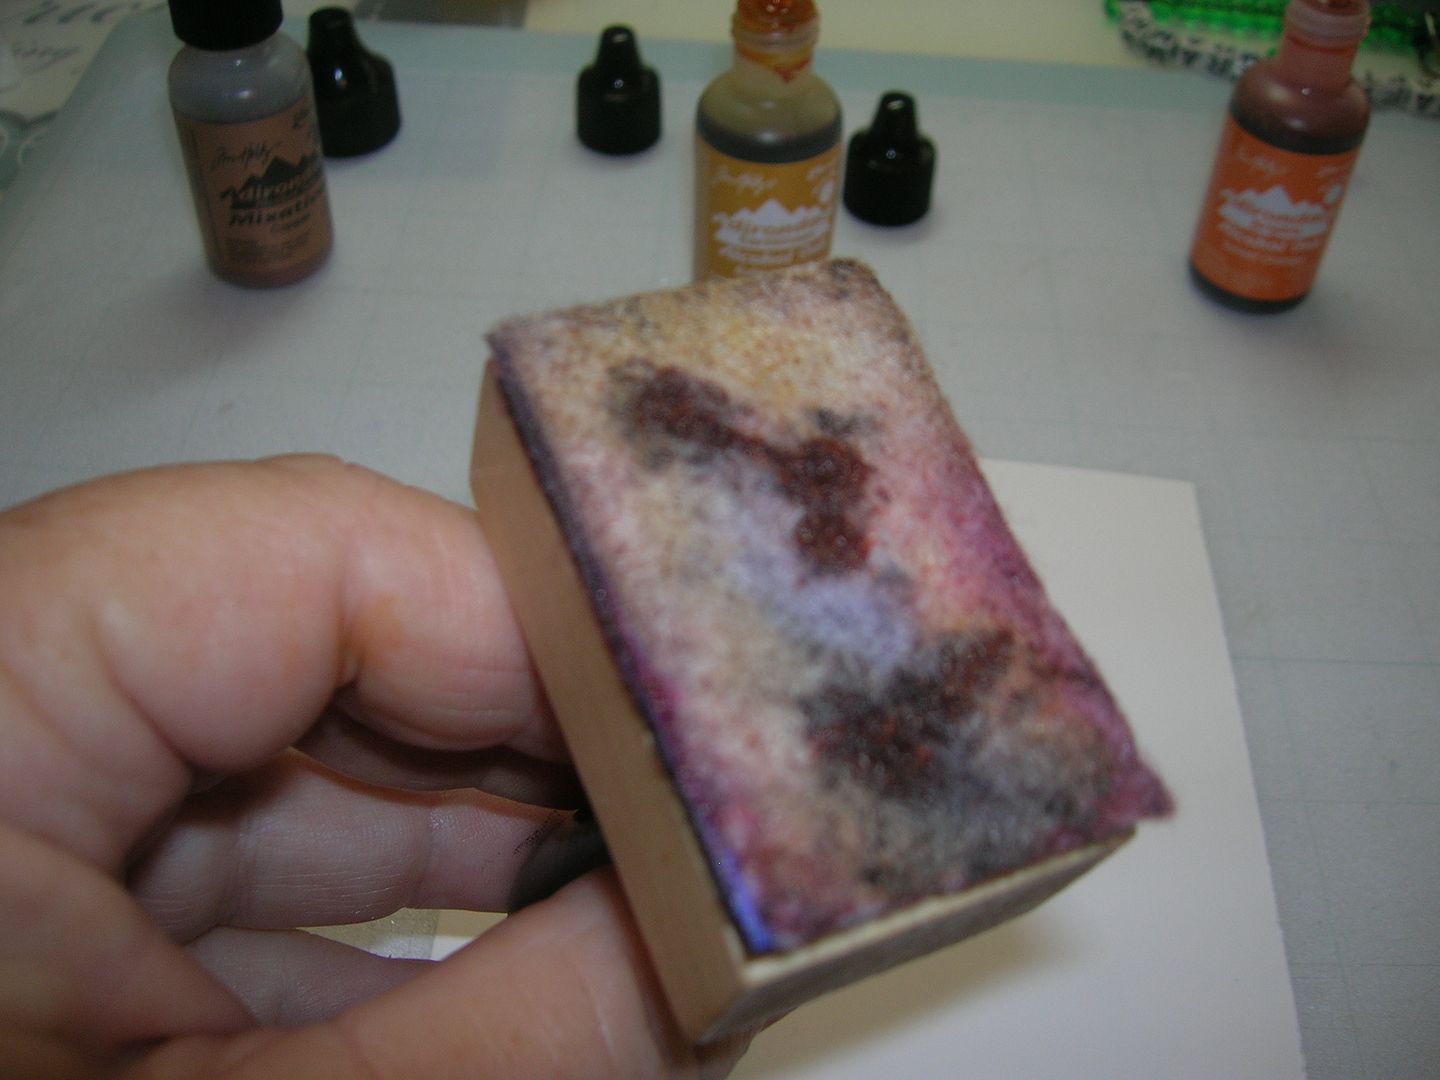
Next you drop several drops on the pad of the Alcohol Blending Solution. This begins mixing and blending the colors.
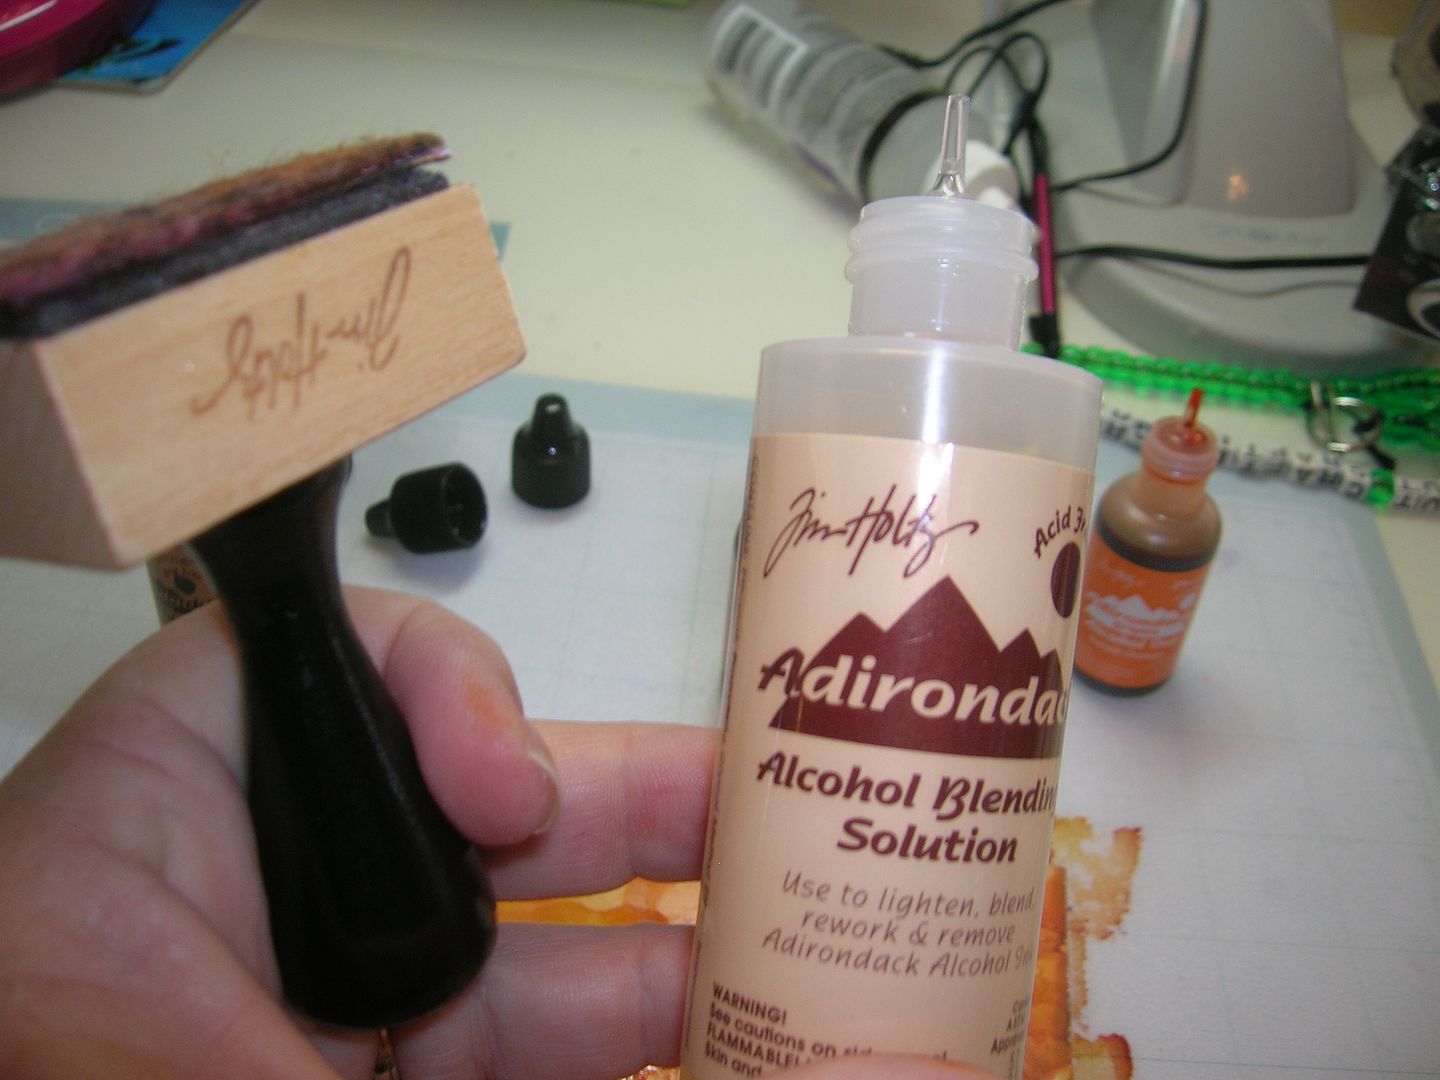
Now you are ready to stamp to your hearts desire with the pad. If need be you can add more alcohol ink and more blending solution. Stamp until you happy with what you have. If you need more of another color add that and blend again.
This is the finished piece. I used Currant, Copper and Sun Orange on this one.
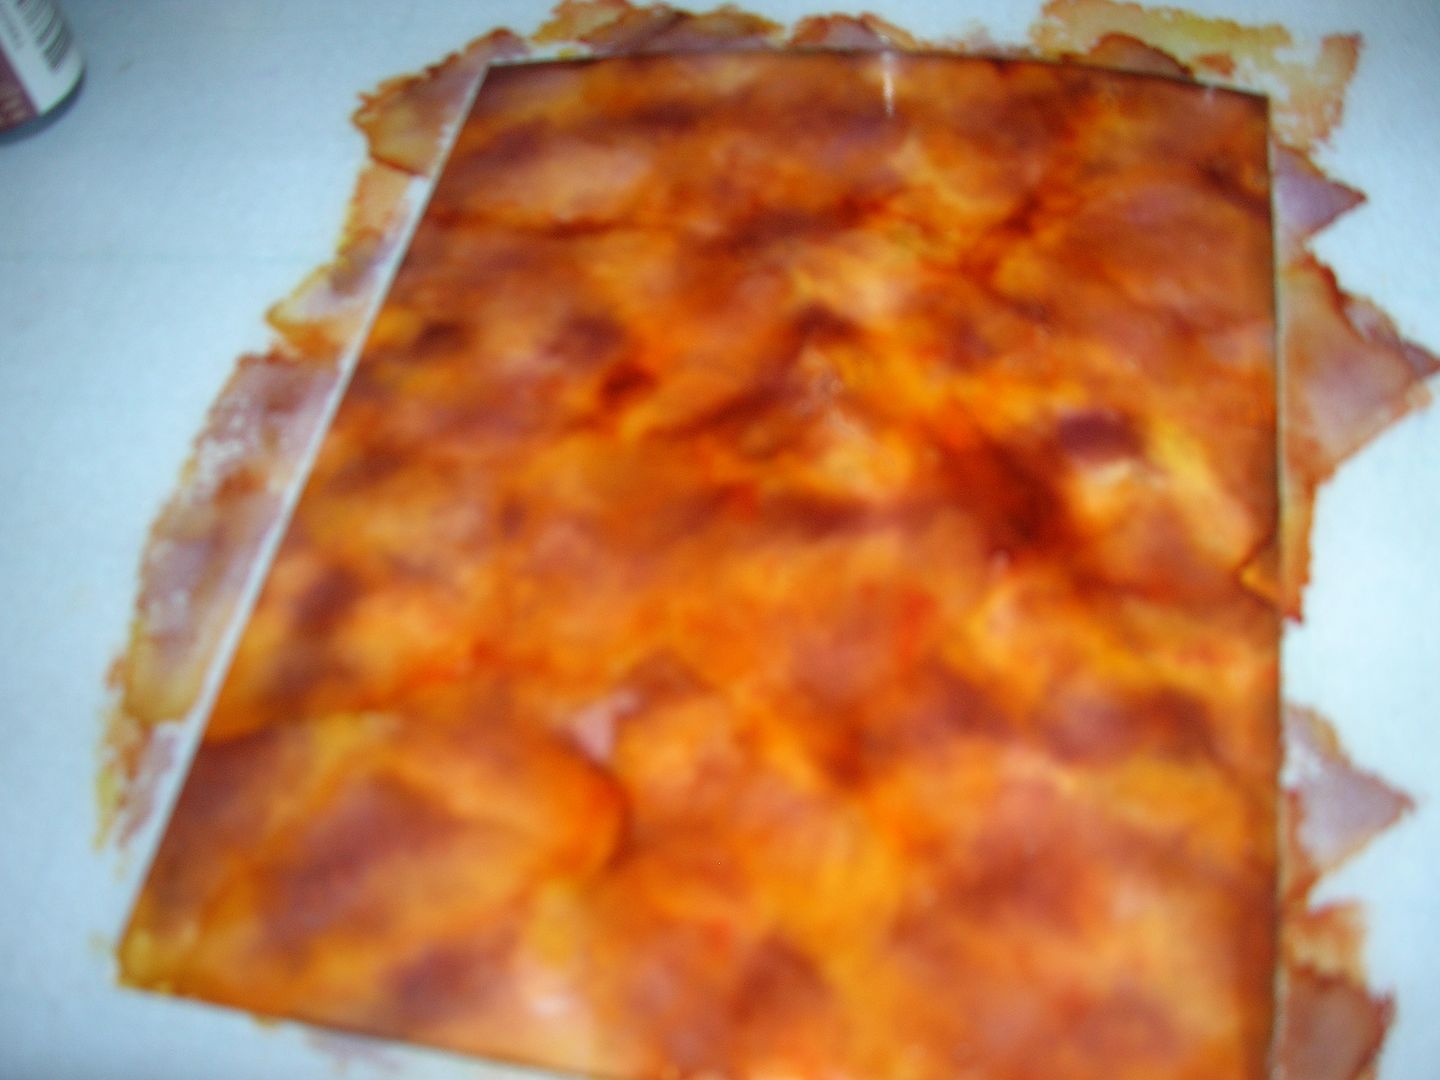
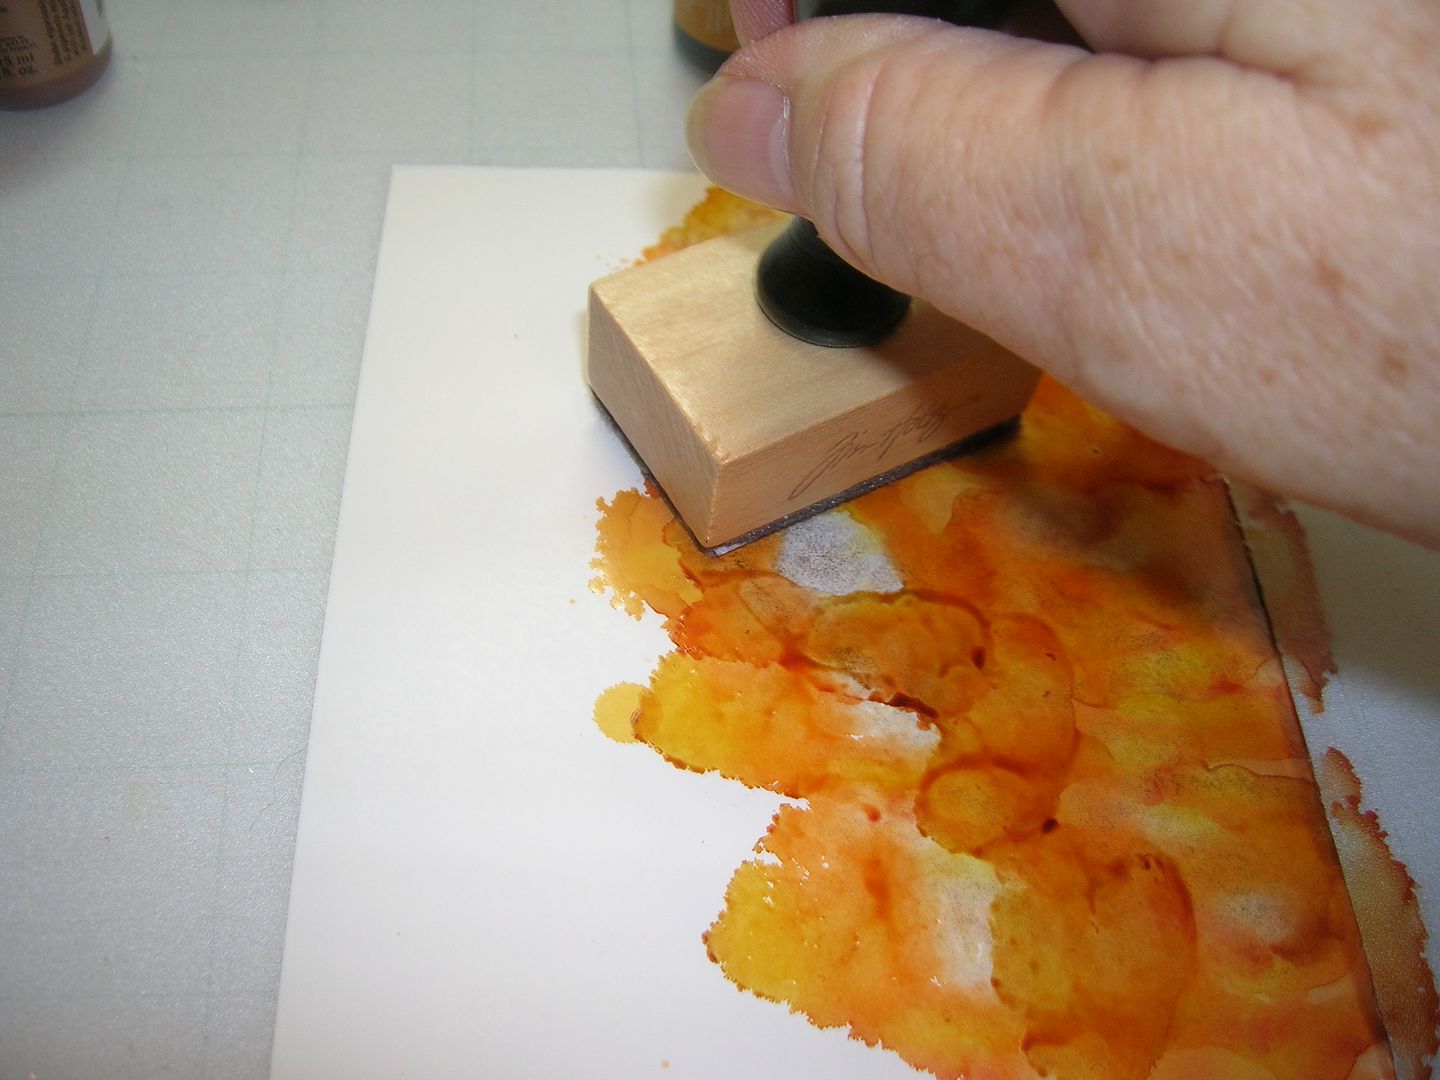
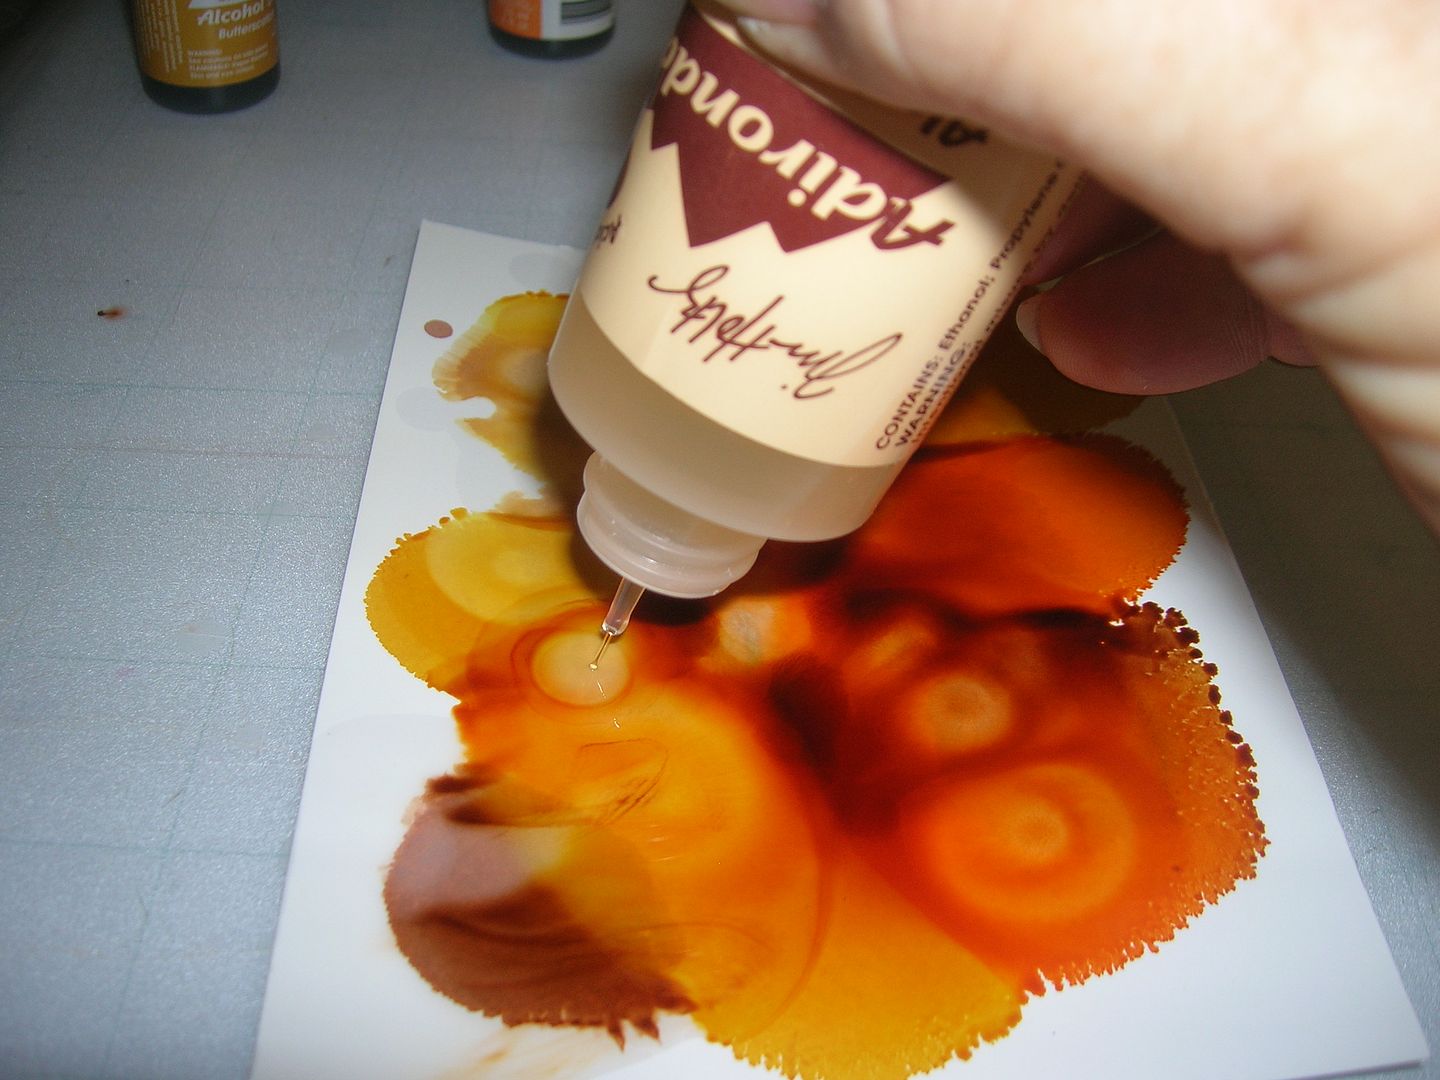
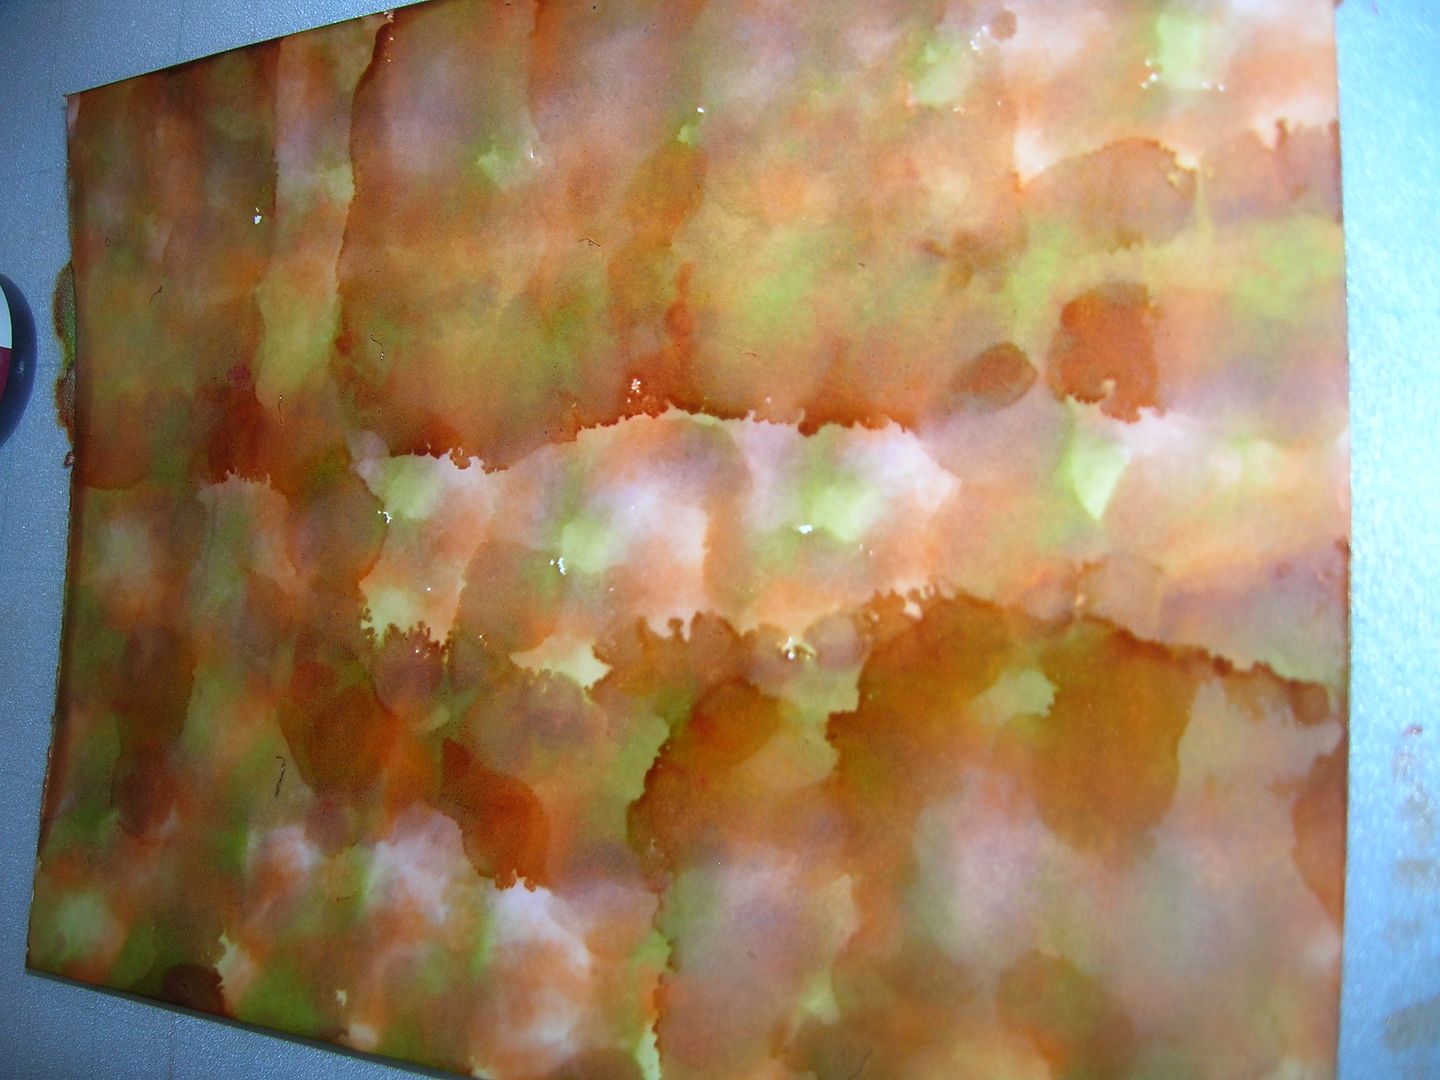
Another method is to drop colors randomly on paper and then pour alcohol ink on them and watch them spill over each other. The colors here are Sun Orange, Butterscotch, Caramel and Ginger. This uses more ink and can get messy and too wet.
The third one I stamped again with pad and I added more green. The colors here are Sun Orange, Lettuce and Latte
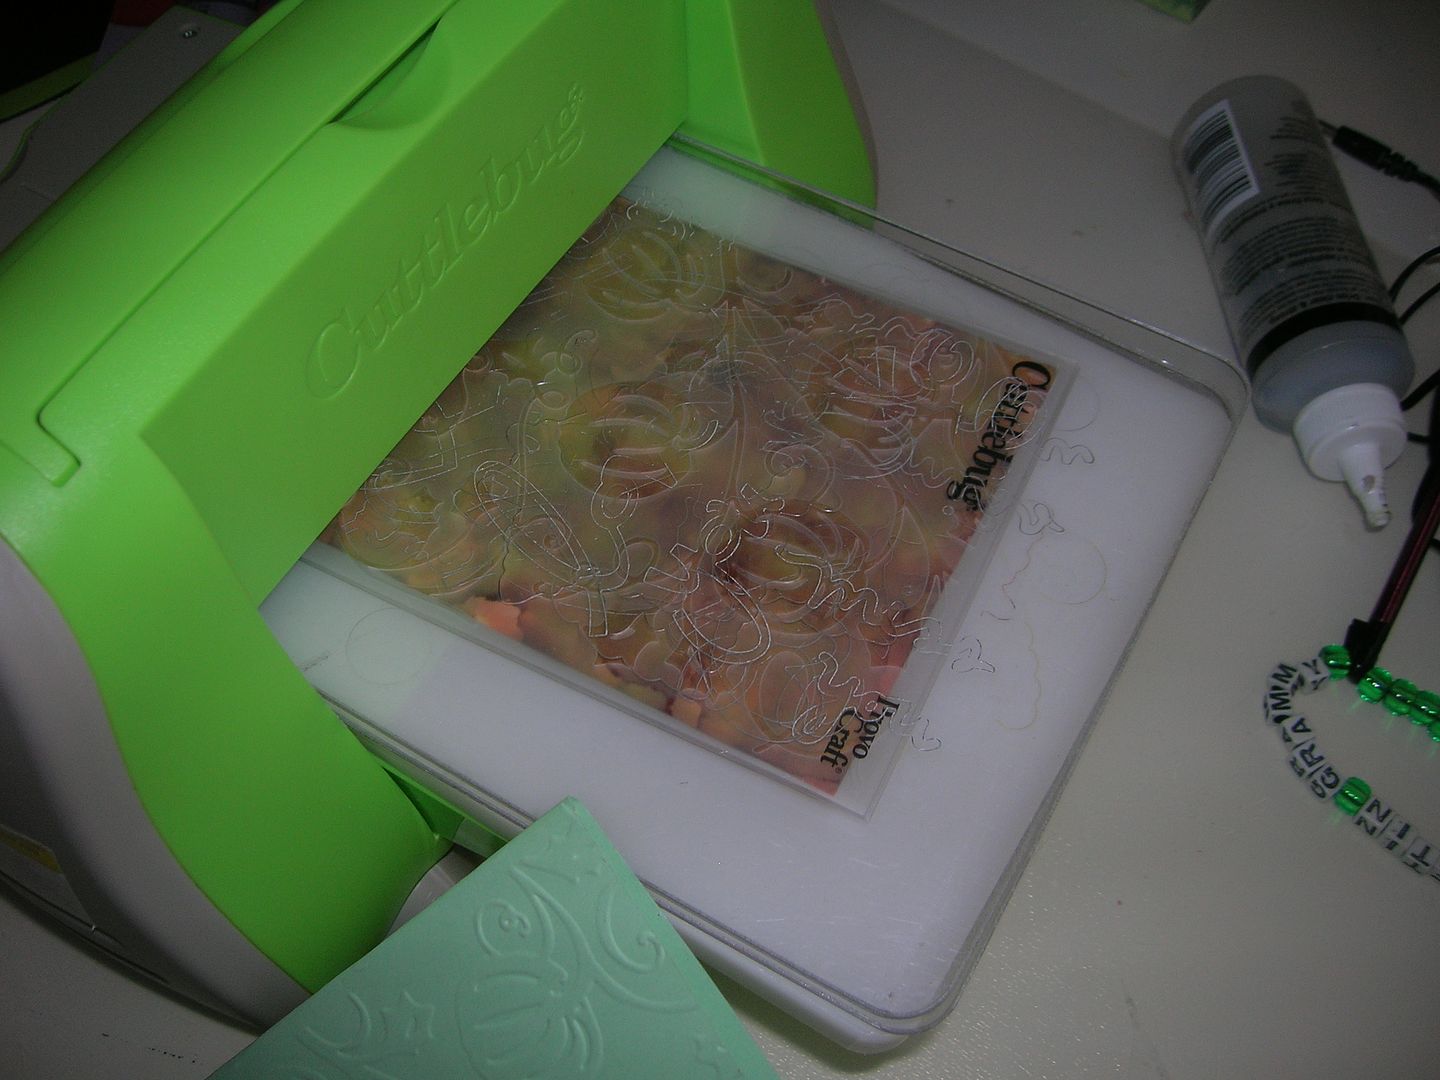
Let the pieces dry well. If the paper is still damp it will stick and tear in your machine or punch. Now you are ready to cut, punch or emboss. I chose to use my Cuttlebug and some of my Fall Folders.
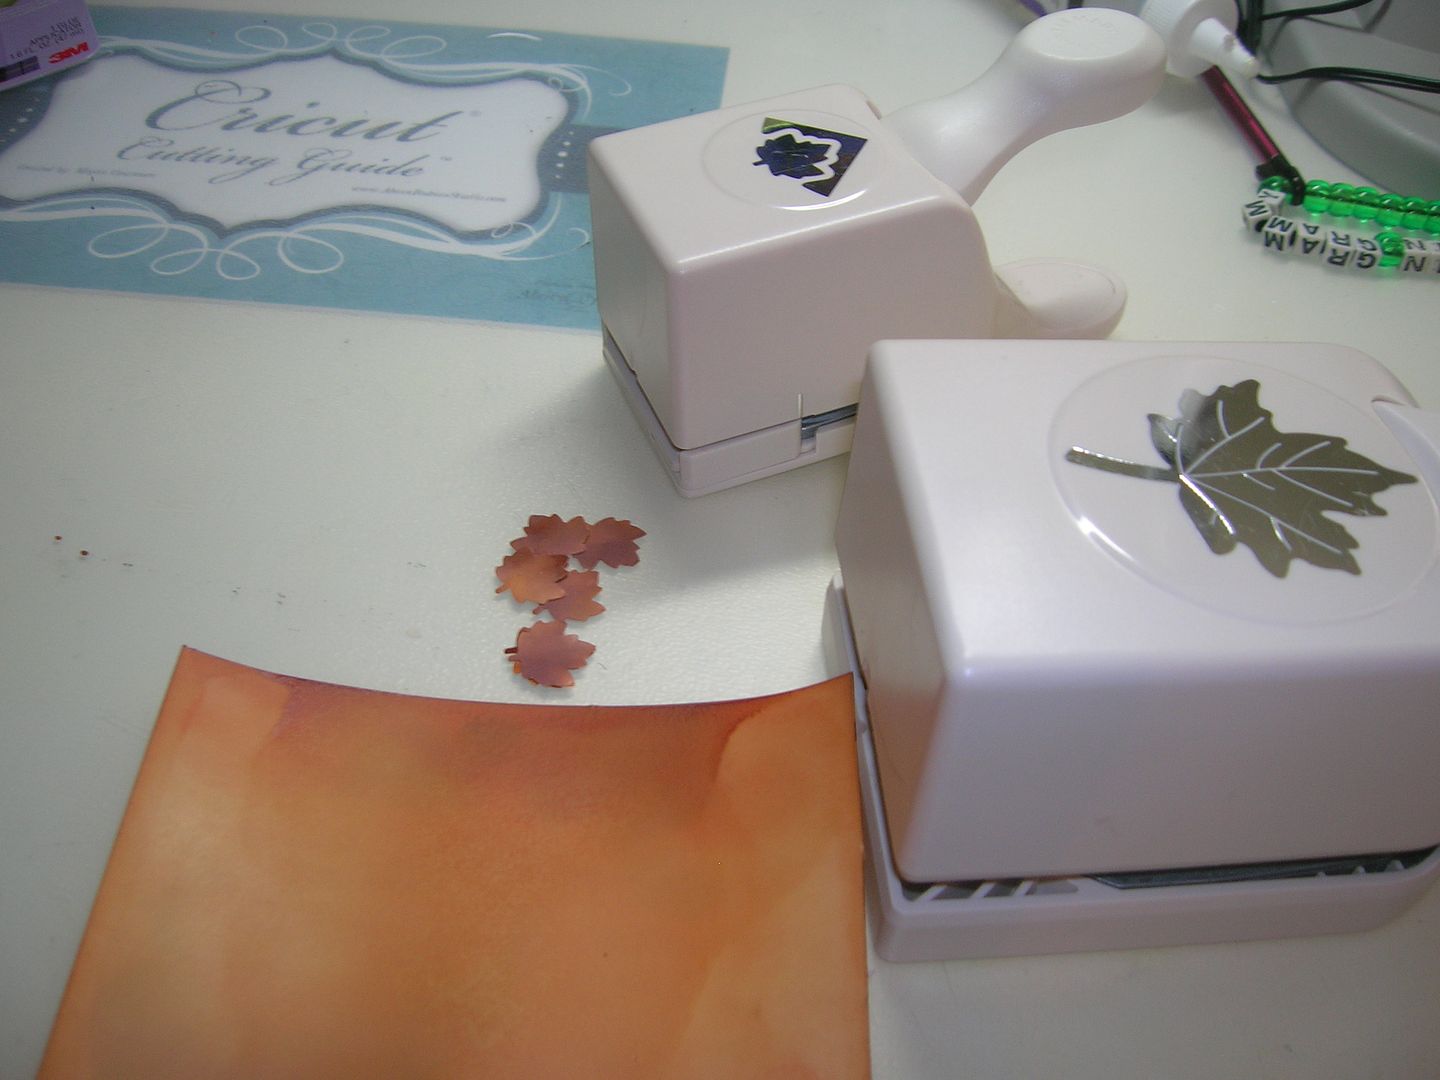
You can use punches to cut out shapes or you use any other die cuttin machine.
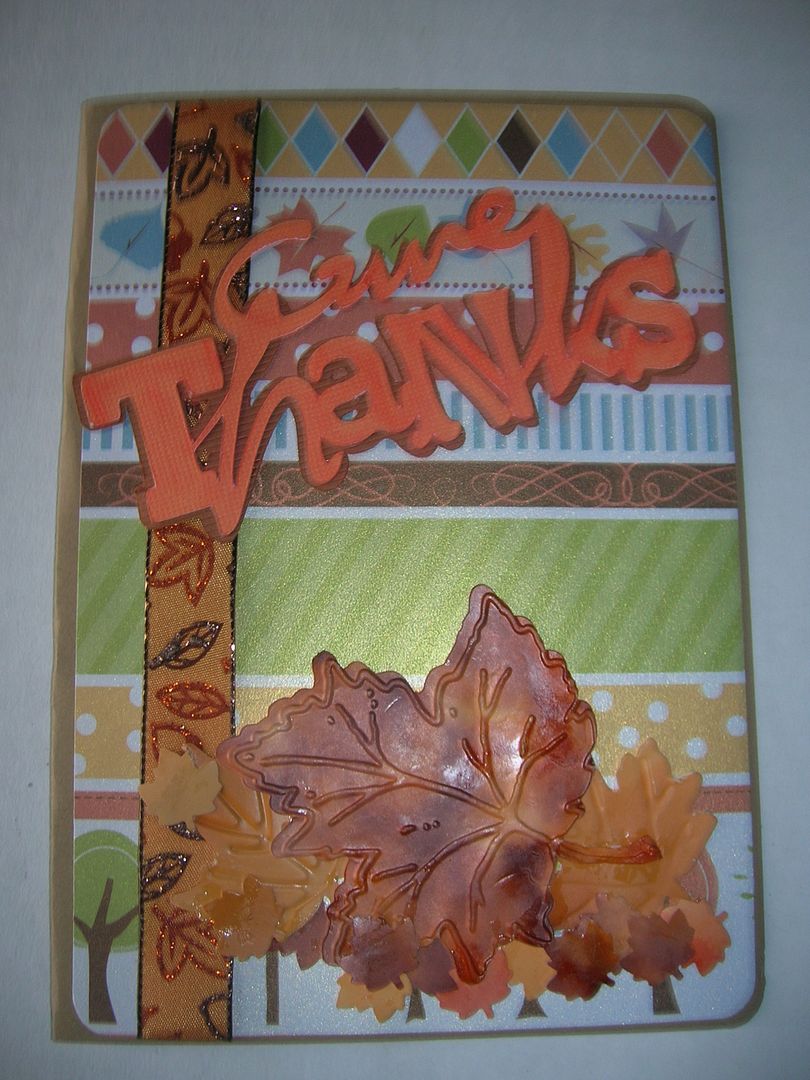
Here are the two cards I made from my three pieces I made. I wanted you to see the finished product and the vivid colors. For the first the leaves are cut and embossed with Cuttlebug or punched from MS punches. Give Thanks is from the Phrases cart.
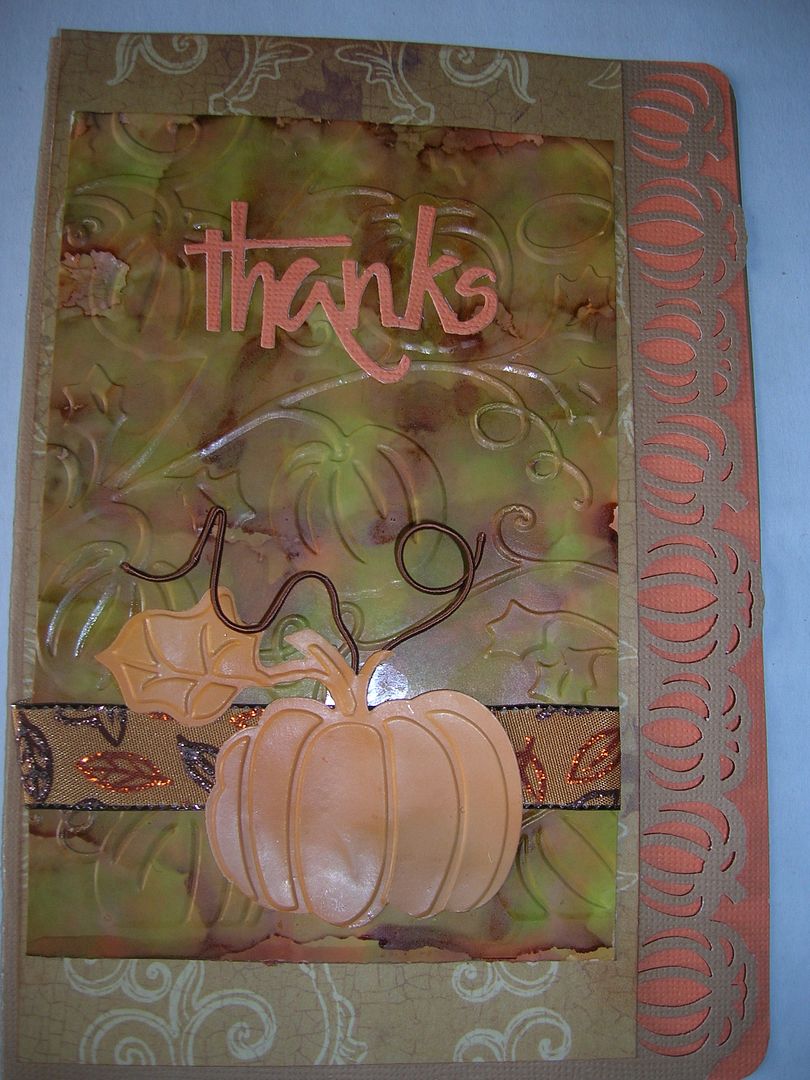
This one I embossed with a pumpkin embossing folder. In person it is really amazing and almost looks like it is metal. I used an EK punch for the side pumpkins. The other pumpkin is cut and embossed from another cuttlebug folder and is from the third piece. Thanks is cut from another Cuttlebug diecut. I then added Wonder Thread to the top of the pumpkin.
Don't you love the rich colors? I hope you enjoyed this tutorial and can use these techniques in some of your Fall and other projects. Please join in the Falling Leaves challenge and show us your leaf projects.
Happy craftin!

This is a fabulous tutorial. Thanks so much. I have never used alcohol inks. Looks like another trip to Michael's.
ReplyDeleteCandy
candyscraftcorner.blogspot.com
Great tutorial Suzanne.I find surgical spirit works in exactly the same way as the blending solution for a fraction of the cost!
ReplyDeleteLove the cards you made.
Jayne x
really cool effect!
ReplyDeleteThanks Suzanne for the awesome demo! Love how everything turned out! Just bought my first set of alcohol inks so thanks for the tip about glossy paper! Also thanks to one of our followers for the Surgical Spirit tip! Will be getting some of that too. We always love getting tips from our followers!
ReplyDeleteXO ~ Amy Jo (FCCB Coordinator)
Amazing technique. I am still new in crafting and there's a lot i need to know. :D
ReplyDeleteNow that is gorgeous!! Darn!! I was trying not to get hooked on these!! But these turned out realllyyy cool!!
ReplyDeleteTFS!! Take Care!!
Jennie @ http://earthyscrap.blogspot.com/
What a fabulous idea Suzanne! I don't use my alcohol inks much so time to get me some glossy paper and give this a try!!!
ReplyDeleteWow! What an amazing technique, Suzanne! Those colours really are rich and luxurious! Thanks for putting this tutorial together for us!
ReplyDelete