Welcome to Fantabulous Cricut Challenge Blog! Cricut enthusiasts come share your projects with us. Twice monthly we offer simple challenges for your chance to win! No matter which size Cricut machine you have, come join the fun.

Thursday, November 4, 2010

Thursday's Tutorials: Using Printable Graphics On Cricut Projects

Happy Thurusday!

I am super-excited today to show you some projects I've made using my Cricut and some printable graphics, specifically "Party Circles" which were designed by "The Seriously Sweet Party Expert" at OhMyGluestick!.

The Party Circles set I've used here is the brand new Harvest Set...super-cute, huh?! (Keep reading for details on how to get your own set for FREE!) I'll show you step-by-step how to use the Party Circles as they are intended...for cupcake and treat toppers. And I'll also show you some additional projects you can make with your Cricut to maximize their use!

Here are the cupcake/treat toppers:

They are super-easy and sooooo cute when placed on your sweet treats! Here's how to make them:

First, use a circle punch (size depends on how much border you want surrounding the main graphic...I used a 1 3/4" punch here so I had just a bit of the orange pattern surroudning the graphic) or your Cricut and the "centerpoint" function to cut each circle out.


Next, mat your punched/die cut graphic with a scallop circle or whatever shape you want to show around the edges. I used my Storybook cartridge to cut a 2" scallop from brown cardstock here:
Next, use adhesive to hold a lollipop stick (available at craft stores), making sure to align stick with botton of Party Circle:
I then used some of the red Terrifically Tacky Tape to adhere another scallop circle on the back to cover the stick:
And that's it! You now have some super-cute treat toppers or decorations for your next party!
Fun, right? Fantabulous Cricut will be giving away this AWESOME set of Party Circles to one of our Weekly Challenge winners next week...be sure to play along with next week's Challenge Me Monday for your chance to win!

And now, here are a few more projects I made using the Party Circles...the options are endless!

1. Refrigerator magnets: cut out Party Circles with a circle punch or using the "Centerpoint" function on your Cricut. Then use Liquid Glass or another clear liquid adhesive to attach to the back of flat glass pebbles. Once dry, attach a magnet to the back.
2. Custom brads: This custom brad kit is from Stampin Up!. I resized and printed the Party Circles onto a 3 x 5 index card and used my Cricut's "Centerpoint" function to cut them out. I attached them to the brad with TTT and added the bubble sticker on top.
3. Custom cards: I used a full-sized Party Circle as the tummy on my owl (cut from my Paisley cartridge), and added my custom acorn brads as accents:
4. Package tags: I made a custom tag using the acorn cut from Create a Critter and added a Party Circle to the center. It's attached to a bag of homemade roasted pumpkin seeds...yum!
These cute little Party Circles are perfect for holiday cards, packaging, decorations, etc. and come in Holiday and every other party theme you can think of! And using your Cricut with them saves on time and adds a lot of flexibility. If you have an idea of a project you'd think would be cute for these, let us know!

Be sure to head over to OhMyGluestick! to check out these fun, versatile graphics!
Happy Crafting! :)
post signature

Wednesday, November 3, 2010

Wednesday Winners #33

We can tell you all love to create for Halloween, and we were thrilled to see so many participants for our challenge. I know the design team had a really hard time choosing only 5 of their favorites. If you didn't see all the entries for the "Frighten Me... or Not" challenge -click HERE they are all so amazing!

~This weeks Winner~
$25 Gift Certificate - JoAnn's
#59 Roberta -TX Scrapper Mom
Congratulations Roberta!!!
To claim your prize please contact Robin at...
fantabulous cricut @ yahoo .com (remove spaces)
You have two weeks to claim your prize.
Remember to grab your "FCCB Winner" blinky to display on your blog! You can find the blinky code on our right-hand sidebar.

Design Team Top 5

#3 Jenn -MyImaJENNation
#8 Lolis -My Creative Corner
#22 Oksana -aquagirlll
#35 Tanya -Nona's Craft Corner
#45 Jennie -Earthy Scrap

Congratulations Ladies!!!
Remember to grab your "FCCB Top 5" blinky to display on your blog! You can find the blinky code on our right-hand sidebar.

Thank you to all those who played with us this week!
Come join us for this weeks "Bird Bonanza" challenge -HERE
Create a project using something to do with a bird (bird cage, owl, bird etc...).

post signature

Tuesday, November 2, 2010

Quick Tip Tuesday: Scotch Adhesive Rebate

Welcome to Quick Tip Tuesday! Thank you for all the great adhesive suggestions you gave last week.  I'm looking forward to trying some out.

I've recently learned of a new Scotch product (at least I think it's new):  Scotch Scrapbooker's Glue with 2-Way Applicator.  Currently, at some Michael's stores, rebate forms for this glue can be found from tearpads located near the glue or on a special display.  The rebate is issued in US funds to a maximum of $6.99, but can be claimed by both American and Canadian citizens.  Glue must be purchased before the end of the year.

If you are in Canada, the price of the glue is more than the rebate offer.  However, if you use a weekly Michael's coupon to purchase the glue, you will end up with a full refund.  

I just purchased the glue last night, and gave it a quick test.  There are two ends - a wider end with a sponge-type applicator and a finer end with a tip.  The glue is clear liquid and seems to work well with paper and cardstock.  I was was worried that my lighter paper would pucker a bit, but this was not the case at all.  I'm quite pleased with this glue - especially considering the fact that I'll be receiving a rebate cheque!

Happy crafting!

post signature

Monday, November 1, 2010

Challenge Me Monday #34

Another wonderful challenge me Monday here on Fantabulous Cricut and I'm excited to share with you Challenge #34
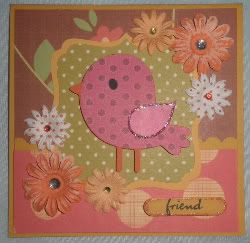
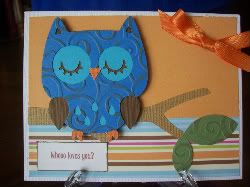
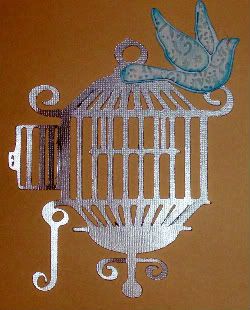
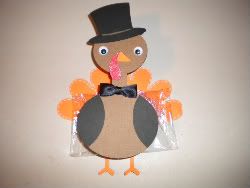
Bird Bonanza:
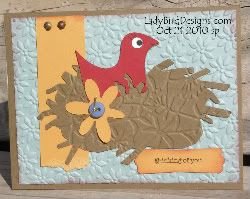
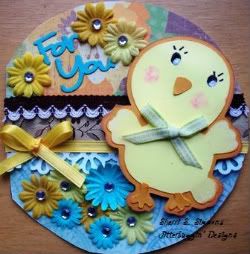
Create a project using something having to do with a bird (bird cage, owl, bird, etc.).

As always there needs to be an image cut using your Cricut on your project to be eligible for the prize.

Design Team Inspiration

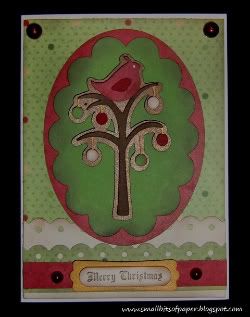
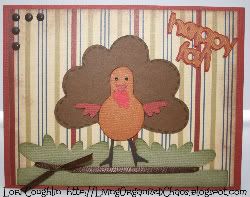
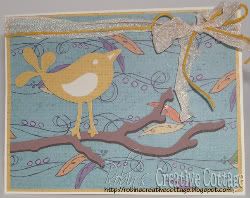
Gypsy Wanderings, Create a Critter cartridge
Create a Critter, Tags Bags Boxes and More cartridges
Erin
Create a Critter cartridge
Jean
Create a Critter cartridge
Ashlin's Alphabet, Winter Frolic cartridges
Simply Charmed cartridge
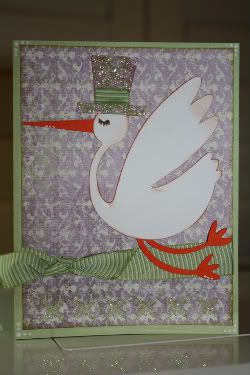
New Arrival cartridge
Create a Critter, Tags Bags Boxes and More cartridges
Robin
Home Decor cartridge
Live Simply cartridge
Stretch Your Imagination cartridge


This Weeks Sponsors
Embossing Tool from -Chomas Creations
Gift from -In a Scrap Creations

post signature

Saturday, October 30, 2010

Scrappin' Saturday: Featured Cricut Designer Carla Lozano

Happy Saturday to you!

Today, I'd like you to meet Carla from The Avid Scrapper, a truly talented Cricut scrapbooker who makes some really amazing layouts and mini albums... Check out a few examples of her stunning pages:


Now these are just the Halloween/Fall pages she has...she also has a ton of others...baby, Disney, Strawberry Shortcake, and more! Carla's pages are available for purchase...just add photos!
Carla is a wife, stay-at-home-mom and "Avid" scrapbooker (who is addicted to her Cricut!) and has been scrappin' since she was 12!!! Here is a little more about Carla...
Q: What is your favorite type of papercrafting project to make?
A: To be honest, I haven't met a paper-crafting project I didn't love! But, if I have to choose a favorite, I would say that I love creating brag books and mini albums. I love coordinating the papers and planning the embellishments using a particular Cricut cartridge.

Q: Where do you find the most inspiration?
A: I am inspired by life. My ideas come from everyday experiences. I can't tell you how many times in a day I say, "That's a great idea for a page" or "That would make a great album" because I see paper-crafting possibilities everywhere! I have had ideas come from movies, playing at the park, T-Shirts my girls will wear, even watching the Olympics. My mind is constantly planning my next project. I even dream about projects. How crazy is that? °Ãœ°

Q: What is your number one, most favorite Cricut cartridge and why?
A: I'd have to say that Storybook is my favorite cartridge. I love the beautiful fonts and fun shapes... it has it all! It is the cartridge that never leaves my Jukebox! I love the whimsy it offers. Whenever I get stuck, Storybook always has what I need. I'd have to say that you can probably find at least one of it's images in just about everything I create. Everyone should own Storybook!

Thanks for sharing, Carla! Go visit Carla's blog The Avid Scrapper for more information and more great projects!

post signature

Friday, October 29, 2010

New Fantabulous Cricut Design Team

I'm so excited to announce the New Fantabulous Cricut Challenge Blog Design Team!

It's because of these amazing design team members that Fantabulous Cricut has become such a wonderful resource for paper crafters and Cricut users.
Each member will continue to do what our motto states...
"Share, Create and Inspire" each of you.

Meet the new design team
Click on their names and check visit each of their personal blogs!

NEW Design Team Members:
Andrea
Angela
Cathy
Elsa
Erin
Helen
Jean
Jennifer
Jill
Leinad
Saundra

Returning DT members:
Angji P
Brenda
Candace (Sr. DT)
Jamie
Joyce
Kate (Sr. DT)
Leigh
Lori (Sr. DT)
Melin (Sr. DT)
Michelle
Penny (Sr. DT)
Robin (FCCB Creator)
Sharon
Sherri
Valerie

Wowza... amazingly talented group of ladies!!!


post signature

Fantabulous Friday #33

Good morning Cricut-licous Friends!
So glad to have you pop over for another Fantabulous Friday.
So with all the “treats” and “sweets” going around, I thought Sweet Treats would be the perfect cartridge to showcase.  As you can see, it has some wonderful die-cut options. But instead of just a die cut, I chose to create a couple of “treat” boxes for a couple of extra special little people who will be stopping by this weekend!
candy treat boxes cricut sweet treats cartridge
Here is a shot of the two treat boxes I made. I used one of the specialty features this cartridge has: Favor boxes.
pumpkin cupcake
Here is a close-up of the “pumpkin” treat box. Instead of a cherry, I just created a pumpkin face to go over where the cherry should be.
cricut sweet treats cartridge box2
Here is a close-up of the other treat box.  There were such a snap to make! I hope you will “explore” your cartridge and make a few “favors” or some treat boxes for your up-coming Thanksgiving feast.
Well that’s it for today! Thanks for stopping by. Please be sure to go to our weekly challenge here on FCCB and enter to win!  Have a safe and wonderful weekend!
Melin

Thursday, October 28, 2010

Thursday's Tutorials: Spooky Halloween Banner!

Hope you're having a super-spooky fun week so far! For today's Thursday's Tutorial, I want to share this adorable "Spooky" Halloween banner made by Jill at Controlling My Chaos:

Jill provides a step-by-step tutorial on how to make your own "Spooky" Halloween banner on her blog HERE. Hope you'll check it out and tell her you found her here at FCCB!

Happy a Happy Halloween!

post signature