Good morning everyone!
This is
Missy here with another Cricut Craft Room tutorial. Last week we talked about two different ways to get your images placed on your mat. This week we're going to talk about how to move those images around once they're on there.
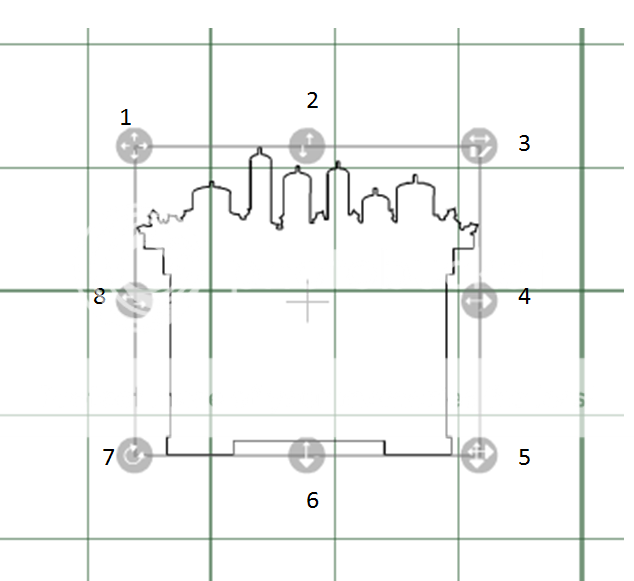
When you want to work with an image in Craft Room, you first have to select the image. You can select it by clicking anywhere on the image. Once it's selected, you'll see a box appear along with eight "action icons", like you see above. (You won't see any numbers, I did this to make it easier to tell you which icons I'm working with!!!)
If you wish to move the image around the mat, from one place to another either up or down or side to side, you're going to want to click your mouse on the upper left hand corner icon, labeled number ONE in the above photo. If you simply want to move your image up and down, but not side to side, you can do that by clicking on the up and down arrow, icon number TWO.
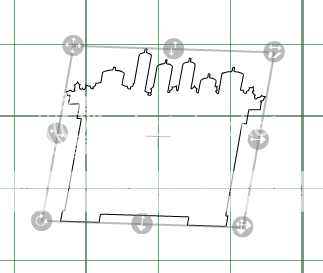
Icon number three in the upper right hand corner is the "slant" icon. This allows you to slant your image if you need to.
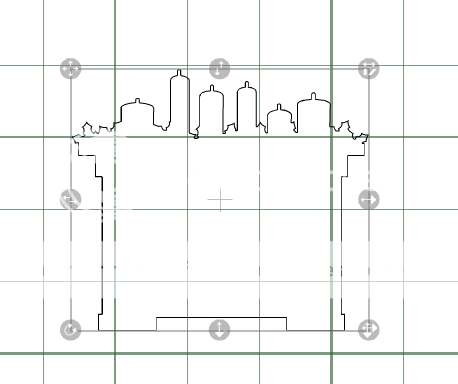
Icon number four allows you to "stretch" your image horizontally.
Icon number five in the lower right hand corner is one of the icons I use the most. If you're working on sizing your image, and want to keep it in proportion both vertically and horizontally, you can do that by clicking & dragging this button until your image becomes the size you're looking for.
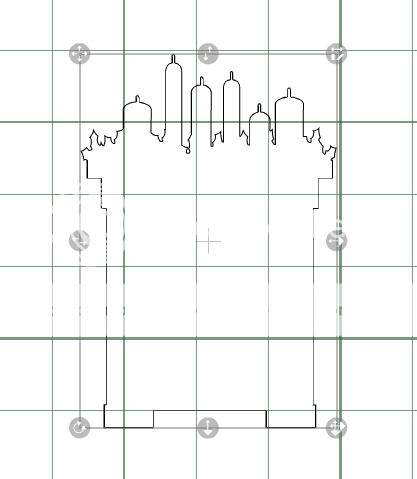
Icon number six, the bottom in the middle, allows you to "stretch" your image vertically.
Icon number seven in the lower left hand corner allows you to rotate your image. This comes in VERY handy when you're trying to squeeze as many images on to your mat to make maximum use of your paper. Sometimes when you rotate images around yourself, you can fit more on to the mat than the program can by doing it automatically.
Finally, icon number eight, the one in the middle on the left hand size, allows you to move your image across your mat horizontally.
Now, what if you slant an image and you don't like the way it turns out?? Or you accidentally stretch your image horizontally, when you really were wanting to size it proportionally?? That's easy!! See the "UNDO" button at the top of the tool bar??
That's what that button is for!!! You can undo, undo, undo, undo until you get your image back to where you want it.
I hope this helps you become a little more comfortable with manipulating your image on your cutting mat. You won't need all of the options all of the time, but they all come in very handy when making your designs your own!!! Thanks so much for coming by today, I'll be back next week with more Cricut Craft Room tips!!!


.png)


