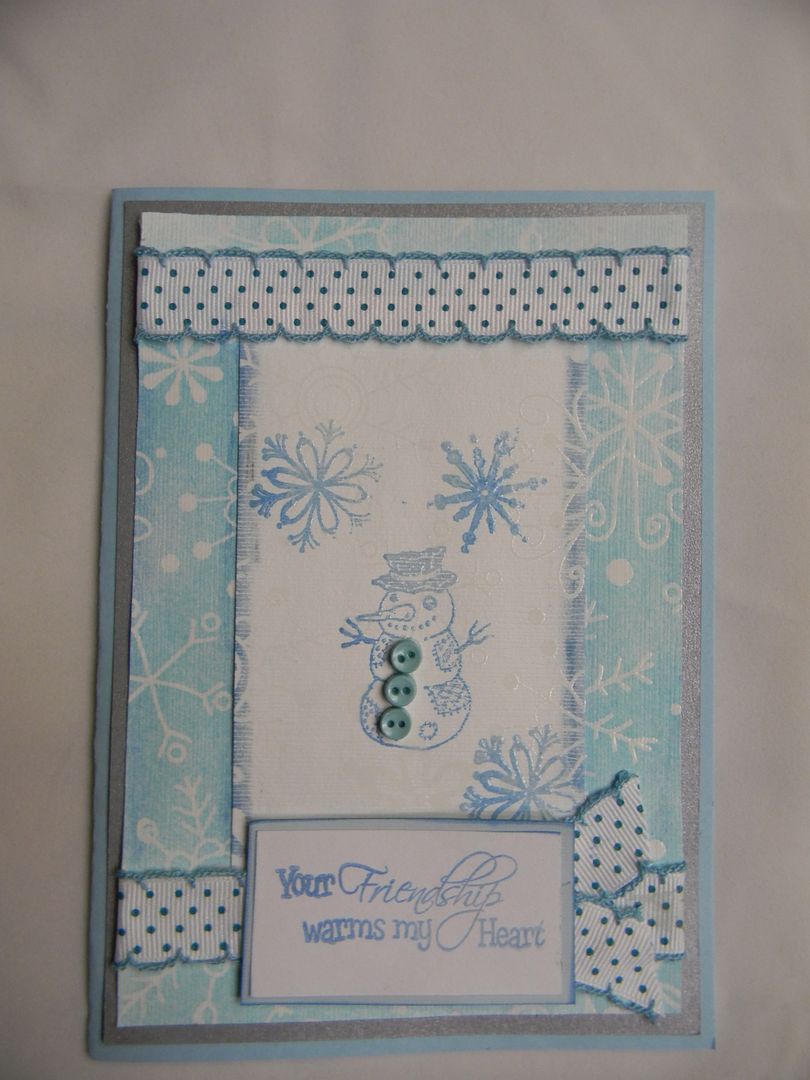
Hello everyone. It is time for the Thursday Tutorial at the Fantabulous Cricut Challenge Blog. This week the challenge is "Snow Fun" and you are to use a snowman or snowflake in your project. I hope you are making a project to enter into the challenge. It is always so fun to see the different projects
and diecuts that people use.
So for the Thursday Tutorial I wanted to share this new paper by Tattered Angels (there are some other companies that make similar paper. I got the paper at my LSS where I have taken several classes on using Glimmer Mist. The paper starts out white with an embossed design and then when you spray it with the Glimmer Mist the pattern pops out. One of the designs I found was a snowflake pattern.
Now I am going to be honest with you my first project which is my tutorial project did not come out real well so I tore it apart and redid it into this finished product. When I realized how bad my project looked I was going to post a video or something else. But then the teacher came out in me and I remembered saying to my students "We learn from our mistakes too." I know we have all had times when our projects don't come out right for one reason or another so I am sharing my tutorial to show you what "NOT" to do.
For my original card I cut a card from page 47 of the Art Philosophy Cricut cart at 5 x 7 with a window.
I then repeated the cut with plain blue cardstock so I would have a liner.
The first two pics are my completed first card outside and inside.
The paper wrinkled as I glued the pieces together before the Glimmer Misted paper was really dry.
(Also its a lousy picture but that's another problem.)
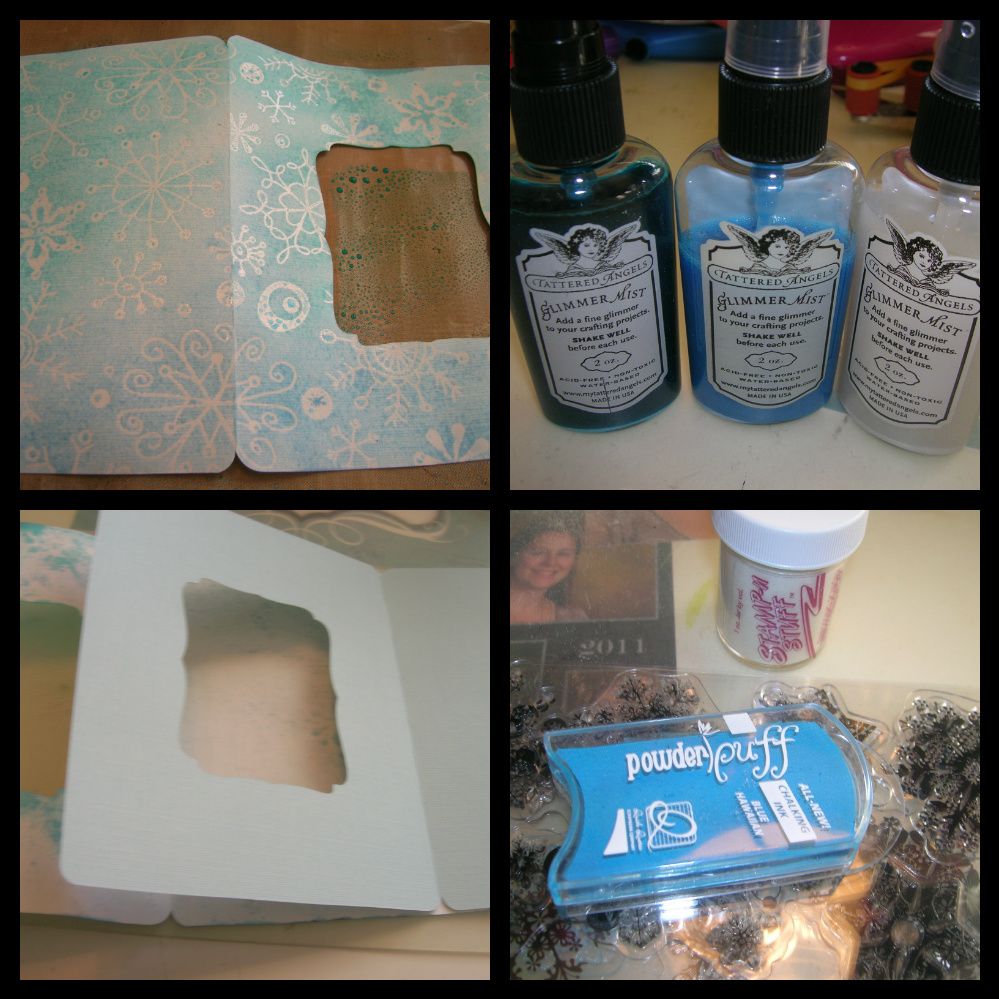
Picture three is the cut on my E2. Picture 4 is the cover piece cut out. You can save the inside piece for the inside of your card or for another card later.
I then lightly sprayed the card cut with Glimmer Mist. I used Patina , Blue Skies and a little bit of Dazzling Diamonds. I should have let the piece dry really well before gluing the inside lining to it. It also is good to flatten it with books or I use 12 x 12 tiles that I have in my craft room to put vinyl on to press the paper flat.
Even though I put a lot of ATG tape on the card it puckered and no amount of pressing it helped.
I then added Snowflake stamps and Quick Quotes chalking ink. I also heat embossed the stamps to give more dimension. I added a snowman stamp with some tiny buttons on the inside to pick through the window.
The stamp Friendship Warms My Heart is from Robyns Creative Cottage.
So after taking my pictures and realizing I would never use this card, I carefully pulled it apart.
This card was make using the backside, the ribbon and the inside piece. I also reused my sentiment piece.
The front window piece is now being pressed so I can salvage it too.
So there is my tutorial on "Do as I say and not as I do." or "Learn from my mistakes."
I hope you will find some time to craft this week and join us for the Challenge here at FCCB. It would be "Snow Fun" to see what you create.


Thanks for helping us learn!
ReplyDeletehttp://georgie-hornpuddinnpie.blogspot.com/2012/01/in-honor-of-my-moms-79th-bday-come-sign.html
So cute! I LOVE LOVE LOVE glimmer mist! It makes me happy LOL!
ReplyDeleteIt's nice to know I'm not the only one that has projects turn out now quite right! How refreshing that you shared! I find that running a project through my cuttlebug actually flattens it out quicker than a book so I can move on faster. LOL. TFS!
ReplyDeleteHA! So nice to know I'm not alone!! Thanks for sharing your mishaps and making me feel better!! :)
ReplyDeleteHugs,
Michelle
I think we all have days like this Suzanne, but I love how you turned it into a learning process instead of trashing it!
ReplyDelete