
Happy Thursday everyone!
This is Cicily the Pink Dalmatian Scrapper & I have an exciting video tutorial today.
I have been scrapbooking for several years now, but I don't always try new techniques. I do love embossing, so I was very intrigued when my scrappy mom found this video! My mom is the one always trying new techniques.
This video is from Joy's Life.com. It's actually from a couple of years ago. I had heard vague rumors about this, but now I'm excited to try it myself!
Pretty cool huh?
My adventurous Mom & Sister decided to try it as well. Here's what they did.
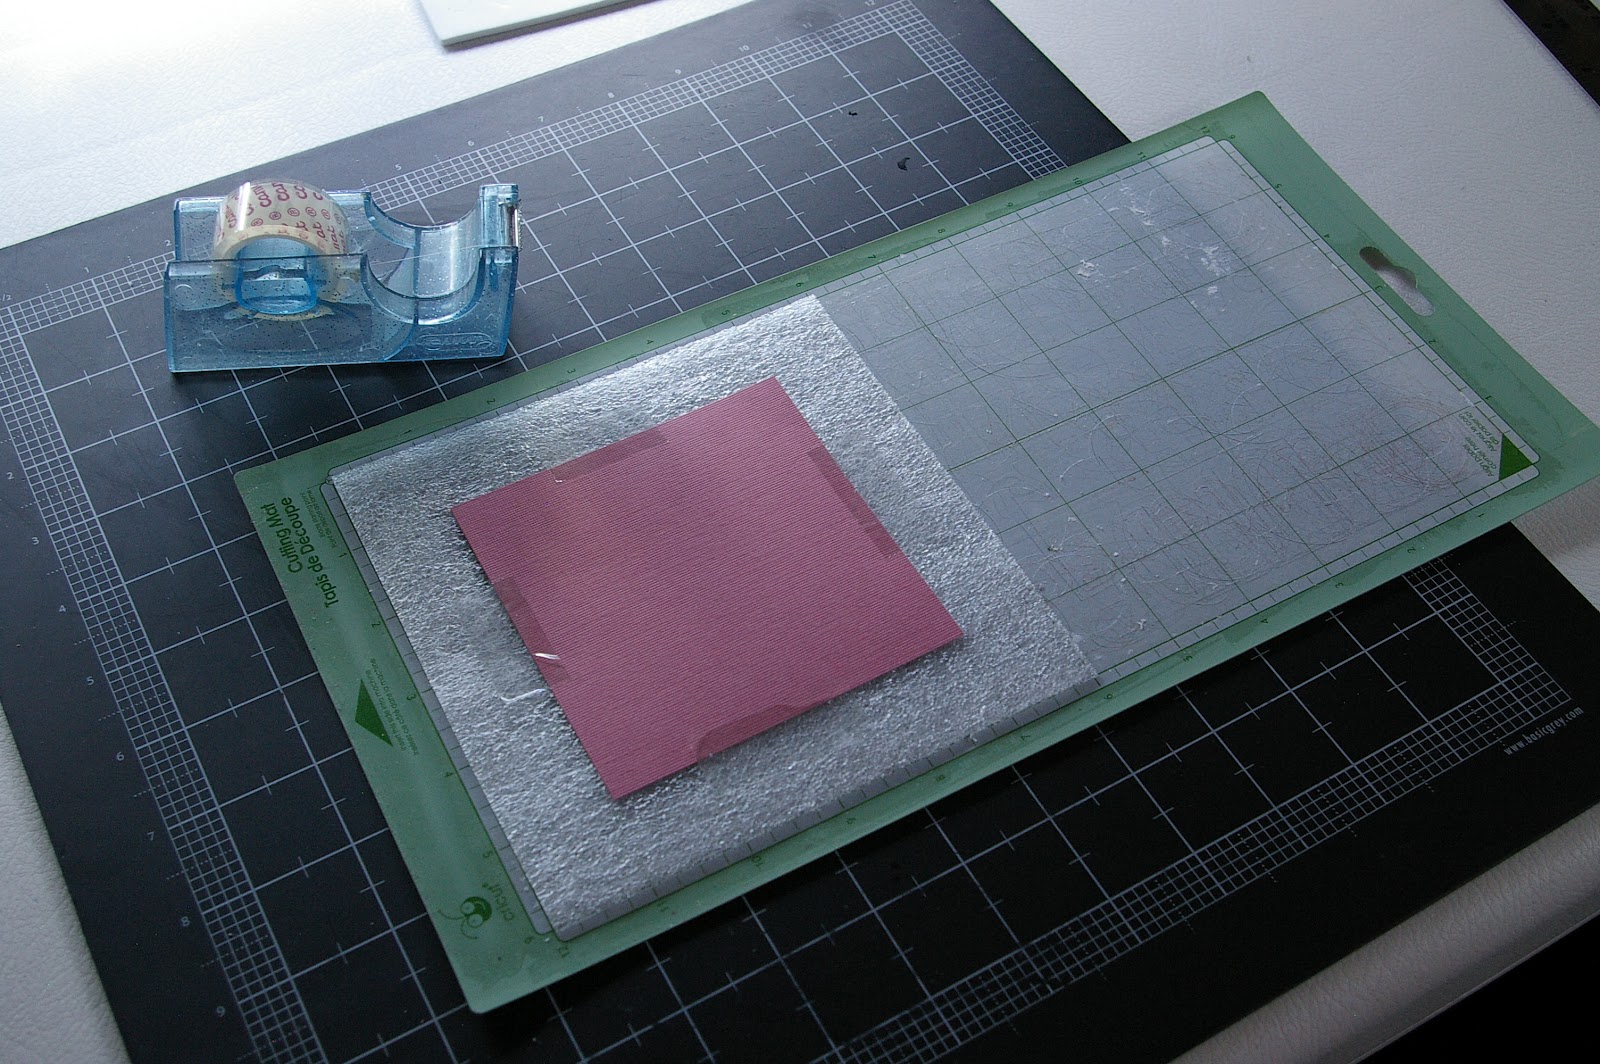
For the mat they found that the CTMH spongy mat that comes with each stamp set works as an embossing mat. Attach it to the Cricut mat, then tape the paper to be embossed right side down. A heavy paper works best. Also remember to leave plenty of extra paper to allow for the tape so as not to interfere with the image.

Remove your blade housing & turn your blade upside down. Joy shows how to do this on her video. Set the housing setting to 6 & the pressure dial to 5.
With the Gypsy they were able to center the image & get an exact placement.
Here's the embossed image.

Now remember to put your blade back & adjust your settings.

This is where the exact placement comes into play. By placing the paper, now without the embossing mat, back in the exact place on the mat, the outer image is cut. Make sure you use the shadow feature or the hide contour feature.

Here's the cupcake image embossed & shape cutout.

To highlight the embossing, they took an embossing stylus & went over the lines.
This is the final result!

I hope to be trying this myself soon.
Thanks to Joy's Life & my Mom & Sis!
Happy Scrapping!


I'll have ti give this a try. Wondering if this would work with an old blade turned upside down so as to not harm the good blade. I've kept one old blade and will give this a try.
ReplyDeleteMelissa
"Sunshine HoneyBee"
Good idea. I know I'm due for a new blade, so now I'll mark & keep my old one for this.
DeleteWhat an awesome video!!! Thanks so much for sharing it, I will now be embossing on the Cricut!!!!
ReplyDeleteThat is so awesome.
ReplyDeletegreat tutorial! Thanks for sharing!
ReplyDelete