
Happy November everyone. This week here at FCCB the challenge is
#84 – For the birds Create a project with a bird (or anything to do with birds,
such as a birdcage) on it.
Well it wasn't my week to make a project for the challenge but I definitely had birds or specifically owls on the brain this week. My middle granddaughter will be turning 1 on the 9th so I am busy making things for her party. I love using my Cricut to make cute little party decorations so I wanted to share some of my ideas.
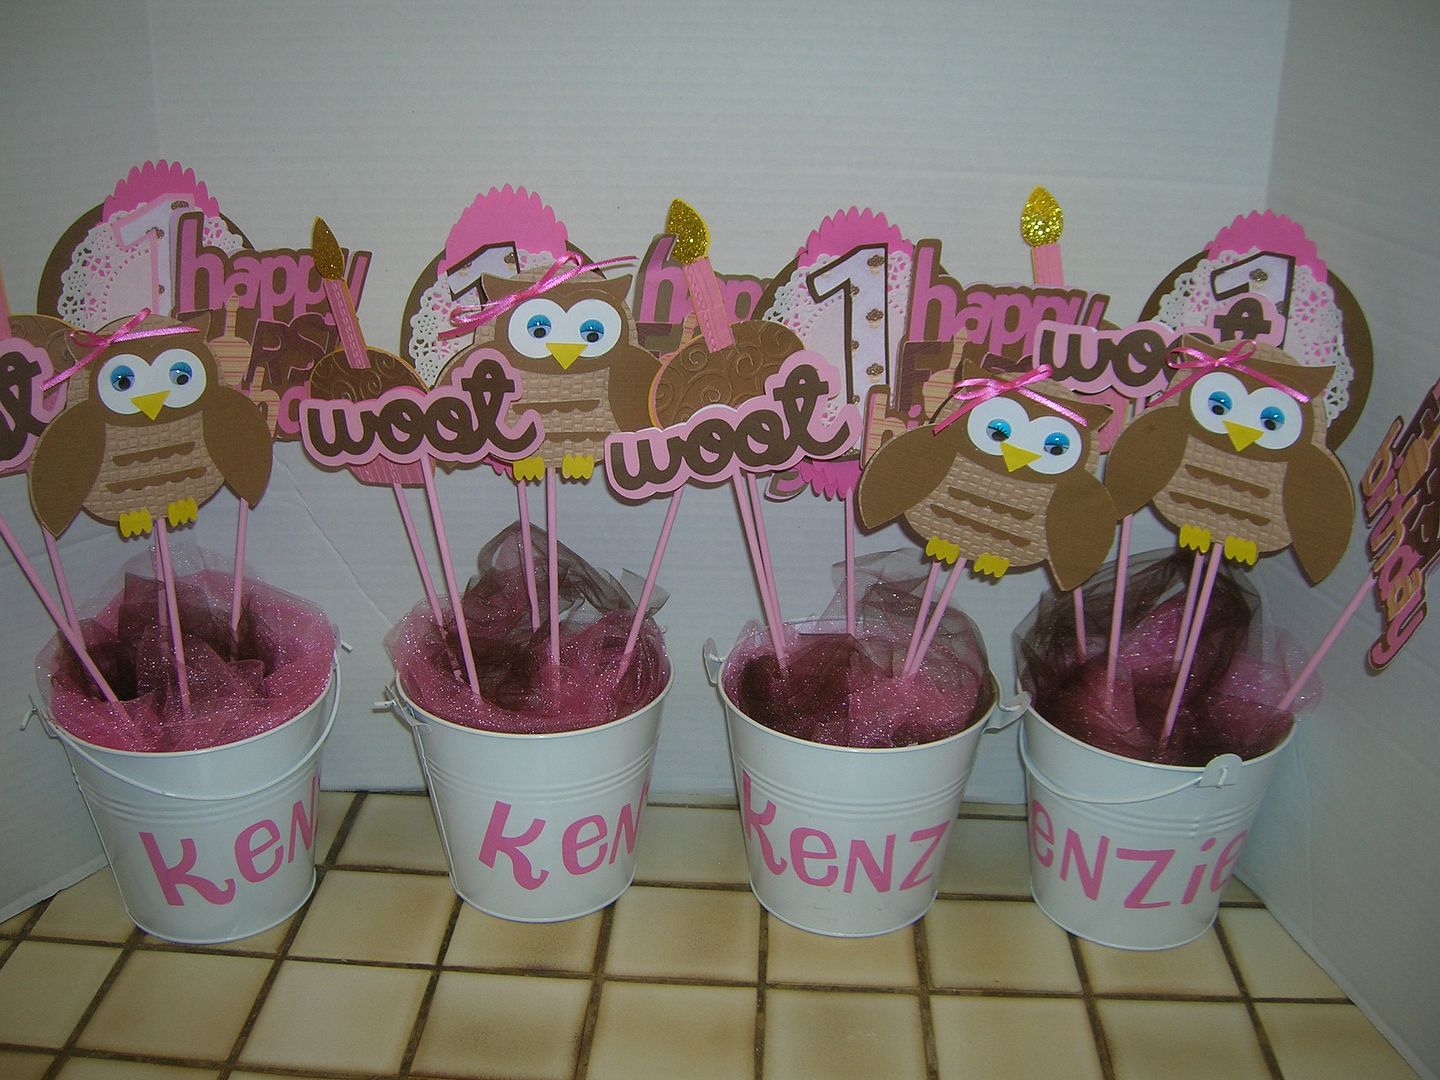
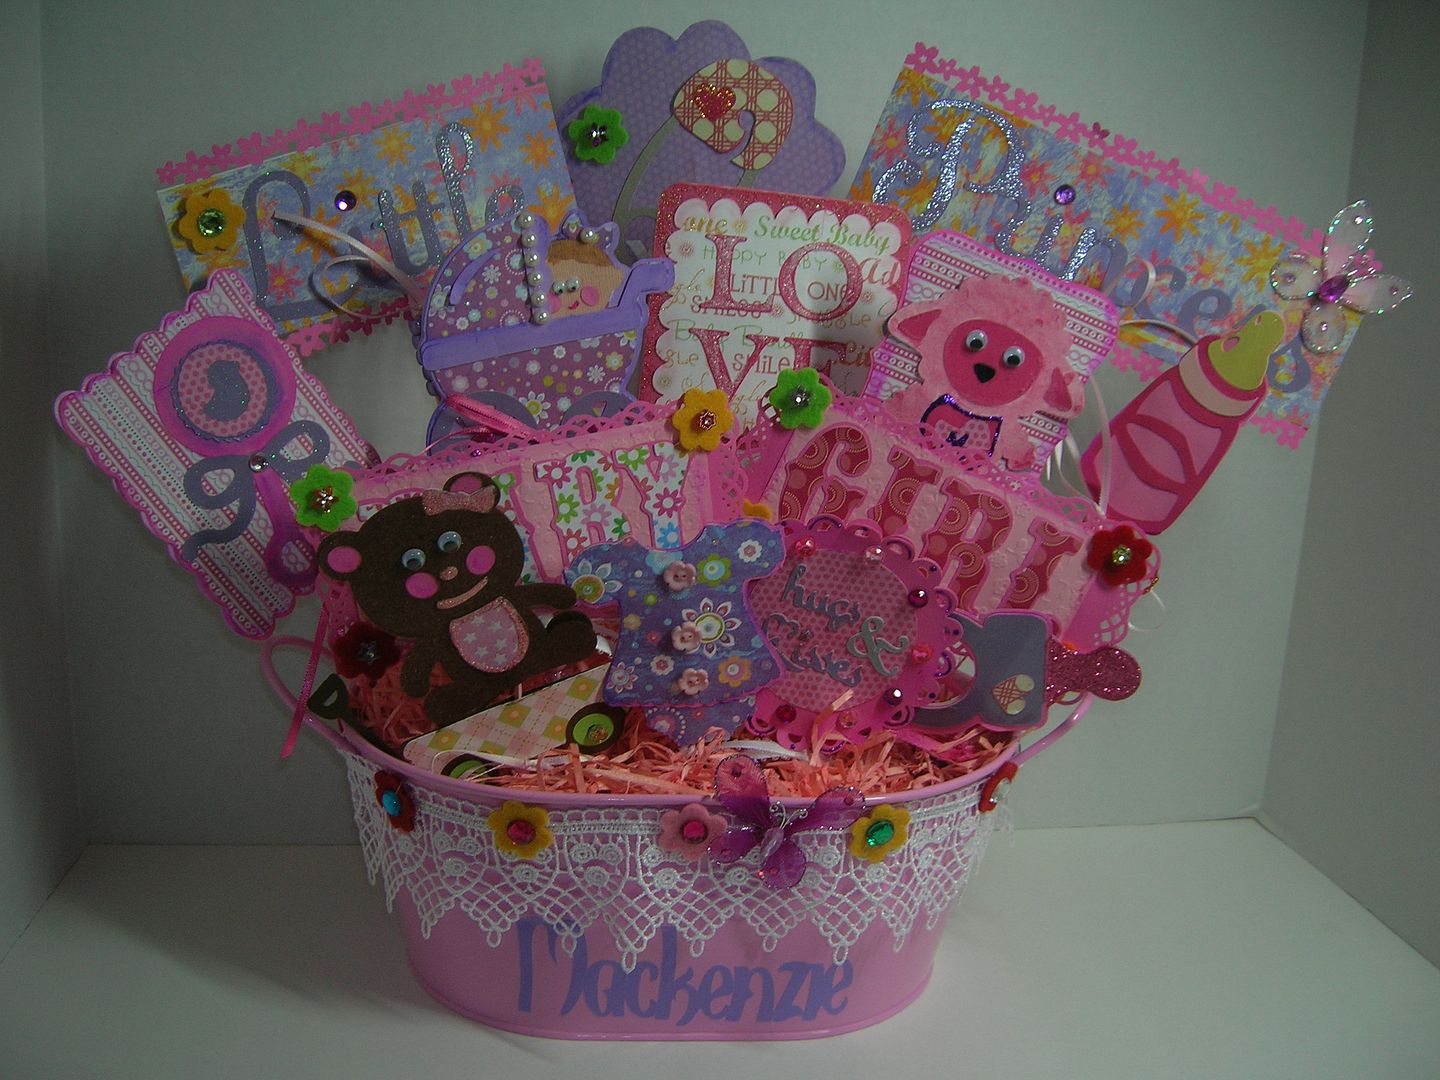
These will be the table decorations. The cute little buckets I found at Target in the $1 section last year. I am always collecting tins, pots and felt containers to use for these table centerpieces.
You can also use red pots which can be painted to match the decor if you wish.
Directions:
1. Cut a brick of Oasis or foam to stick in bottom. These took 1/2 a brick.
2. Paint kabob sticks. You can often find these at dollar stores or grocery stores. When I paint them I stick them in the foam while they dry.
3. Cut out your die cuts. For this you want to consider the back side too. You have several choices for this. You can cut the shadow or base cut or you can flip the cuts and do the same design on both sides.
4, Decorate the cuts as you would any die cut.
5. Tape to stick and glue pieces together with backing.
6. Stick into foam. Cover foam with pebbles, moss, raffia, fabric or in this case tulle.
7. Add vinyl to container if you wish and you can also add ribbon to handle or around container.
Recipe
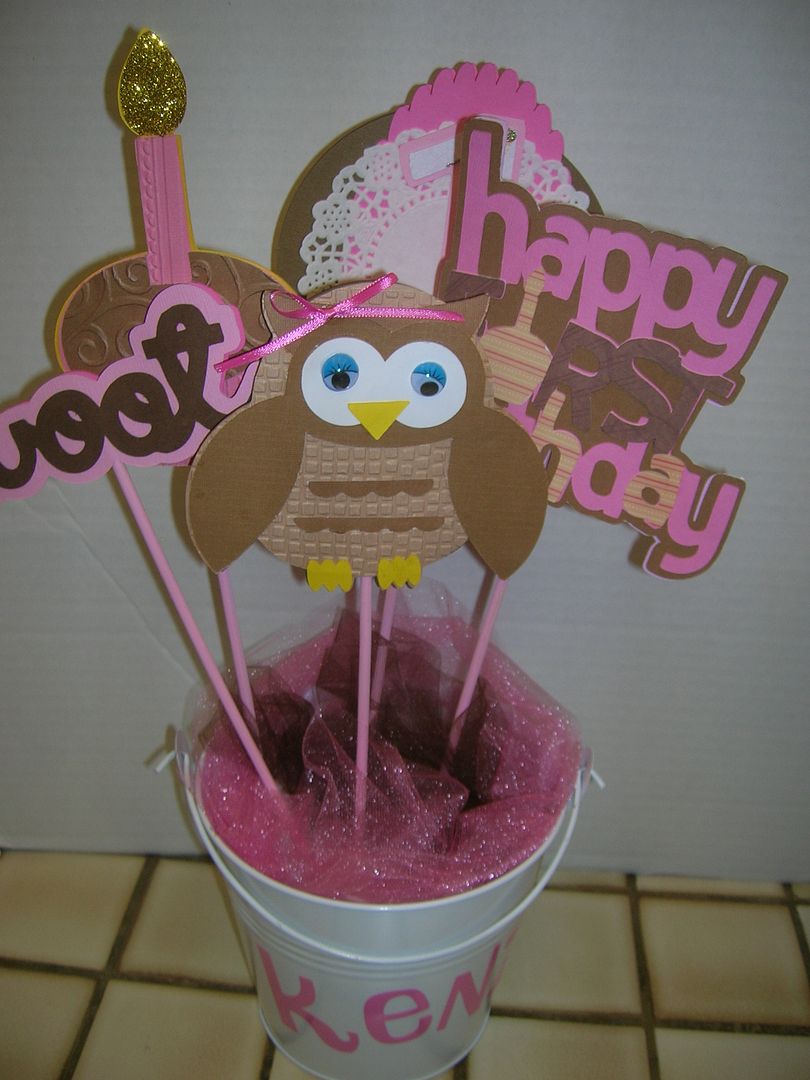
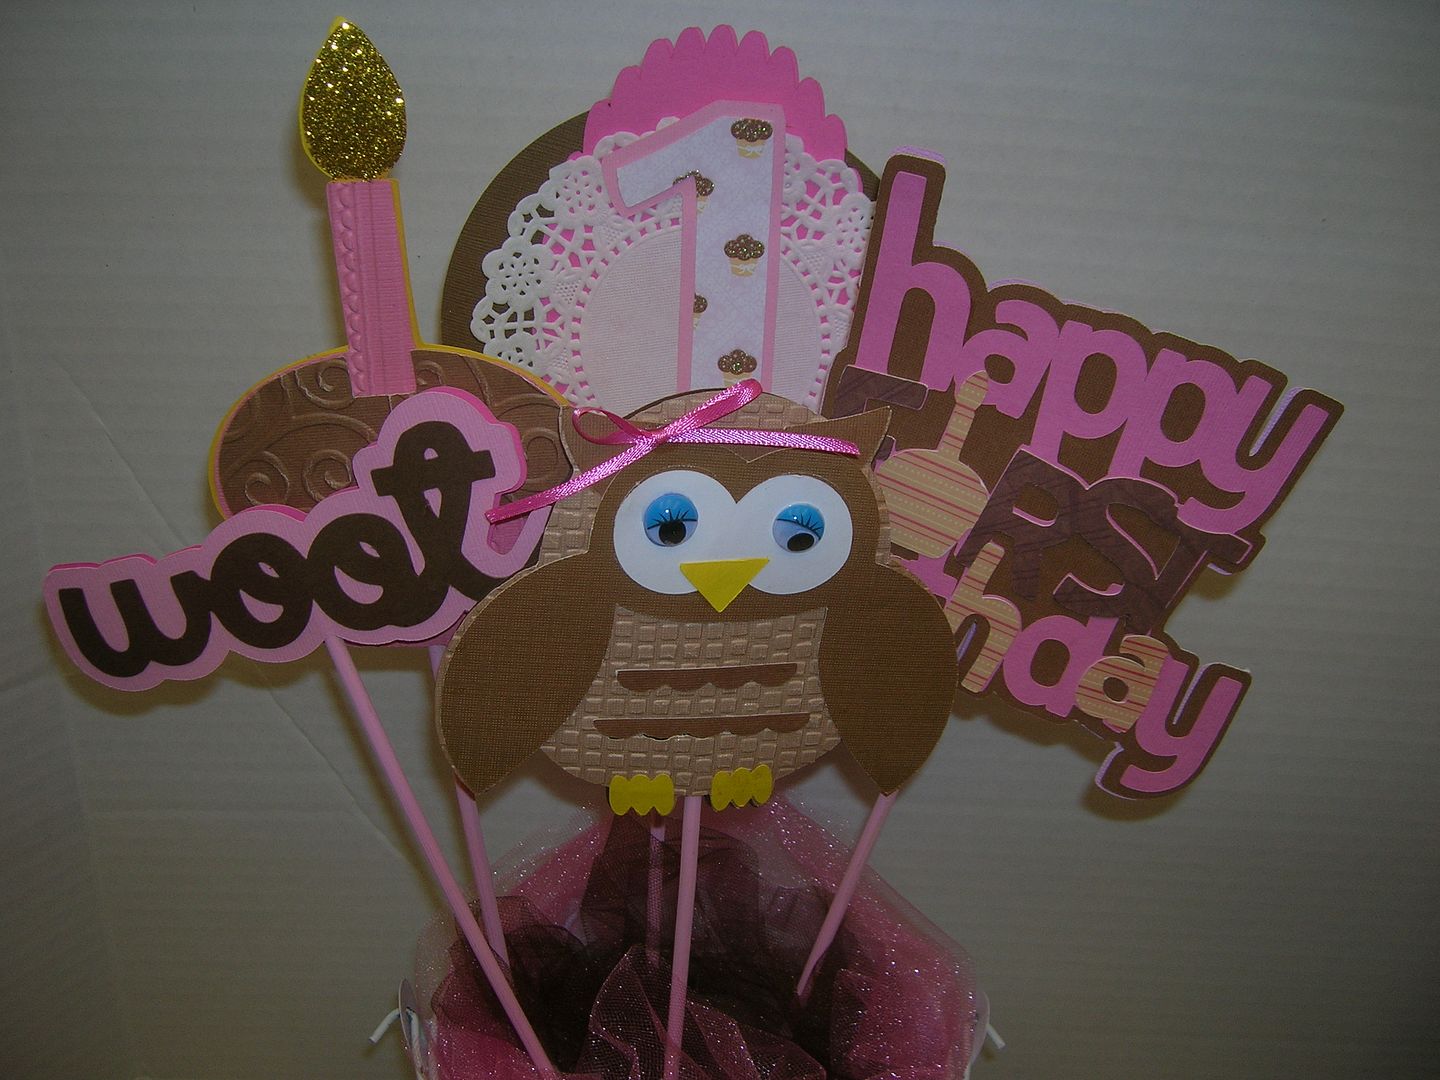
Baby Steps Happy First Birthday cut at 5 inches
Paisley Owls cut at 4/5 inches (I removed flowers with G so they matched invitations)
Woot cut from Paisley at 2 inches
Cupcake from Baby Steps cut at 4,75 inches
Something to Celebrate large #1
George 4 inch scalloped circle
Lacey Labels oval scalloped circle
Doilies, Stickles and googly eyes on owl
Vinyl name cut from Something to Celebrate at 3 inches
Closeups

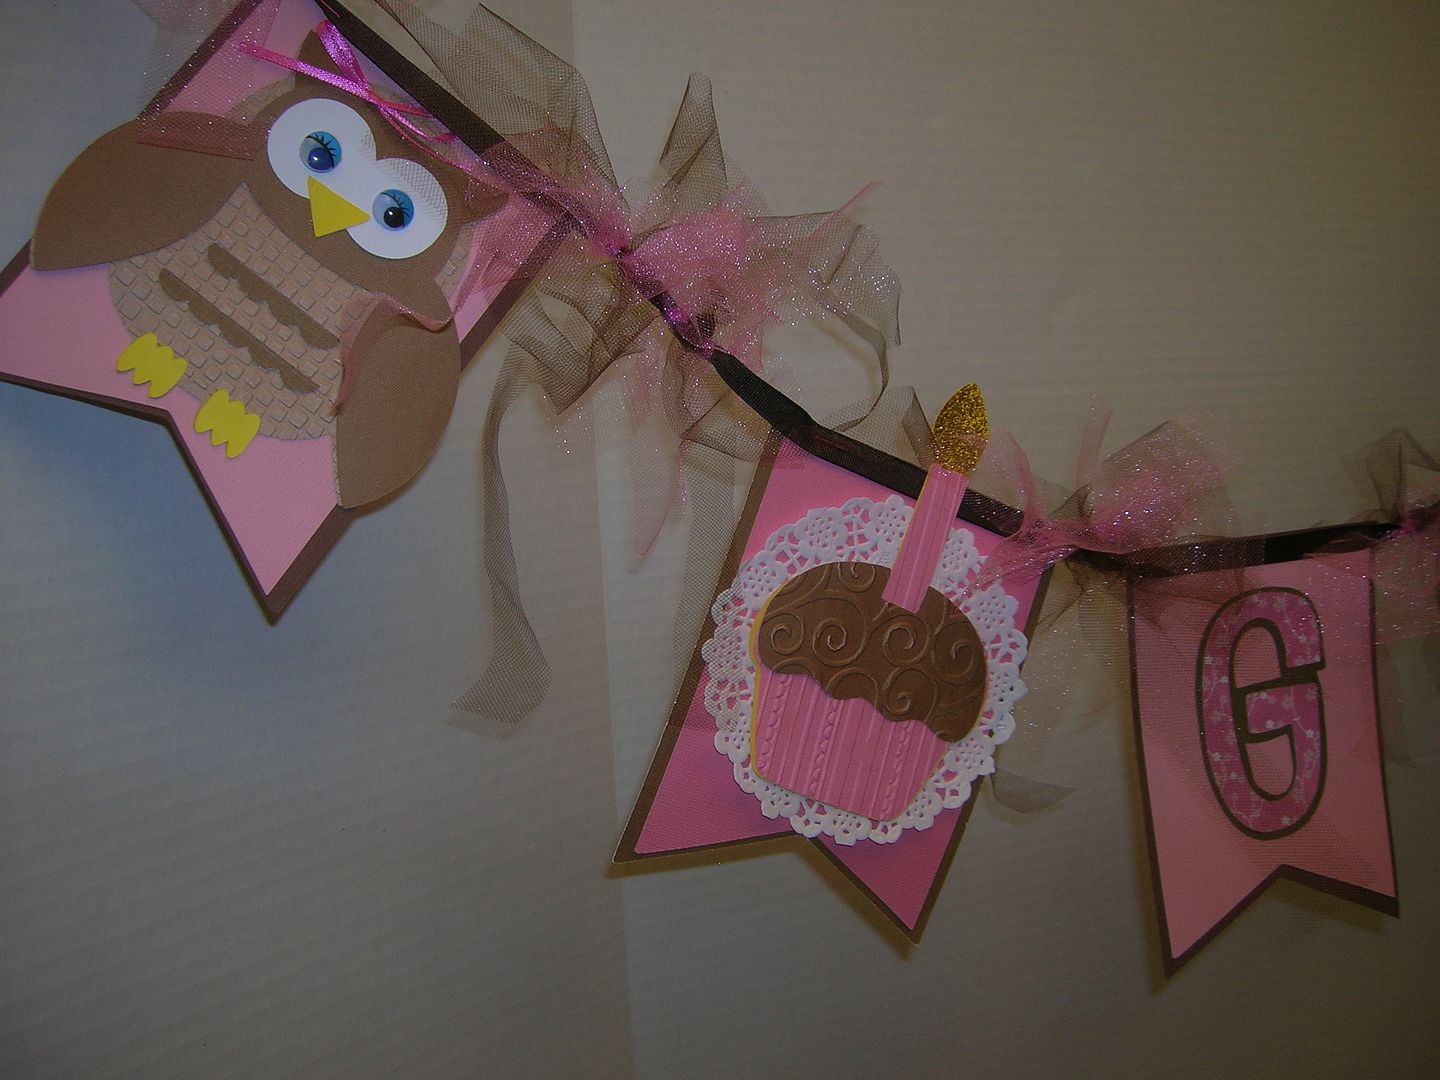
Birthday banner to match.
Sorry it was dark when I was taking pics and I couldn't get a good pic so here is part of banner. I used the same size owl and cupcake cuts as above.
Banners cut Something to Celebrate cut at 5.75 inches
Letters from Something to Celebrate spell out Guess Who's One
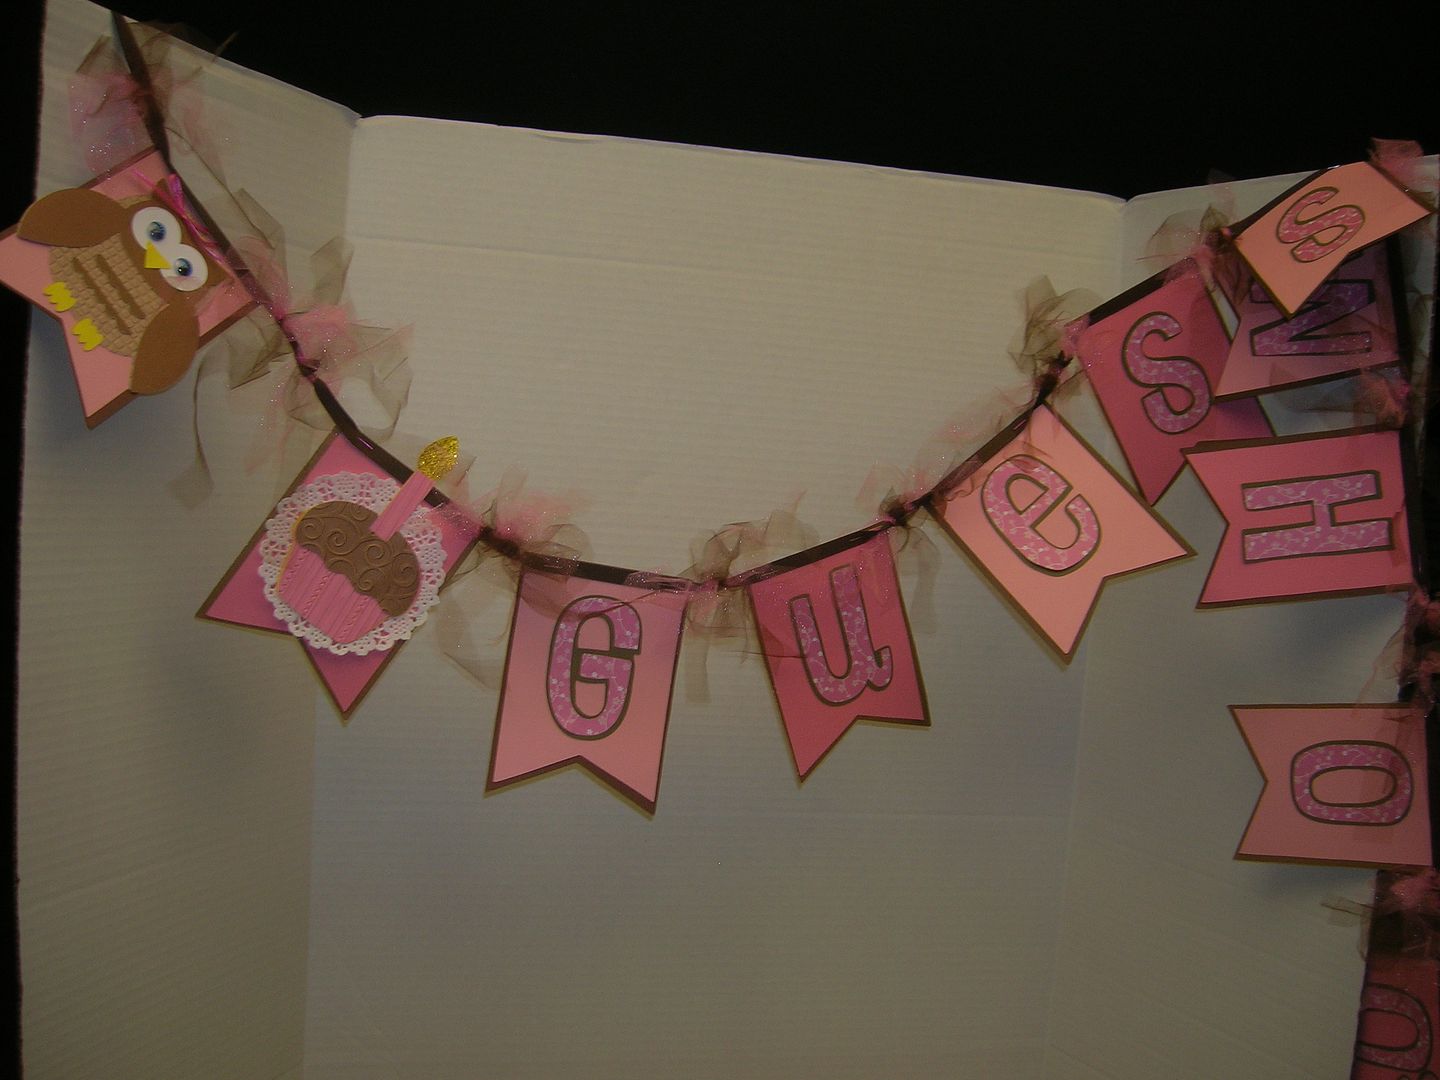
Cut net in strips and tied to ribbon. Ribbon is staples with pink staples to banner pieces.
Here are some more bouquets I have made in the past to give you other ideas.
Welcome baby bouquet #! - These are great for babies as they usually do not like flowers in the rooms and the die cuts can be removed and used for scrapbook pages later.

#2
#3 with matching card

This was the table decorations for my husbands family reunion. I painted pots and aged them. Used Heritage and Tim Holtz paper for cuts. Lots of inking. I made 20 of these and they were a big hit.
On the table are gems with family names glued to bottom I printed with computer.


So so cute! Thanks for sharing! I have been thinking I am wanting to do something similar for my "nephew" for his 2nd birthday. I am doing his invitations but thought something like this would be nice too. Thanks for sharing!
ReplyDeleteWow, cute table centerpieces and decorations! I love the banner and the owls are just adorable!!
ReplyDeleteCute idea!
Sherrie K
http://sherriescraps.blogspot.com
Super dee duper cute! love it!!! Thanks for having birdbrain this week! I sincerely enjoyed it.
ReplyDeleteOh my goodness, Suzanne, these are amazing. I've never done a "bouquet" with Cricut, but you sure have my wheels turning. Wonderful, wonderful!!!!
ReplyDeleteHugs,
I simply love your family reunion centre piece. It's just gorgeous.
ReplyDeleteThanks for the tutorial.
Vee xx
Great job, Suzanne! My faves were the baby bouquets - so adorable with so many wonderful details! You have given me some inspiration for my SIL. TFS!
ReplyDeleteThanks so much for sharing. They are all amazing!
ReplyDeleteWow, everything is amazing Suzanne! I love how this all came together, Kenzie will have a super cute 1st birthday thanks for grammy!!! I love all the bouquets, I've never did one and I now realize that I just need to do it!!! lol Super awesome tutorial my friend!
ReplyDeleteAbsolutley "WOW"!!!!! I love these ideas!!! It makes me want to go right now and start making them... your granddaughter is a very lucky girl to have such a creative loving Gramma....You inspired me greatly!!! Thank you
ReplyDeleteThanks so much for sharing! These are amazing and I can't believe how many you made!! Unbelievable! That is some dedication and patience! Not to mention talented!! Thanks again for the getting those creative juices flowing!
ReplyDeleteLovely table decorations and bouquets! Thanks so much for sharing with us!
ReplyDeleteGlenda
THIS IS SUCH A CUTE IDEA. I JUST HAPPEN TO TYPE IN 'HOW TO MAKE A CRICUT BANNER' AND YOUR WEBSITE WAS THE FIRST TO POP UP. I LOVE LOVE LOVE YOUR IDEA FOR THE BABY BOUQUET. THAT IS SUCH A CUTE IDEA. LOVE IT AND THANK YOU SO MUCH FOR SHARING. :)
ReplyDelete