This is Missy here with another Cricut Craft Room tutorial for you. This week I'm going to show you an easy way to make a shaped card. Here we go!!
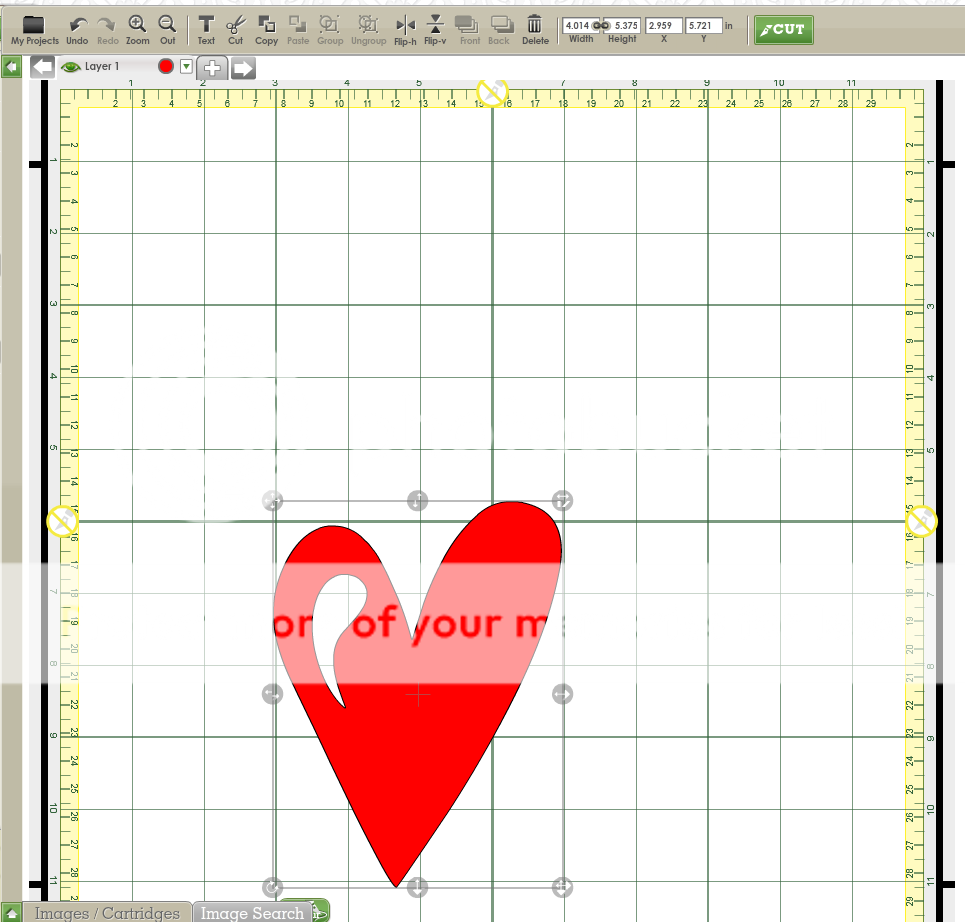
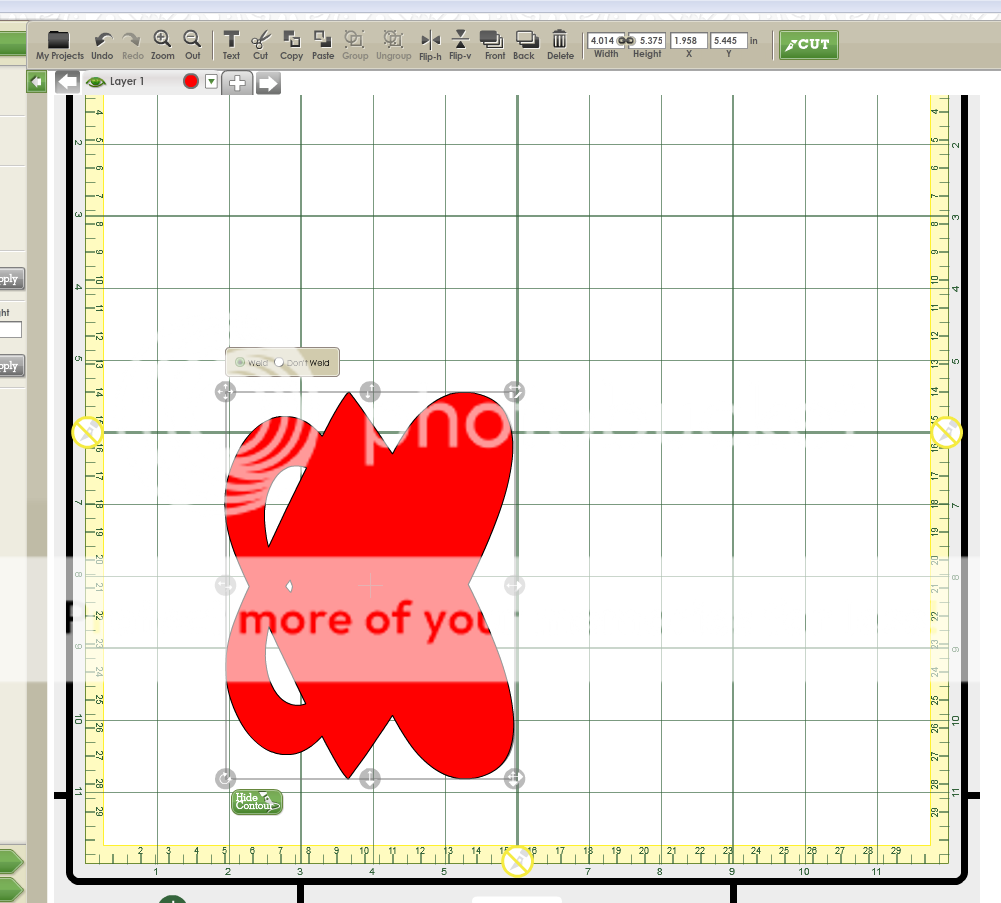
All righty, since Valentine's Day is right around the corner, let's weld two hearts together to create a heart shaped card. (NOTE: This is JUST for explanatory purposes. In reality, this image would look funny welded together. I'll talk about that more at the end of the tutorial.) The heart I'm going to work with is from the Gypsy Wanderings cartridge. Here it is sized on my mat so it would fit into a standard A2 sized envelope.
Next I'm going to move the heart down a bit on my mat, because by the time I'm done it's going to pretty much double in size vertically, so I want to be sure I have enough room. After you select your image, made an exact copy of it. The copy and paste tools on the top toolbar are helpful for this.
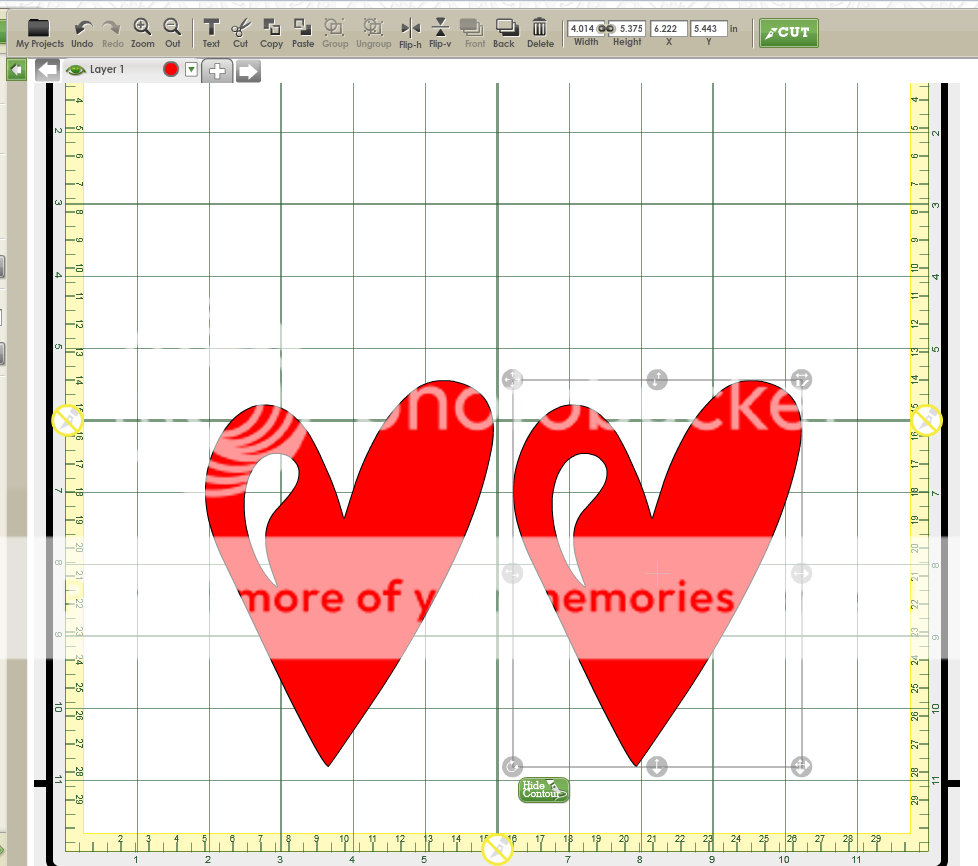
Now that I have two exact copies of the heart,. I'm going to use the arrow keys to place one of the hearts directly on top of the other. They need to line up as exactly as possible.
Here the two hearts are, exactly lined up. You want to be sure you are NOT welding at this point. If the weld button is selected, go ahead and unselect it.
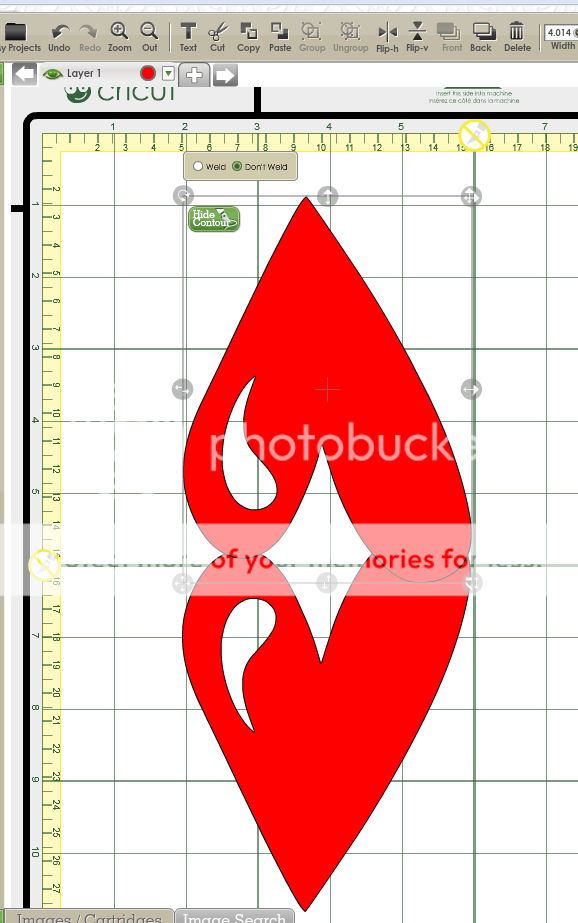
Now you want to invert the top heart. With the image selected, use the "Flip-v" arrow on the top tool bar to invert the top image.
Once you have the top heart inverted over the bottom heart, use the up and down arrow key (be sure to use the toggle key that is specific to moving up and down ONLY. If you accidentally move the heart horizontally as you move it up, it won't line up right when you go to fold it) You want to move your top heart up as far as you want it, so it lines up how you want it to line up. Keep in mind your image is still not welded!!
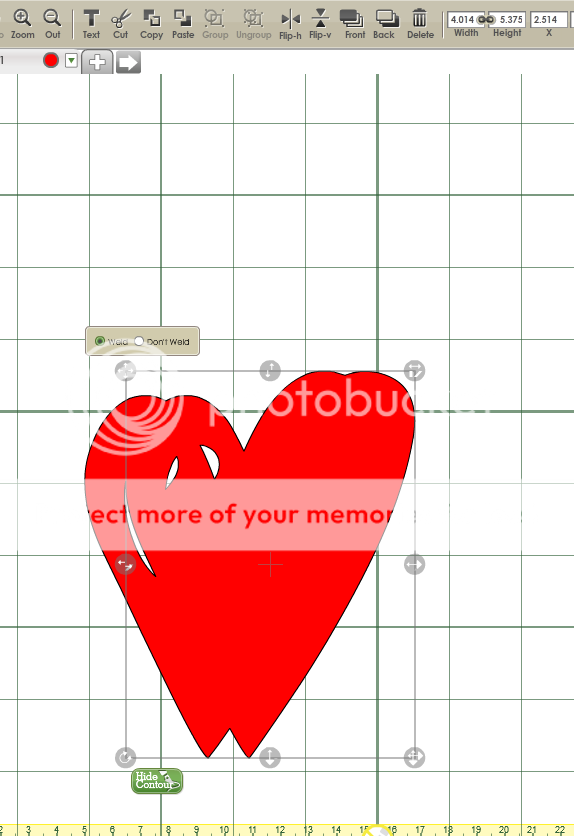
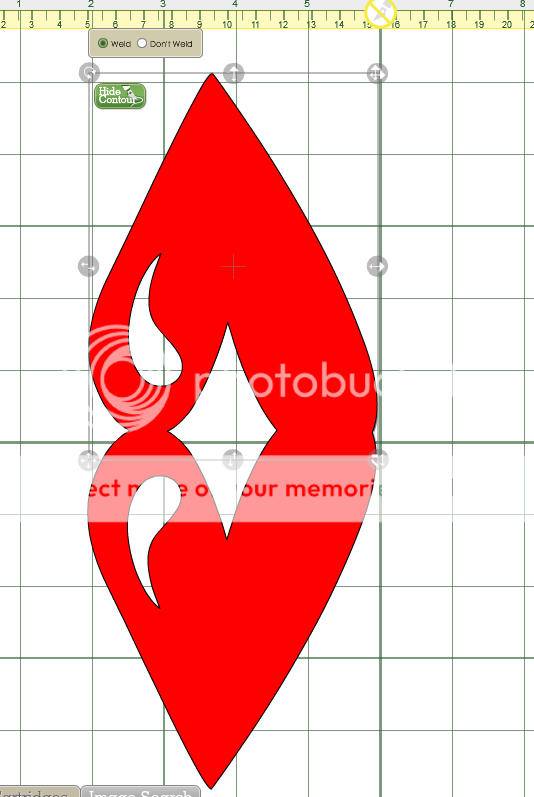
Once you get the top heart situated where you want it to line up with the bottom heart, make sure both hearts are selected, and now press weld.
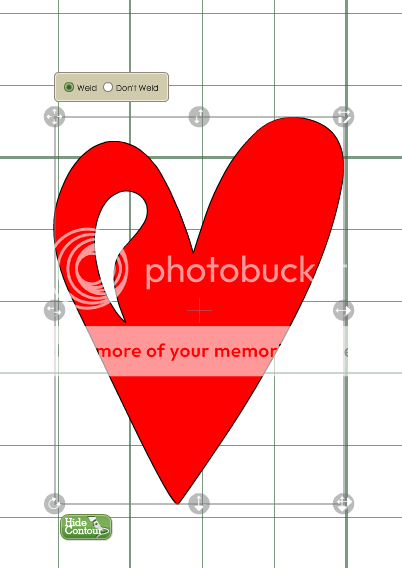
Once you've welded your images together, you'll be able to see where the Cricut will and will not cut. If you're happy with what you have, you can cut your card image! Then all you have to do is fold it in half, and you have yourself a nice shaped card!
Here's something to keep in mind. Not all shapes weld nicely into shaped cards. For example, the heart I was working with in this tutorial would have looked like it was out of proportion had I actually cut this image out. When you're trying to pick out an image to weld into a shaped cards, keep in mind that straight lines weld together very nicely. Try and use an image that has a nice line when you'll be able to weld and then fold the card base in half. Here are some sample shaped cards I've made in the past to show you some examples!
This snow globe welded together nicely. You can just barely see the crease at the top of the card where the 2 images layered and I folded t hem.
Another tip for making welded cards is to use the shadow of an image for your welded card base. If you use the shadow of an image for the card base, you can then turn around and cut the layers of the image out to size, and everything lines up really nicely. Keep in mind that when you are trying to figure out what size to make your layers, go with the same size that your first, original image was sized at when you decided how large you wanted the card to be once it was folded. Don't use the entire size of your base card after you've welded it, that would make your layers cut way too big. The Santa and cupcake cards below are examples of when a shadow image was used as a card base.
And that's an easy way to make a shaped card! I'll see you again next week with another Cricut Craft Room tutorial!!!!




When I want to make a card base by welding a shape that looks kinda funny when welding, I just cut a copy of the original shape and glue it to the card front. That way, you don't see the funny-looking edge of the card base where it was welded because that single shape covers the welded edge. It still opens just fine!
ReplyDeleteGreat tutorial! I didn't know to do this. I've been doing this differently in my gypsy. This makes alot more sense. TFS. :)
ReplyDeleteSuch an excellent tutorial. You explained everything so well -- thank you!
ReplyDeleteGREAT tutorial!! Keep them coming! Any bright tips on layering so the letters come out the same size especially when use fonts that are not equally sized.
ReplyDeleteVery helpful tutorial. I think the penguin card is absolutely adorable.
ReplyDeleteCheri
www.djssundries.blogspot.com