
This is Missy from Quick Chick Designs here with another Cricut Craft Room tutorial for you. This week, we're going to talk about welding letters together to form a single word.
First off, why would you want to weld letters together to get one single image?? I think the number one reason most Cricut users do this is because it's a whole lot easier to line up a single word instead of a bunch of individual letters!!! When you're creating a title on a scrapbook page, or want to spell out a word on a card for example, and you want the letters to be straight, it makes it much easier if they're all connected. Let's get started.
First, I'm going to open up Craft Room and type the word I want to "weld". (Weld just means you connect the letters or shapes all together, instead of keeping them separate.)
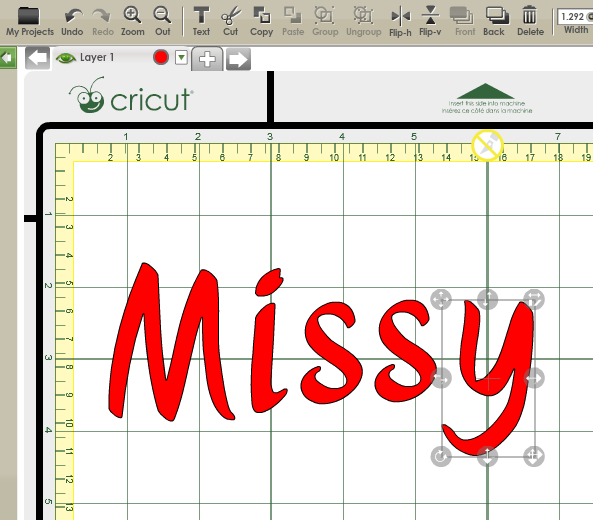
Here's my name as it appears as individual letters. If I was using my name as a title on a scrapbook page, I could simply cut out each individual letter, line them up, and glue them down. My mat would look like this. (The font I'm using is from the Suburbia cartridge)
The first think I always do when welding a word together is get all of the letters lined up on a straight line the way I want them to look. Here I'm using one of the darker images on my mat as a guide. I've moved the first few letters down to where I think they look nice. Remember, each letter is it's own object for right now.
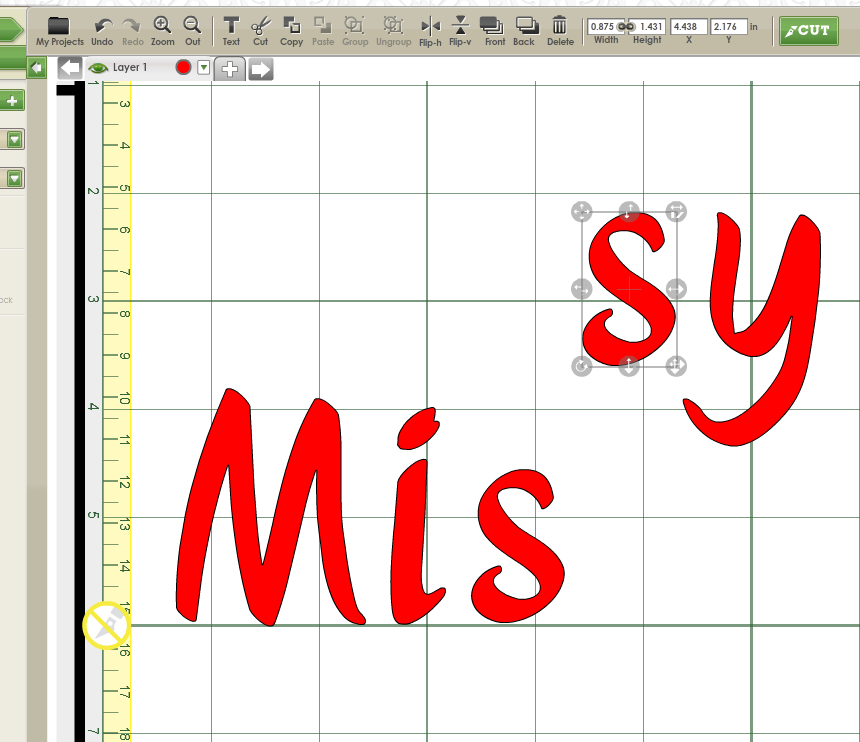
Here I've moved all of my letters so they line up on that solid line. There's no rule of thumb to go by as for how you line your letters up, just line them up however you think you want them to look. I like mine to be generally pretty straight, so I try to line the bottom of my letters all up on that dark line.

Now, using the side movement arrows (the toggle that is in the middle on the left hand side of my selected letter "i") I'm going to begin moving my letters so they overlap. Welding will begin as the letters touch one another.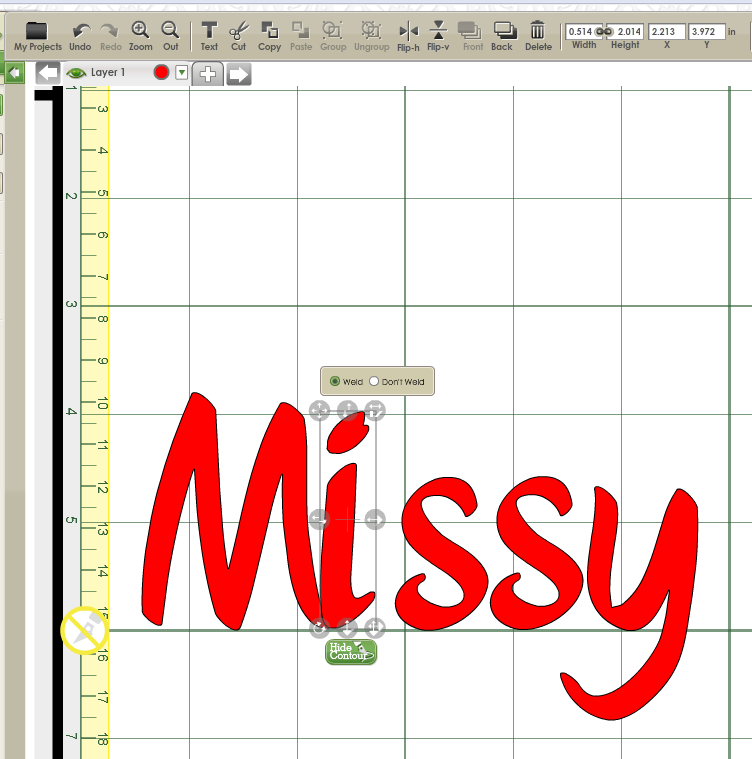
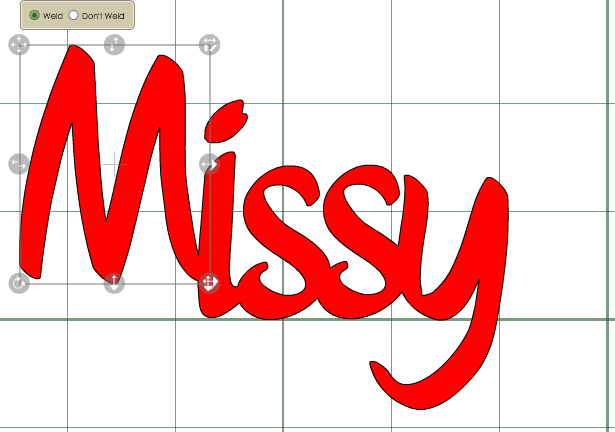
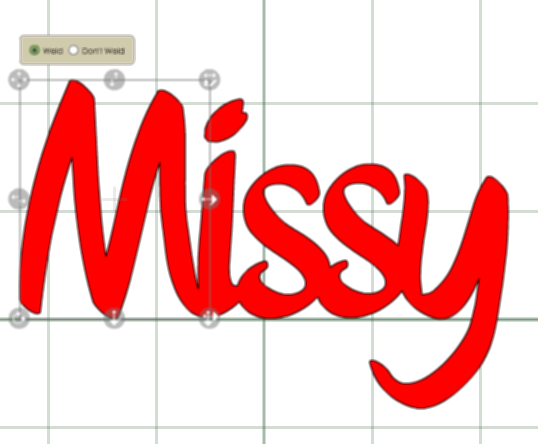
You know your letters are overlapping and welding when you see that little box that says "Weld/Don't Weld" above your object. If you do NOT want them to weld, be sure to click on the "Don't Weld" button. Here's what the rest of the letters look like welded together. One way I can tell that my letters are all welded together is that the lines where the letters overlap disappear.

Now, one thing to keep in mind is that even though if you were to cut your image out right now, your Cricut would cut it just like it looks on the screen---all of the letters would be connected. However, if you want to move the image around on your mat, to organize your mat and get your image where you want to lay your paper, you need to group your letters together so they don't come apart when you move your word. This is what would happen if I tried to move the whole word as it is right now.
Whoops.....not what I wanted to do if I was trying to keep my letters in a straight line!! To prevent this from happening, you want to group all of the letters together. To do this, start by selecting the first letter in the word.
Hold down the control button and continue clicking on all the rest of the letters until the entire word appears in one selection box.

Next, while the whole word is selected, click the "Group" button at the top of the tool bar.
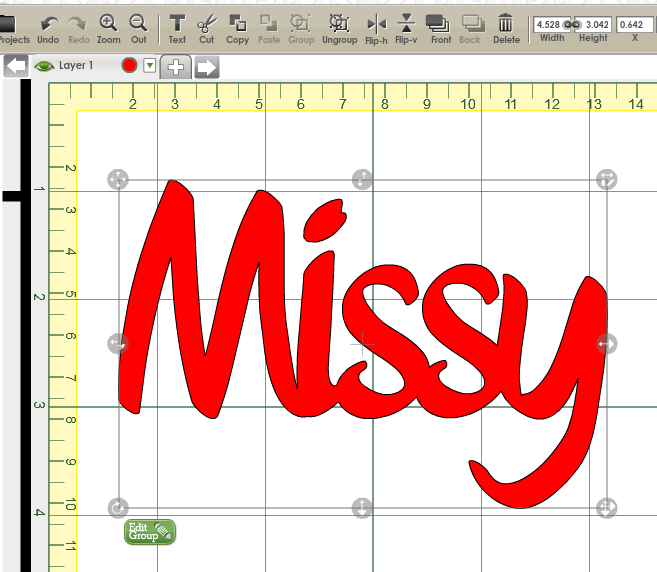
Now, when you use the move tools on your word, you can move the entire word together around your mat as one object.
Oh, and here's one more little bonus!! Personally, I don't know for sure which Cricut cartridges have fonts on them and which ones don't. So, if you're trying to determine which font to use, if you open the "Text" tab, using the green tabs to the left of your mat, there is a search box which lists ALL of the cartridges that have fonts---in alphabetical order!! Pretty handy, huh??

Like I said last week with sizing images---this is one way to weld words together using Craft Room. I'm sure there are other ways that I haven't learned yet, so if you have a method you prefer to use, please share it in the comments section!! See you next week!!!

Thanks Missy. I have struggled with this. I always had to move each letter around to where i wanted it on my map and then start over. THANKS FOR THE TUTORIAL> SOOOOOOOO much easier now.
ReplyDeleteI am LOVING these CCR tutorials. THANK YOU!
ReplyDeletegreat showcase on how to weld! Thank you Missy!
ReplyDeleteThanks for sharing the welding tips. I always struggle with welding.
ReplyDeleteMelissa
"Sunshine HoneyBee"
Huge THANK-YOU!! I was just struggling with this!!
ReplyDeleteThanks for the tut! Another way to select items on the virtual mat is to just click on the mat and then drag until all of the elements are selected. Works great if there are a lot to select. You can also do a Ctrl+A to select all.
ReplyDeleteCan fonts from different cartridges be welded together (for instance in creating a monogram)?
ReplyDeletehow do I get the circuit to cut out the middle of circle-shaped letters, like a-o-p-d-b? When I weld a word together the circuit only cuts the outline of these letters. Thank You!
ReplyDeletei already welded and i need to make changes, is that possible or do i have to start over?
ReplyDelete