This is Missy here with another Craft Room tutorial for you! Today I'm going to share a couple of time saving features that Craft Room has to offer: the Quantity and Auto Fill features.
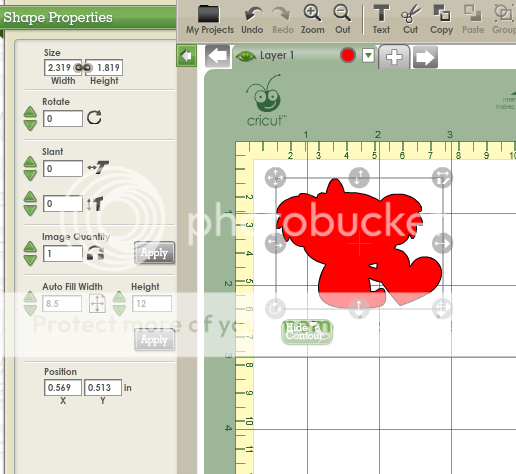
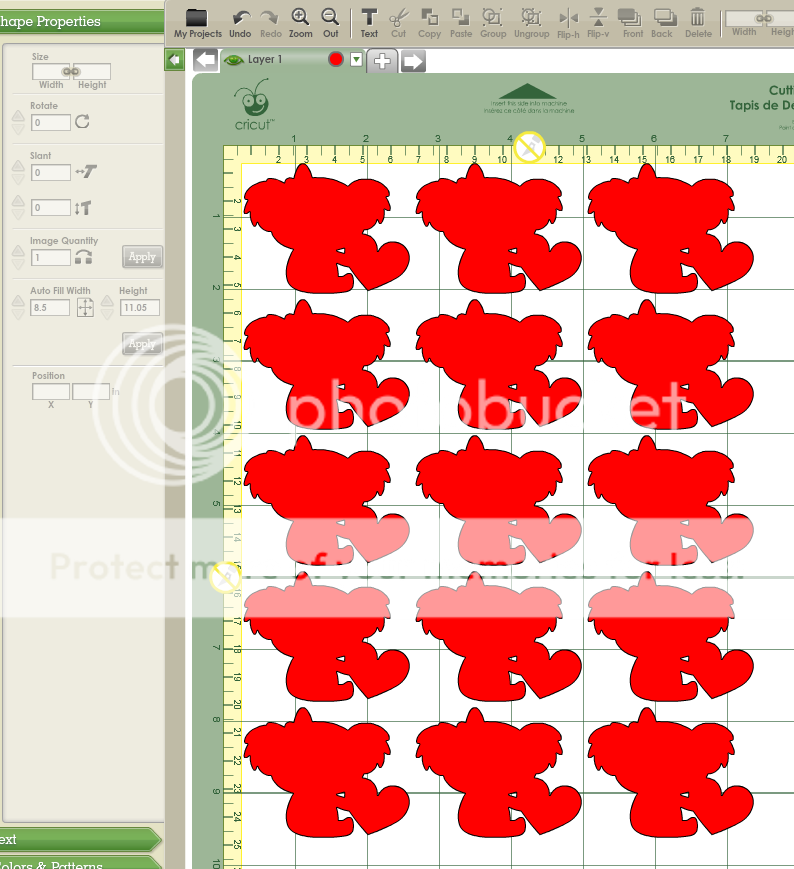
Let's talk about the quantity feature first. Let's say that you want to cut multiple images for a project you're going to mass produce, like Valentine treats for a child's class party. First, you'll want to load an image onto your mat, and get it sized to the size that you want. Once you've done this, open up the "Shape Properties" tab (green tab on the left) if it isn't already opened up. You'll want to be sure your image is selected, in order to activate the options in the Shape Properties menu.
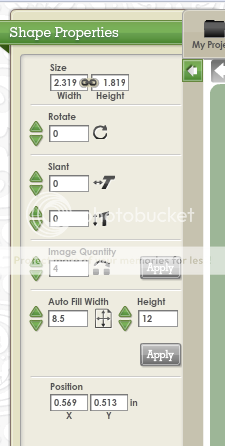
If you notice the box called "image quantity", that's what you'll be working with. Simply use the green arrow keys to scroll to the number of images you'd like to have on your mat.
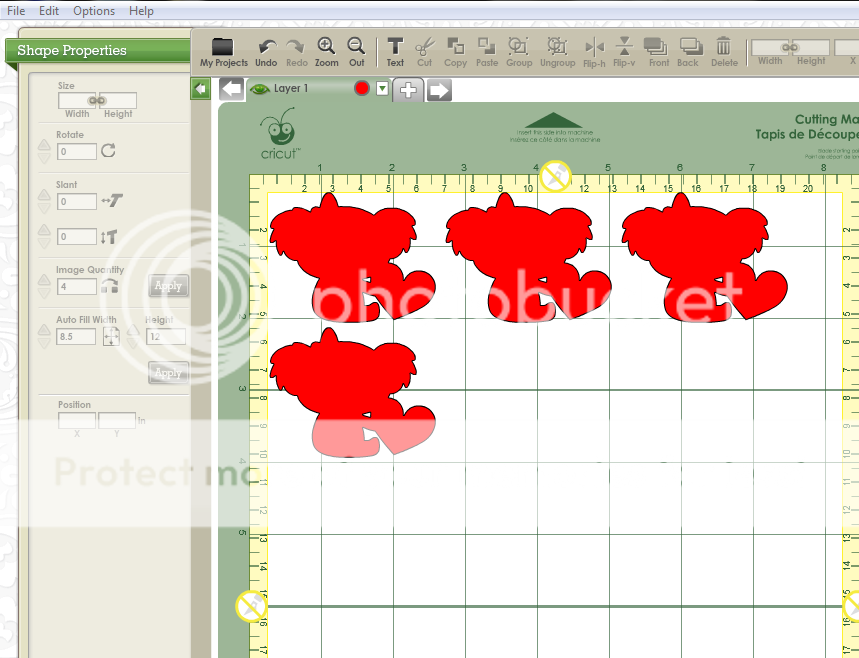
Once you've got the number, hit "apply", and your shapes will appear as mine did below!
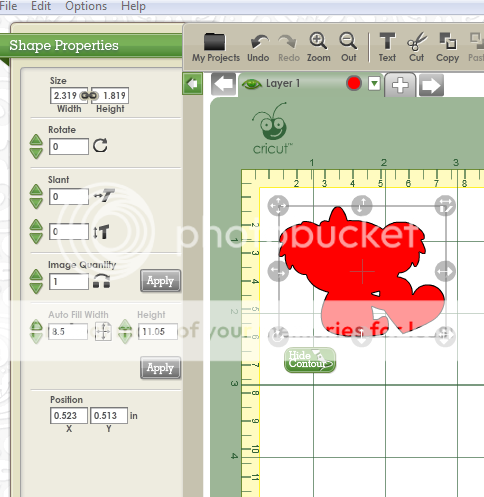
The next time saving feature is the auto fill feature. This would come in handy if you wanted to fill your entire mat with an image. Again, load your image onto your mat and size it to the size you want. Underneath the image quantity feature, you'll see the "auto fill". What you'll want to here is tell the auto fill how big the piece of paper is that you want to fill with images. I adjusted my paper size to 8.5 x 11.05, as thought I was going to fill and entire 81/2 x 11 piece of cardstock. You can adjust the width and height values with the green arrows.
Again, once you've set your paper size, select "apply", and your paper will be auto filled for you!
I hope these time saving Craft Room tips will come in handy for you! Have a great day!!!


Thank You, Missy! I didn't realize CCR had that feature:-)
ReplyDelete~Tammy